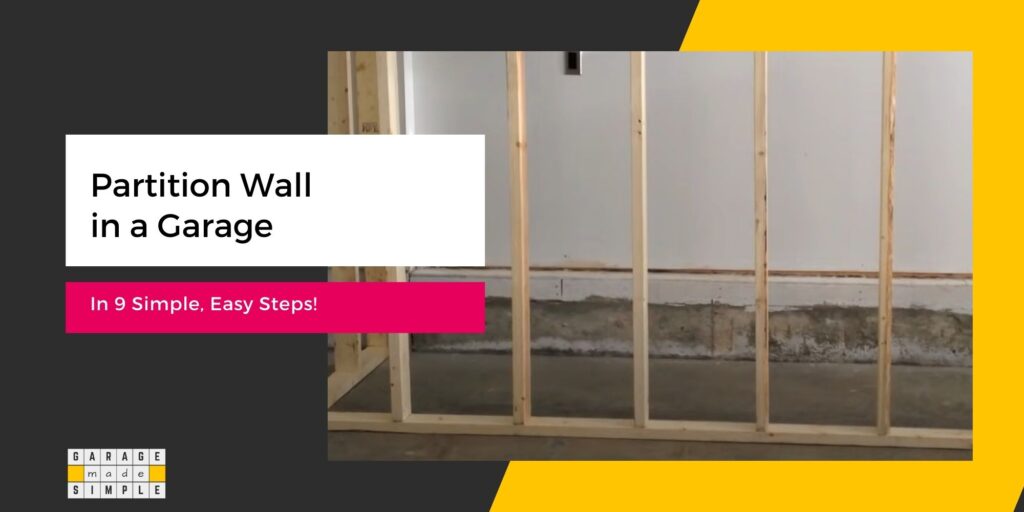
Building a Partition Wall in Garage in 9 Simple, Easy Steps!
As an Amazon Associate, I earn from qualifying purchases.
Want to turn your garage into a workshop, home office, or gym? Building a partition wall in garage is a great way to create a dedicated space for any activity.
Now, building a partition wall in the garage may seem quite daunting at first, especially if you are not an accomplished handyman. Building a partition wall in the garage is a DIY project of moderate difficulty if you have some basic knowledge and experience in building with wood studs.
Unlike exterior walls, partition walls don’t need to support the weight of the roof, so they’re relatively easy to build. What you need is a step-by-step guide. In this post, I do exactly that!
The partition wall in a garage is framed using a base plate, a top plate, and several 2X4 vertical studs, spaced 16” OC.
Framing a partition wall is similar to framing an exterior garage wall and yet different. To make a partition wall within your garage you have to work within the space confines of the garage and conform to the existing garage construction.
Instead of making the entire frame and lifting it into place, you need to attach the individual components to the existing garage structure.
The base plate is anchored to the garage concrete floor. The top plate is anchored to one of the ceiling joists. The vertical studs then go in between. The sheathing material, such as drywall, is nailed to the partition wall frame. Water-based acrylic primer & paint is used to finish the project.
Here is a simple and easy 9-step guide on how to frame a partition wall in your garage using basic DIY skills and tools.
Quick Summary: 9-Step Guide on Building a Partition Wall in Garage
| Step # | Short Description | Details |
| 1 | Estimate materials | Measure the length and height of the wall. Calculate the number of 2x4s needed for the base plate, top plate, and studs. Purchase sheathing material, such as plywood. Buy a door with a frame and various hardware items. |
| 2 | Assemble tools | Circular saw, miter saw, framing nailer, cordless hand drill, framing hammer, speed square, box beam level, sheet sander, tape measure, chalk line, carpenter’s pencil, etc. Leather framer’s gloves and protective eyeglasses. |
| 3 | Mark base/top plates | Mark off 1 ½” from the left edge of the base and top plates. Put two marks, 15 ¼” and 16 ¾” from the first mark. Repeat the process till you have marked off the spot for each stud. Mark out the rough door opening width on the base plate. |
| 4 | Anchor base plate | Use a wedge anchor to attach the base plate to the concrete floor. |
| 5 | Fix the top plate to the joist | If there is no ceiling joist above the base plate, add blocking between two adjacent joists and fix the top plate to the blocking. |
| 6 | Attach studs to plates | Toenail the studs to the plates using 8d nails or #10X3″ wood screws. Alternatively, use stud plate ties to join the studs to the plates. |
| 7 | Frame the door | Install the king studs, jack studs, cripple studs, and header to frame the door opening. Hang the pre-hung door in the doorway frame. |
| 8 | Nail sheathing to frame | Cut the plywood sheathing to size and nail it to the frame. |
| 9 | Finish wall | Sand the plywood sheathing. Prime and paint the wall. |
Now let’s move on to the details!
STEP 1: Estimate & Purchase Materials
Determine the length and height of the wall using a tape measure. Double-check the ceiling height in 4 – 6 locations along the partition wall length. Decide the width and height of the door that will go in the partition wall.
Mark out the location of the partition wall on the garage floor. Try to locate it to align with a stud in the garage wall on either side. This is not particularly difficult as studs in the garage wall are evenly spaced, 16” on center (OC).
Lumber Calculation
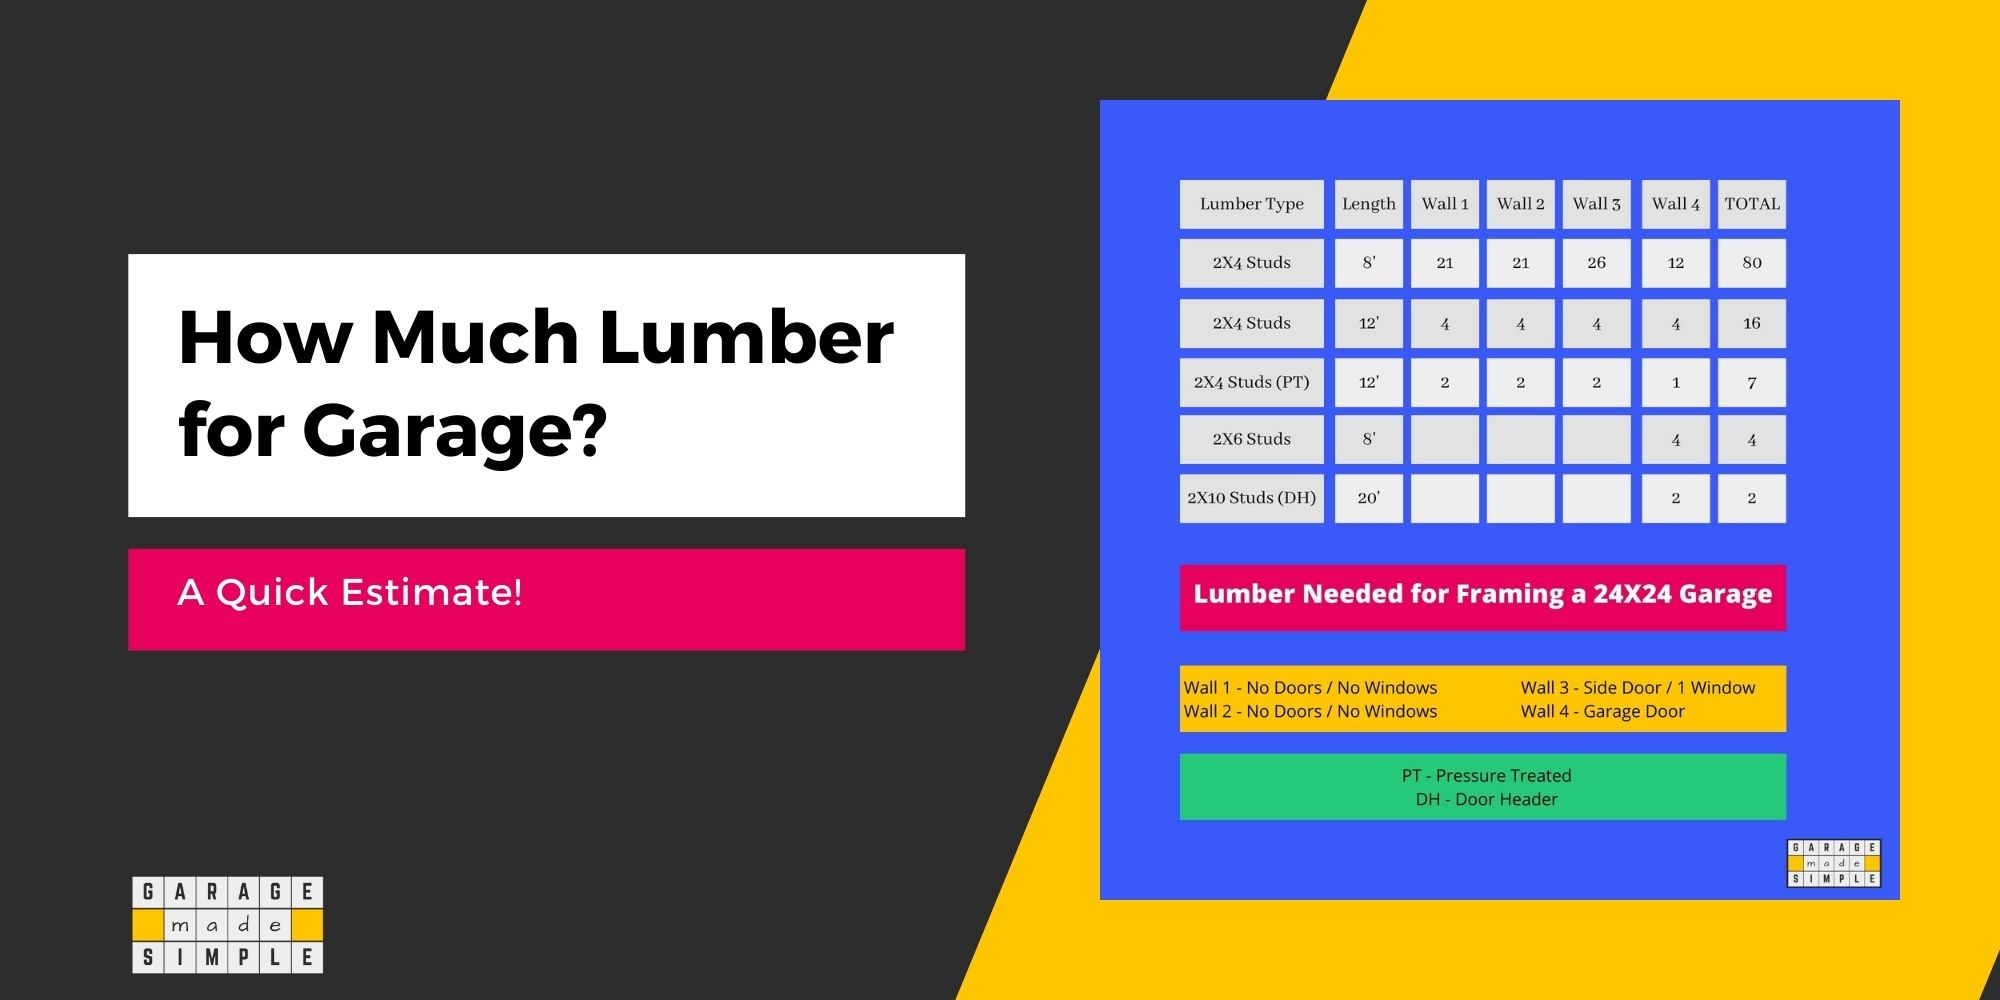
For example, for a partition wall with dimensions of 24’(L)X8’(H), you will need the following number of 8’ long 2X4s.
- Base Plate : 3
- Top Plate: 3+3
- Vertical Studs: 19
NOTE 1: The calculation of 19 studs assumes that you will have the two end studs on the partition wall, which will get nailed to the stud in the garage wall. This will ensure you have a sturdy partition wall in your garage.
NOTE 2: All the 2X4 will not get used due to the rough opening for the door. The extra quantity can be used for the door header, cripple studs above the door and jack studs around the door opening.
NOTE 3: Always buy 10 – 15% more than your calculations to allow for wastage.
There are many material calculators online. Try Builder’s Calculator. It is quite simple to use.
Sheathing Calculation
Of course, you will need to buy the door with a frame and various hardware items, such as anchor bolts, nails or screws, and clamps.
STEP 2: Assemble the Required Tools
You do not need too many tools to make a partition wall in your garage. If you are a DIY’er, you will already have these. But if you do not, you can order them from Amazon using the links or buy them from Home Depot.
- Circular Saw (DEWALT)
- Miter Saw (MAKITA)
- Framing Nailer (METABO)
- Cordless Hand Drill (DEWALT)
- Framing Hammer (VAUGHAN)
- Speed Square (IRWIN)
- Box Beam Level (JOHNSON)
- Sheet Sander (DEWALT)
- Tape Measure, Chalk Line, Carpenter’s Pencil, etc.
And don’t forget personal protective equipment such as leather framer’s gloves and protective eyeglasses.
DEWALT 20V MAX 7-1/4-Inch Cordless Circular Saw with Brake

DEWALT 20V MAX 7-1/4-Inch Cordless Circular Saw with Brake
This DEWALT 20V cordless circular saw gives you the power and depth-of-cut of a corded circular saw but with the portability and convenience of cordless.
DEWALT brushless motor technology delivers excellent performance and runtime when cross-cutting 2x material and ripping sheet goods.
STEP 3: Mark the Base & Top Plates
The vertical studs need to be attached to the base plate and top plate such that they are spaced 16” on center (OC).
Sheathing boards such as drywall, plywood, OSB, or MDF, typically come in 4’X8’ size. Stud spacing of 16” OC will ensure that the board edge falls exactly on the center of the stud.
To get the spacing absolutely right, lay the bottom plate and top plate side by side on the floor. Mark off 1 ½” from the left edge. This is where the first stud will go.
Then put two marks, 15 ¼” and 16 ¾” from the first mark. This is the spot where the second stud will go. Repeat the process till you have marked off the spot for each stud.
NOTE: A 2X4 wood stud is not 2”X4” in dimension. The actual dimension is 1 ½”X3 ½”.
Mark out the rough door opening width on the base plate. To get this simply add 2” to the door width. Cut out that piece on your miter saw.
STEP 4: Anchor the Base Plate to the Concrete Floor
You will need to anchor the base plate to the garage concrete floor. Place the base plate in the correct location and draw lines on both sides of the plate. This fixes the exact location.
Use a wedge anchor such as CONFAST 1/2″ x 4-1/4″ Wedge Anchor Zinc Plated. Drill a 1/2-inch hole through the base plate such that it is about 2 inches deep into the concrete floor. Insert the anchor, drive it into the hole in the concrete, and tighten the nut.
STEP 5: Fix the Top Plate to a Ceiling Joist
If you are lucky, you will have a ceiling joist running exactly above where the bottom plate has been anchored to the garage floor. However, the chances of this happening are pretty slim!
So you will need to add blocking between two adjacent joists and fix the top plate to the blocking. A single top plate is sufficient as the wall is not load-bearing.
However, you can use a top plate and a double top plate to make sure your partition wall is sturdy and can take a few knocks.
STEP 6: Attach the Studs to the 2 Plates
The studs on the two ends should be attached to the studs in the garage walls using long nails or #10X3″ wood screws. That will stabilize the partition wall with the garage.
The remaining vertical stud ends need to be attached to the bottom and top plates at the spots marked out earlier. There are two possible ways you can do this.
Toenailing
Toenailing is a framing technique where two nails are driven at a 45-degree angle into two pieces of wood at a 90-degree angle. The nails are driven in from opposite sides to form a 90-degree angle between themselves.
You would need 4 8d nails, 2 on each side to make a secure joint between a stud and a base plate or a top plate. A toenail joint is surprisingly strong and ideal for a partition wall.
If you are not very comfortable with the idea of using nails for toenailing, you can use #10X3″ wood screws. It is a lot easier and less work. Check out the YouTube video below:
Stud Plate Tie
If you do not like the idea of toenailing studs to the plates, that’s OK. There is a neat alternative to toenailing. You can join studs to the bottom or top plate using a “stud plate tie”.
A Simpson Strong-Tie RSP4 20-Gauge 2X Reversible Stud Plate Tie is galvanized 20 gauge steel as under:

Simpson Strong-Tie RSP4 20-Gauge 2X Reversible Stud Plate Tie
- Connects studs to top and bottom wall plates
- A strong connection to resist uplift loads
- Engineer-trusted and contractor-proven – you can trust the quality of Simpson Strong-Tie
- Made from 20 gauge steel
- Galvanized for extra corrosion resistance
NOTE: Before fixing the studs to the plate use the Box Beam Level to ensure that each stud is perfectly vertical and straight.
STEP 7: Framing the Door
The area on the partition wall where the door frame will go is the rough opening. To prepare the rough opening for fixing the pre-hung door with a frame, 5 doorway components need to be installed.
These are:
- King Studs – just like normal studs, except they are along the rough opening
- Jack Studs – installed against the king studs to frame the door opening
- Cripple Studs – short studs that connect the header to the top plate
- Header – is above the jack studs, just the width of the door to distribute the load
- Top Plate – This is already in place
The drawing below explains the location of each doorway component.
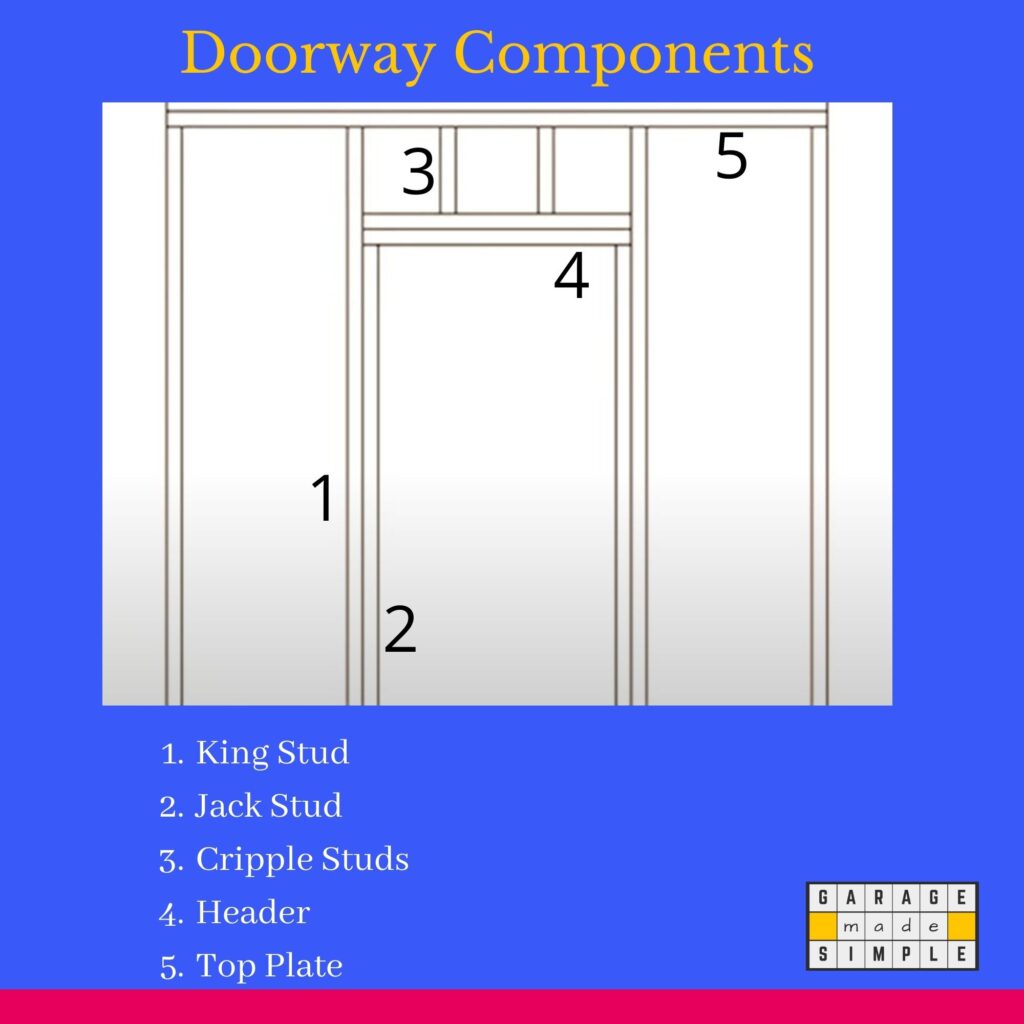
Once all the doorway components have been set up, the pre-hung door can be installed in the doorway frame.
STEP 8: Nail the Sheathing to the Frame
Now that the partition wall framing has been completed and the door hung, you can start nailing the sheathing to the frame. There are several options when it comes to partition wall sheathing.
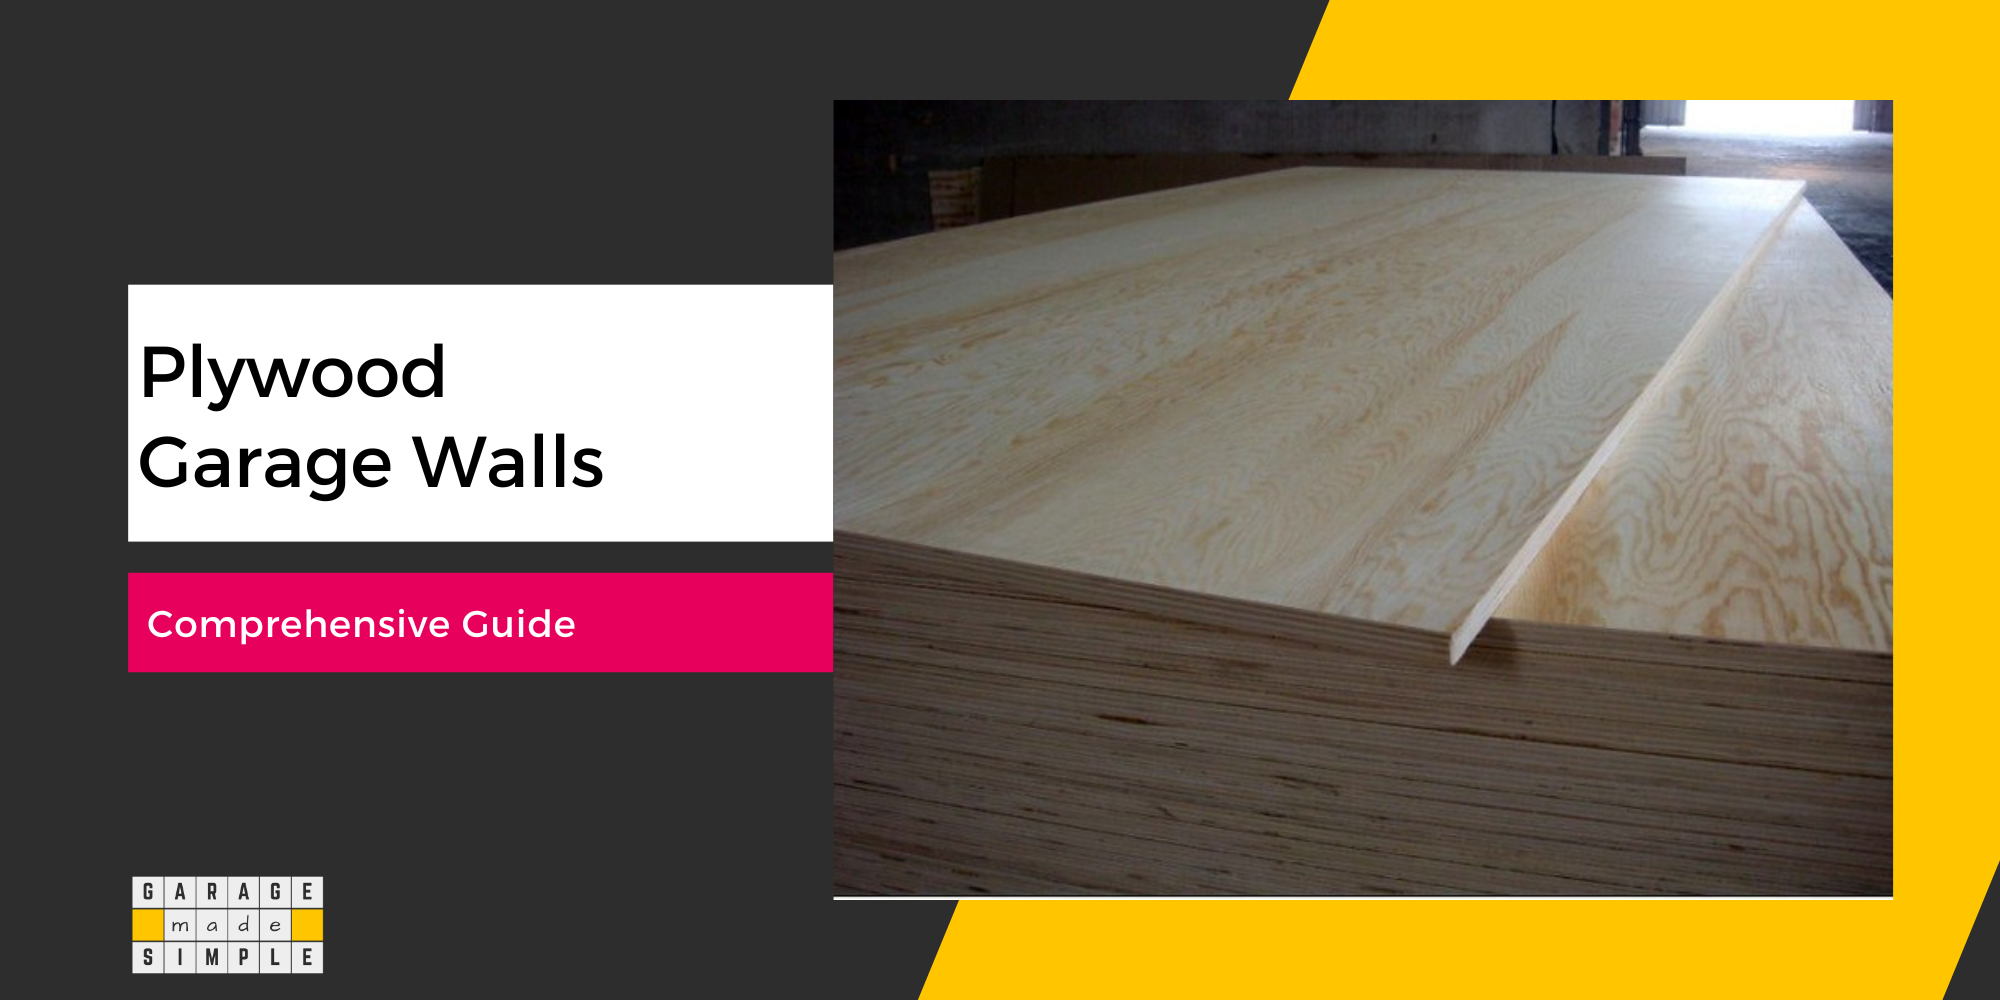
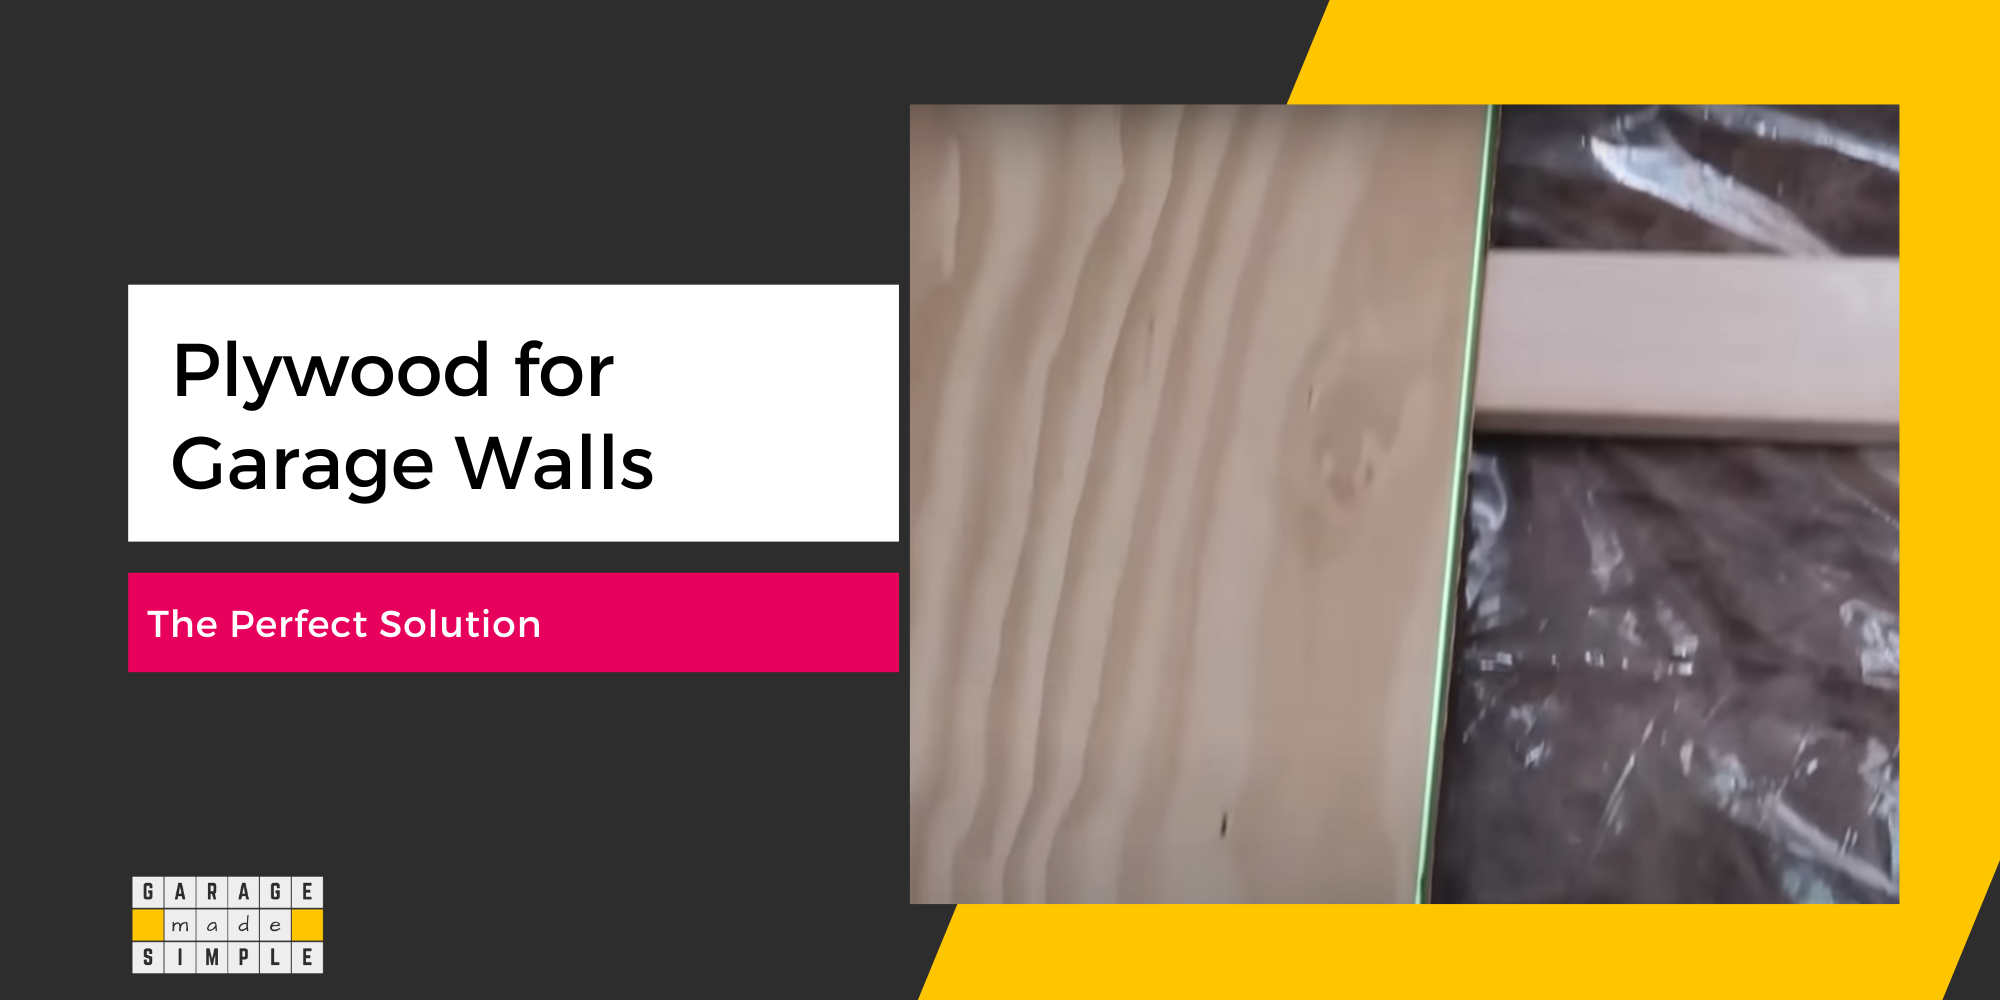
I would recommend using plywood, rather than drywall. Drywall is 50% heavier than plywood and will be difficult to handle within the space restrictions. Moreover, the IRC code permits plywood usage for partition walls.
Get Metabo HPT Framing Nailer for High Productivity
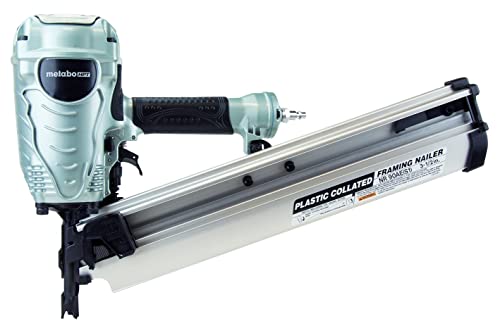
Metabo HPT Framing Nailer (NR90AES1)
The NR90AES1 framing nailer drives plastic collated nails from 2″ up to 3-1/2″ in length and features Metabo HPT’s next-generation “industrial design.”
The NR90AES1 framing nailer is great for flooring and framing, truss build-up, window build-up, subflooring, roof decking, wall sheathing, and housing construction.
A ⅝” sheet of Plywood (4’X8’) typically weighs around 48 pounds. Drywall of the same dimensions will weigh around 74 pounds. Of course for a partition wall, ⅝” thick plywood sheet is not necessary. ½” will be just fine.
Use your tape measure to re-check the final dimensions of the completed partition wall frame. Draw a rough sketch on a notepad and figure out the best layout for the plywood sheathing.
Cut the boards as required. For 8’ standard garage ceiling height you will have less cutting to do. Nail the boards to the frame using your nail gun.
STEP 9: Finish the Partition Wall
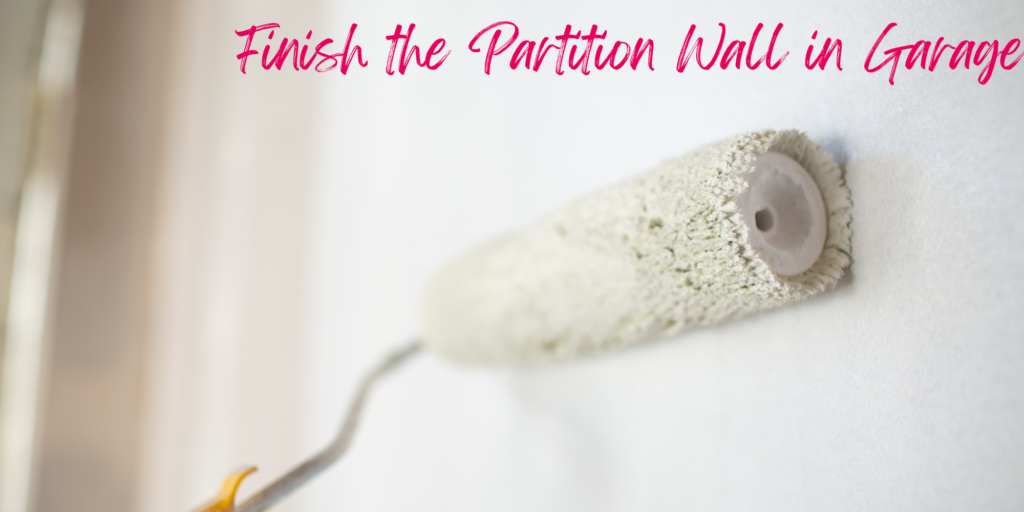
Plywood has a fairly rough surface. Sanding plywood before priming and painting is essential. Sanding will not just give you a smoother finish, it will save primer and paint too!
Sand the plywood sheets even before you install them using a sheet sander. It will be a lot easier than sanding them while standing on a ladder or crouching on the floor. You will still need to fill the nail or screw holes with a wood filler and sand.
Mask off the edges that you don’t want to be primed and painted. This will give you clean, neat lines, once the job is done.
Priming is an important part of the painting process. Select the right primer/sealer for plywood such as Zinsser Bulls Eye 1-2-3 Water-Based Stain Blocking Primer/Sealer. The primer/sealer will seal the plywood and act as a bonding coat between the plywood and paint.
Apply one or two coats of the primer to ensure good coverage. Use a brush for the edges and a roller or spray for the main area.
Once the primer is dry, you can apply the first coat of water-based acrylic paint such as Rust-Oleum Painters Touch Ultra Cover. You may like to add a bit of water for better flow, but only for the first coat.
Rust-Oleum Painters Touch Ultra Cover
Rust-Oleum Painters Touch Ultra Cover
Rust-Oleum Painter’s Touch Ultra Cover Multi-Purpose Brush-On Paint provides a smooth, durable finish that lasts longer than ordinary paints. Apply to wood, metal, plaster, masonry, or unglazed ceramic. The durable formula resists chipping and fading.
Follow up the first coat with a second coat, preferably with a spray for a smooth even finish.
NOTE: Sand between coats for a smoother finish. Remove dust after sanding with a dry cloth or a vacuum.
Thank you very much for reading the post. I do hope you found it informative and useful.