How To Get The Best Result When You Paint Concrete Garage Wall
As an Amazon Associate, I earn from qualifying purchases.
When To Paint A Concrete Garage Wall?
Do you have a new garage wall that is made from cinder blocks or a prefabricated concrete slab? You have chosen not to go for any drywall or plywood paneling. But you do not want the garage to look a drab concrete grey either. You can paint the concrete garage wall using interior concrete paint. Here is how to get the best result.
Do you already have paint on your concrete garage wall? Looks like it has been a while though. The color does not bring joy to you anymore. Maybe the paint is beginning to peel. Worse there may have been water seepage and mold growth. What you need is a fresh coat of interior concrete paint to repaint and refresh your concrete garage wall.
Even if you have never painted before, you can paint or repaint the interior concrete garage wall, as long as you follow the right process. It helps if you are clear of the current state of the garage concrete wall and what is it that you want to achieve.
Your starting point maybe one of the following scenarios:
Scenario 1
New garage wall made of concrete blocks or concrete slab that has never been painted
Scenario 2
Old painted concrete garage wall that looks jaded but generally in sound condition. You are wanting to paint it mainly for a fresher look.
Scenario 3
Old painted concrete garage wall with one or many surface problems. The existing paint may be peeling or the wall may have taken some knocks and is gouged. The concrete may have developed some large unsightly cracks. Is rain water seeping in and there is mold growth too.
This scenario needs a fair amount of surface preparation and possibly some specialized paint as well.
While much of the painting process will be the same, the initial process of surface preparation will need to be customized. If you prep the wall correctly the final paint finish will be perfect.
Prepping the Concrete Garage Wall
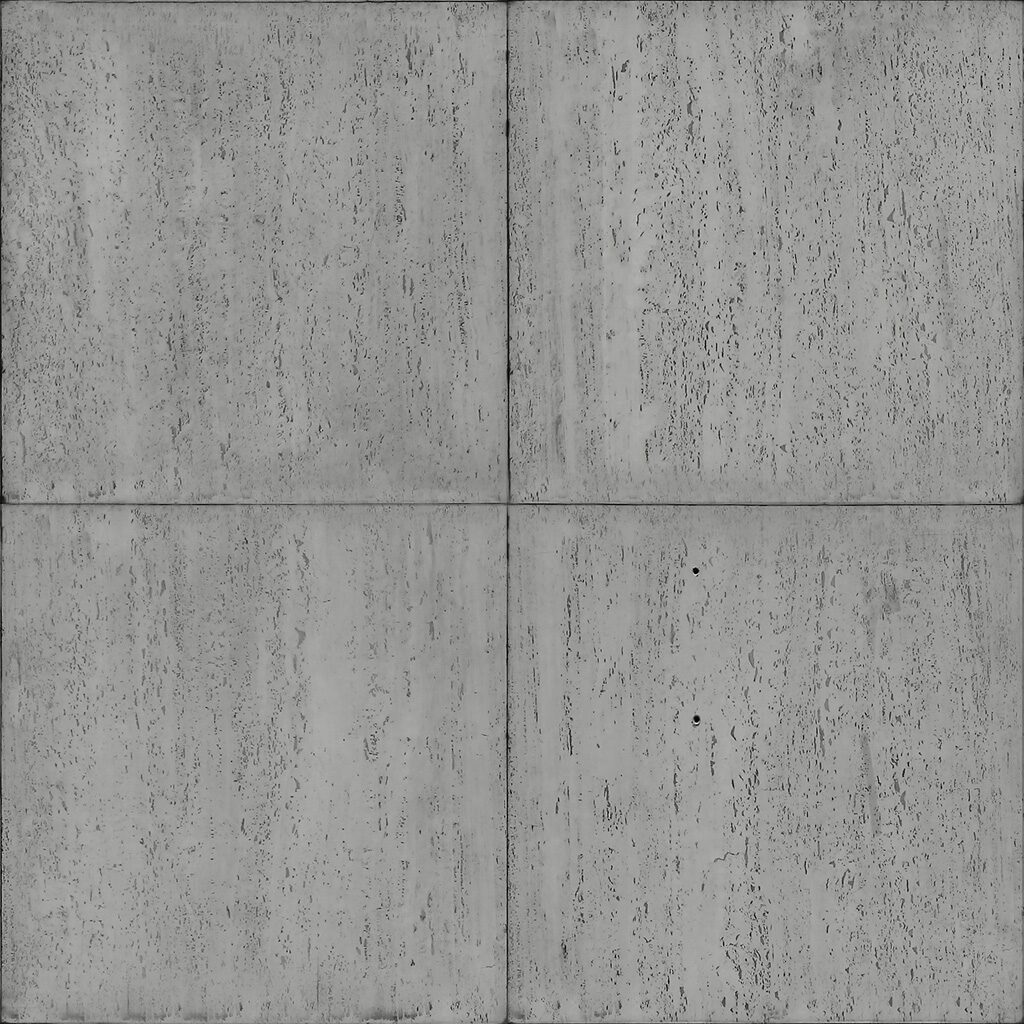
Scenario 1: New Concrete Garage Wall
Fresh concrete requires 4 weeks to cure. New concrete should never be painted till it has been fully cured. You can start the surface preparation once the concrete has fully cured.
If the space allows hose down the wall to remove any dust that may have settled on it. Alternatively you can just use a bucket of clean water and new mop. Leave the wall to dry.
Next check for any cracks. These need to be filled up with a crack filler and then sanded smooth.
Scenario 2: Painted Concrete Garage Wall in Good Condition
Obviously you do not have to worry about curing in this scenario. Remove attachments to the wall as much as possible. For example, if you have a cabinet shelf on the wall, remove it, so that you can clean and paint the wall behind it.
Run your hand over the wall to check if the paint film is sound and is adhering well. Remove peeling paint, if any, with a putty knife.
Rest of the cleaning and crack filling process is the same as in Scenario 1.
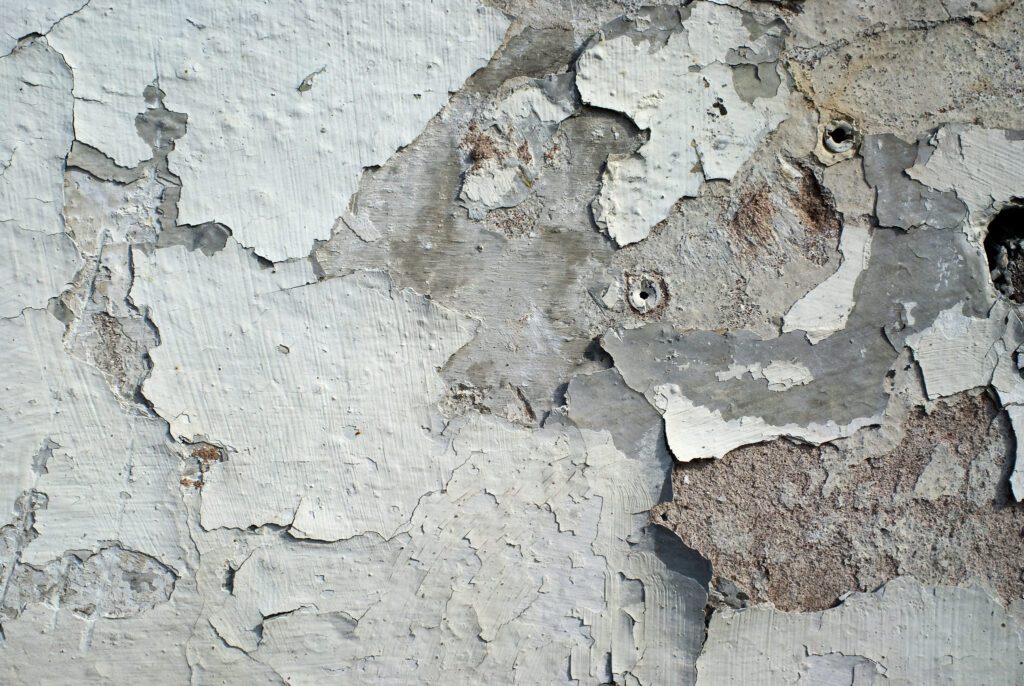
Scenario 3: Problematic Concrete Garage Wall
This could take some real effort in getting the surface ready for painting.
Fresh coat of paint must always go on a sound surface. Else the adhesion will be poor and the new paint will start peeling off in no time.
Removing Old Paint
You will need to scrub with a wire brush or sand the entire wall to remove chalking and peeling paint. A wire scrubber will remove most of the peeling paint, but you may have to use a paint scraper or a putty knife to remove the balance peeling paint.
Should you notice any mold growth then you have to physically remove the mold, using a stiff wire brush.Treat the area with a mold killer.
If the mold growth is quite widespread then you are better off using a waterproofing sealer and paint system.
Cracks, holes and gouges should be filled with cementitious sealers or water plugs (in case you notice leakage)
Patching Up
At the end of all this your concrete wall may appear uneven & patchy. The low spots need to be filled to level out the wall and to get a smooth surface. You can do this by applying a quick setting patching compound in the low lying areas and spreading it out with a putty knife.
After the patching compound has dried, lightly sand the entire wall to get a continuous leve & smooth wall. The wall should be cleaned of all the dust with a damp rag or sponge.
Your wall is ready for the next step.
Priming & Sealing are Really Important
In my experience, many homeowners find surface preparation as tedious & back breaking. It is tedious but has to be done for best results.
On the other hand quite a few homeowners believe that applying a coat of primer & sealer is unnecessary and a waste of money.
Why Prime & Seal?
Nothing could be further from the truth. Correct priming & sealing of the garage concrete wall, new or pre-painted, is critical to the performance of the top coat of finish paint. Here’s why
- New concrete is a porous building material. If you applied paint on it directly. A lot of it will just get sucked in.
- Worse the absorption will not be uniform and straight away you will start with a patchy, blotched wall.
- A primer & sealer. In Scenario 1 and even Scenario 3 goes a long way in sealing the porosity of the concrete wall.
- Primers are heavily pigmented so they give the wall a fairly uniform color (often white). This ensures that the top coat will be uniform too, whatever the color.
- A Primer with stain-blocking properties seals over mold stains and other discoloration. It will aso block all the patching you may have done in Scenario 3. Once again this ensures the top coat color will be uniform.
- Primers are like double sided tape with adhesives on both sides. They bond with the wall as well as with the top coat of paint.
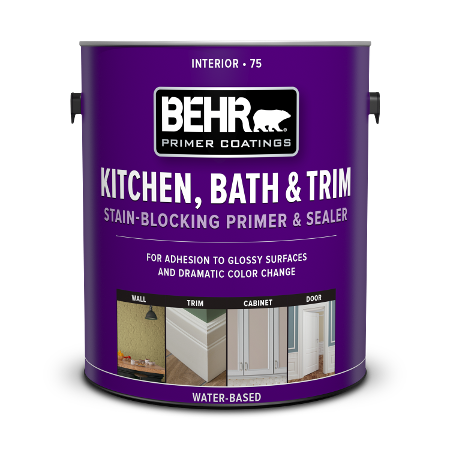
While the basic function of a Wall Primer & Sealer is the same, brands may have different formulations for different end uses. For a garage concrete wall, I would recommend BEHR® Kitchen, Bath & Trim Stain-Blocking Primer & Sealer. The primer is available at Home Depot.
Apply the primer & sealer by roller & fill in difficult to reach areas by a brush. Water based primers typically dry in one hour. Lightly sand away any imperfections using very fine grit sandpaper.
Paint-and-Primer-in-One
I know many companies offer a paint-and-primer-in-one, which you can use to paint the garage concrete wall in just one coat. Such a product would likely work in Scenario 2.
However, I would not feel very confident with such a product in Scenario 1 or Scenario 3. An iphone has a pretty good camera, but it is no match to an SLR. Unfortunately, you can’t call your friend on the SLR. You know what I mean!
Even paint companies promoting paint-and-primer-in-one, suggest that at times it is still better to use a primer & sealer first.
You are ready to paint!
How To Apply The Top Coat
Applying the top coat of paint on a well prepared and primed garage concrete wall is a relatively easier job. If you have painted before you probably already know the technique.
Anyway for the uninitiated, a few guidelines & tips
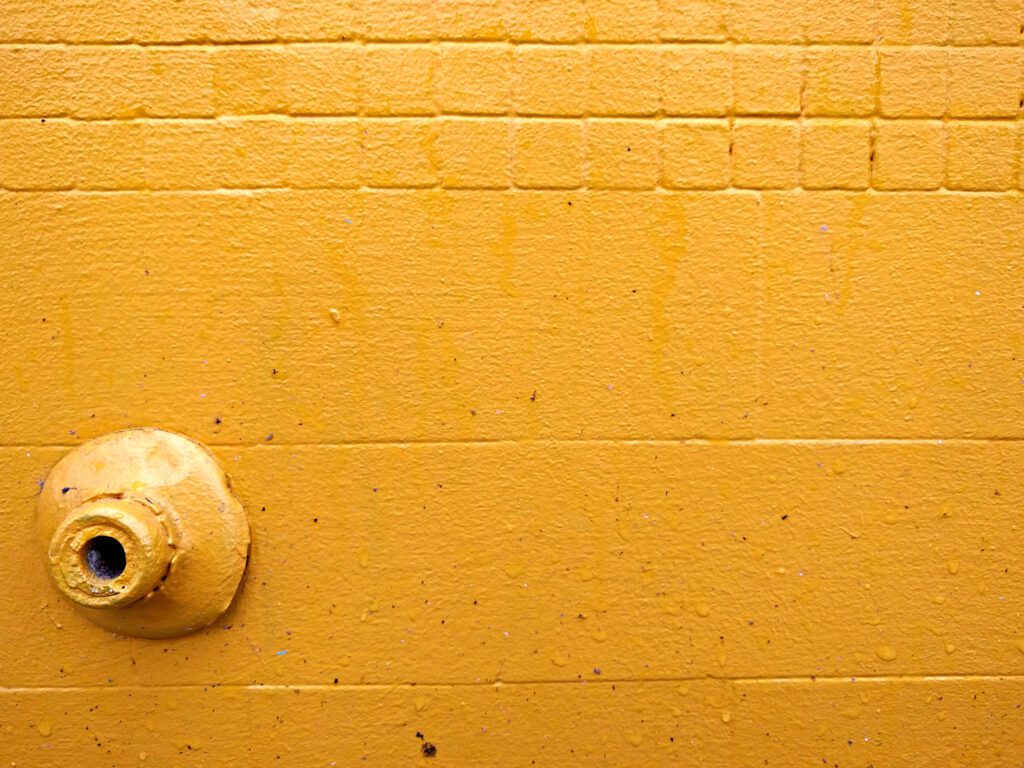
- Choose the color you want. However, do keep in mind that it’s a garage and not a car showroom. Keep the colors neutral & light. Make sure the wall color complements the floor color and the colors of your garage furniture & storage shelves.
- Go for an eggshell finish, though flat or satin are also OK. Avoid Semi Gloss or Gloss finish. Pay a little more but get a premium brand with high washability.
- Think of two coat applications. Buy more than you think you need. Keep the extra for touch ups.
- If you have more than one can of the same color, blend the paint from all the cans in a bucket and mix well. It ensures the wall looks the same color all over.
- Use masking tape to cover electrical outlets, baseboards, door trims etc.
- Use a drop cloth on the floor to catch the paint drips & spills.
- Paint the wall perimeter first and then fill in. But make sure you are always painting “wet on wet”.
- Start from the ceiling and work down. Initially run your roller in a long M or W shape, not straight down or across. Later you can smooth out with short vertical and horizontal strokes.
- Wait for the first coat to dry before applying the second coat in exactly the same manner.
Choose the Right Paint
Choosing the right paint for the job is obviously very important. High quality Latex Paint is the best for Garage Concrete Walls. It can be used in any of the three scenarios mentioned above.
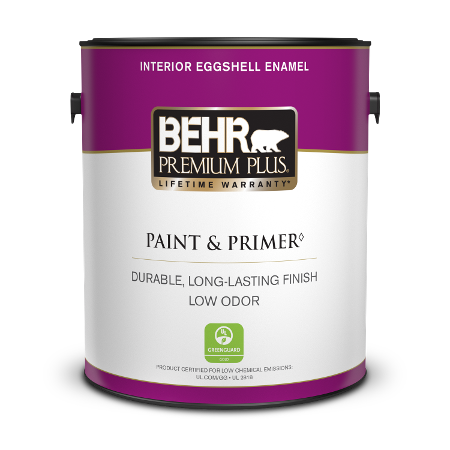
BEHR PREMIUM PLUS® Interior Eggshell Enamel is an excellent choice. The product specs state that it is a tough, all-purpose paint with a touch of style. The soft, subtle sheen resists dirt and grime, as well as mildew so it’s perfect. It is best for use in moderate-traffic areas like the garage. The paint is available at Home Depot.
Waterproofing Paint
Should you need to or want to waterproof your garage concrete wall, then you should consider using
BEHR DRYPLUS™ Masonry Waterproofer an advanced Interior/Exterior masonry waterproofer designed for porous concrete surfaces. It is ideal for walls subject to hydrostatic pressure.
It can be applied directly to dry or slightly damp concrete surfaces. Painted concrete walls should be cleaned with wire brush to remove all traces of paint so that bare concrete is exposed.
Bottom Line
The bottom line is that to get the best result when you paint a garage concrete wall, you must follow all the steps. In short they are
- Prep the concrete wall diligently
- Always use a primer & sealer
- Choose the right paint for top coat
Thank you very much for reading the post. I do hope you found it informative and useful.