How to Build a Laundry Room in a Garage?: The Best Guide (7-Steps)
As an Amazon Associate, I earn from qualifying purchases.
Can You Put a Laundry Room in a Garage?
Absolutely! You can put a laundry room in a garage! It is a terrific idea, as it offers several benefits.
It frees up space in other areas of your home, reduces noise levels, and often provides more room for larger appliances. A laundry room in a garage, keeps laundry tasks separate from your living areas. Go ahead and watch TV while the laundry is being done in the garage!
To get started, you’ll need to plan for a few key things: ensure you have adequate plumbing and electrical connections, consider ventilation and heating for comfort, and plan for waterproof and non-slip flooring. You’ll also want to ensure the garage is insulated to keep the space comfortable all year round.
This is why I always say make your garage climate-controlled. Once you have a climate-controlled garage it becomes a part of your home. Additional living space!
The main problem with doing laundry in the garage, (come to think of it, doing anything in the garage) is that it is either too hot or too cold, most of the time.
In this 7-step guide, I’ll walk you through each step to make your garage laundry room project smooth and successful!
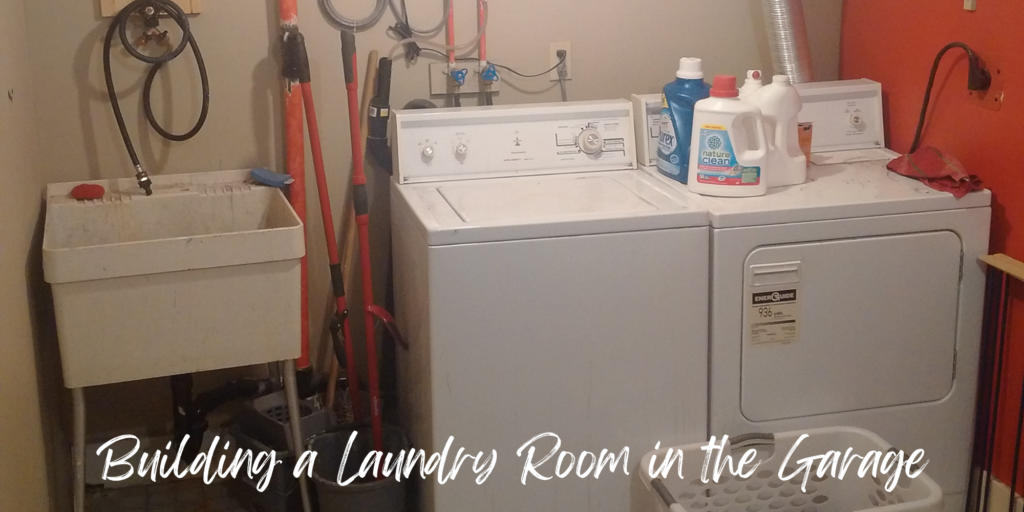
Building a Laundry Room in the Garage: How to do it?
If you are good at DIY projects then building a laundry room in the garage is a challenging but a thoroughly exciting project.
It would be nice to have a friendly neighbor or buddy helping out. But most of all you need a step-by-step practical guide for building a laundry room in the garage.
This is where this post comes in. I have a 7-step practical guide for building a laundry room in the garage that you will find very helpful.
Step 1: Draw out a Detailed & Complete Plan
If you want to get something done well, you have to start by making a complete plan. I mean a proper plan, with drawings, diagrams, and dimensions.
The plan for building a laundry room in the garage must include
- Location & layout of the room with measurements
- The footprint of every piece of equipment and furniture that will be there
- Plumbing, water inlet & drainage
- Electrical wiring, power outlets, light fixtures
- Ventilation & Dehumidification
- Structure; that is floor, walls, door, etc.
- The actual Equipment, Washer, Drier, and even the Ironing Board
- Bill of Materials, Budget
You could go “old school” with a sketch pad, pencils, and rulers. Or you could go hi-tech and use an online design tool such as Floorplanner.
It does not matter. The point is you must get all your ideas and thoughts on paper and make sure everything fits in.
Step 2: Location, Location, Location
The starting point has to be deciding on the most suitable location for the enclosed laundry room in your garage. The two key factors to consider are
- Plumbing
- Access
You want to have the room close to the nearest freshwater outlet that you can tap into. The dirty wash water can not be connected to the drainage leading to the storm water drainage system. It has to end up in the sewer discharge system. So take care of that too.
Access to the garage entry door to the house is important too. You do not want to walk, more than necessary, with laundry.
In most cases, a rectangular room in a garage corner closest to a mudroom, bathroom, or kitchen will work the best.
Tip: Keep your work, relaxation and your rejuvenation area next to the laundry room. Would it not be wonderful if you can jog or meditate while the laundry is being done!
Step 3: Sketch out the Garage Laundry Room Layout
This is a two-step process that may require a few iterations. Start by deciding on the area that you want to (or can) allocate to the enclosed laundry room in the garage.
Then, start placing the washer, dryer, sink, closets, etc. in this space, virtually. That is on paper, an Excel sheet or an online floor planner. Use actual dimensions (with a reasonable margin for errors!).
Consider Space Saving Laundry Room Equipment
What if you did not need a washer and a dryer? What if the same machine can wash your clothes and dry them too? Your dream just came true!
Check out 2-in-1 Portable Washing Machine and Dryer Combo from Costway

Actually, there are so many companies, brands & models out there that the mind boggles! I found designerappliances.com reviews quite helpful, You can also click on the link below
Best Washers Dryers At AmazonJuggle around till you have a garage laundry room layout that ticks all the boxes.
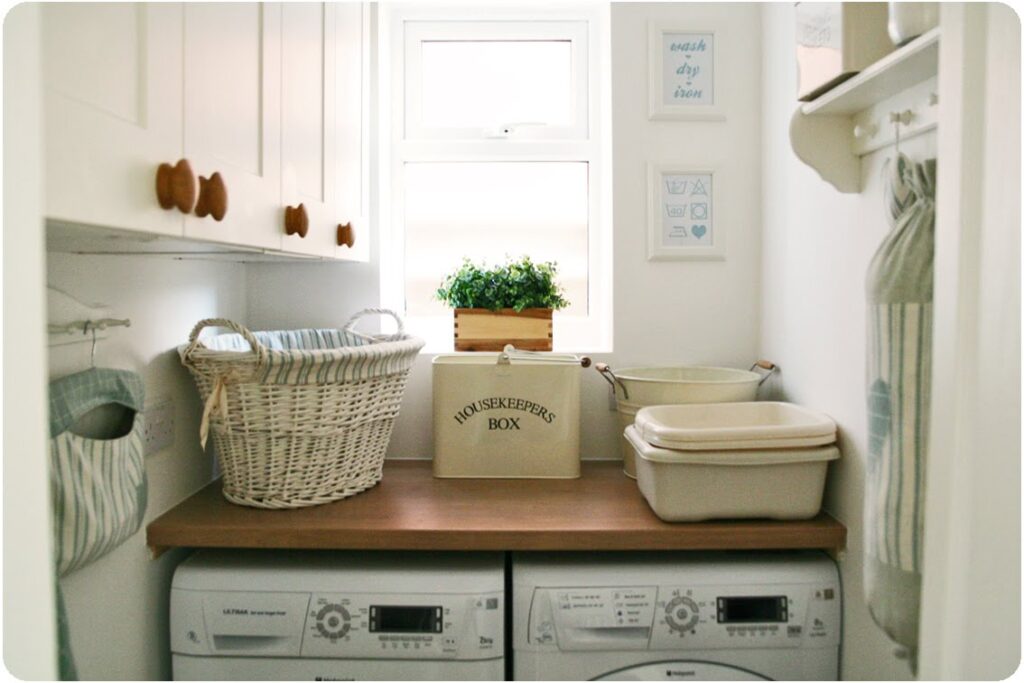
TIP: Think of the new walls & the door, having lots of clear glass panels. Even a small enclosed laundry room in a garage will not be claustrophobic!
Step 4: Plumbing the Garage for the Washing Machine
Laundry naturally involves water, lots of it. Plumbing for an enclosed laundry room in a garage will involve
- Cold water inlet plumbing
- Hot water inlet plumbing
- Wash water drain installation
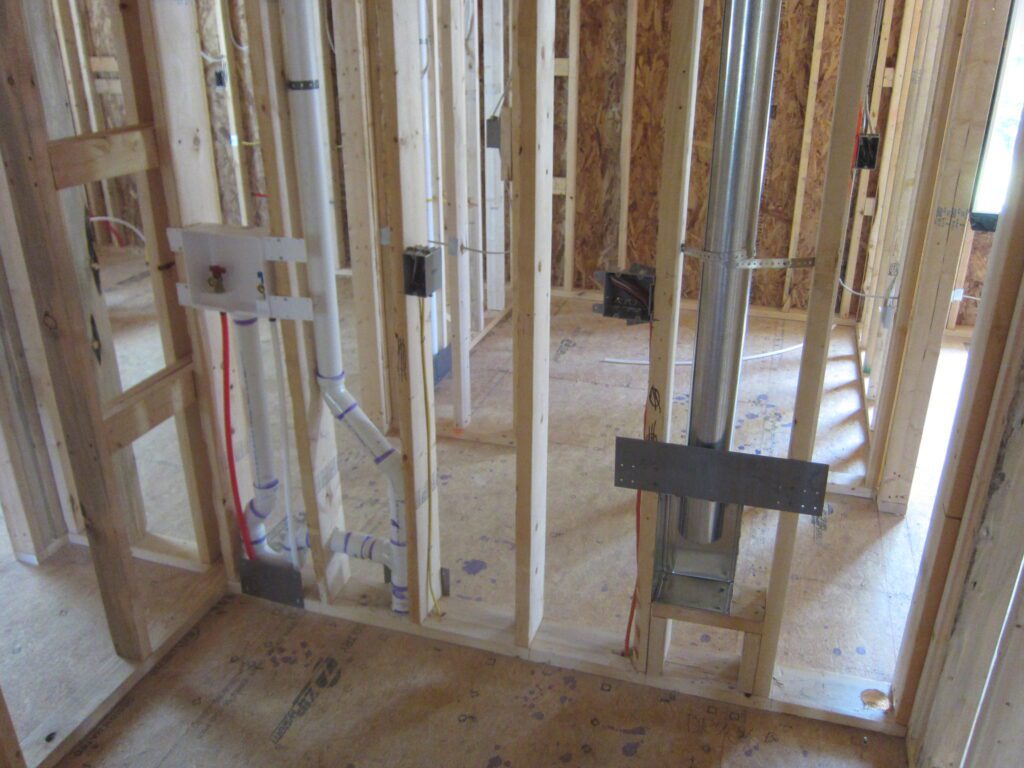
When plumbing your garage for a washing machine you will need to decide if you want the plumbing to be out of sight or if you prefer to save money and keep it exposed.
Personally I advise that when plumbing your garage for a washing machine you should have it out of sight. Remove a section of the drywall (cement board, plywood, whatever), put in the plumbing, and then put the drywall back.
Having a utility sink in the laundry room is not essential. However, it is super helpful. It can be used for many purposes other than laundry too! Washing hands, tools, mops, etc.
TIP: There are building codes for plumbing & electricals in laundry rooms. Do make sure that you or your contractor are aware of them.
This link to NACHI may be helpful!
Step 5: Laundry Room Electrical Circuit
Of course, you need power to run your washer and dryer. It is very important to prepare the laundry room’s electrical layout in advance. The National Electrical Code (NEC) requires that washers and electric dryers operate on their dedicated circuits.
Your laundry room should have a dedicated circuit of at least 20 amps. If you have a gas dryer, both your washing machine and gas dryer may be plugged into the same outlet. If you have an electric dryer, it will need its own dedicated 20-amp, 220-volt circuit.
If you typically use other small appliances in your laundry room—like irons or steam devices—a separate circuit for them is a good idea too.
Source & Credit : MR. APPLIANCE
Make sure that you comply with the
Just like plumbing, keep all the electric wiring out of sight, by removing a section of the drywall (cement board, plywood, whatever), putting in the wiring, and then putting the drywall back.
You may have to install new lighting, or change the existing ones, to ensure you have the required brightness.
Step 6: Comply with the Laundry Room Ventilation Code
Believe it or not, the International Building Code (IBC) has a laundry room ventilation code. Naturally, you must comply with the laundry room ventilation code when you build an enclosed laundry room in a garage.
A dryer is essentially sucking in the room air and releasing it as hotter, more humid air. Even the washer is releasing moisture in the laundry room during the spin cycle.
It stands to reason that the enclosed laundry room in the garage needs proper ventilation.
The assumption made at the beginning of this blog post is that your garage is climate-controlled. That includes proper ventilation, dehumidification, and air circulation in the garage.
Since the enclosed laundry room in the garage is enclosed, there has to be a way to vent out the air from this laundry room. If one of the walls of this new room is exposed to the outside, then the best idea is to put a small exhaust fan on this exposed wall.
iPower HIFANXEXHAUST12CTB 12 Inch Variable Shutter Exhaust Fan with Speed Controller and Power Cord Kit will certainly serve your purpose. Some of its key features are:
- The 12-inch shutter/exhaust fan with automatic shutters is ideal for ventilating your garage, attic, basement, etc.
- Can easily be added to a window opening or opening in the wall along with a Speed Controller to optimize venting & cooling
- Shutter Exhaust Fan 120 Volts 63W 0. 52A 1620RPM 940CFM
- Fan Speed Controller iPower Fan Speed Controller will correctly and precisely adjust the speed of your Shutter Exhaust Fan Durable 3-Pole Grounded Plug Construction No Extra Wires to Deal With
- Multiple Speed One control switch for 3 Variable Speed settings OFF HIGH MED LOW
- Power Cord Kit This Power Cord Kit is easy to install & includes a 3-foot strain relief clamp wire connectors & installation instructions
- Simplify the installation of your Ventilation Fan with this easy-to-use power cord kit Universal extension cord power kit works.
If not, then you must have a vent fan that can suck out the hot, humid air from the laundry room and direct it towards the exhaust unit in the garage. This video from Home Depot may give you a better idea of how to do it.
Step 7: Enclosure for the Laundry Room
Putting up the Walls
You will need to build two partition walls. They will be parallel to the existing garage walls that make up the corner, where your laundry room is to be located. One of these walls will have a door too.
For an experienced DIY woodworker, who has all the required woodworking tools, this is not too complicated. You start by making the frame.
The frame will have a sole plate (to be secured to the concrete floor) and a top plate (to be attached to the ceiling or a beam). The frame is then completed with vertical studs, 16 inches apart.
The frame is then tilted up and secured to the floor, the ceiling beam, and the wall column.
You do not want to feel suffocated and claustrophobic in your enclosed laundry room in the garage. Right?
TIP: Do not use drywall or plywood. Instead paint the frame in a color of your choice and use clear or tinted polycarbonate sheets from Home Depot.
The door, with a clear or frosted panel, can be bought from Home Depot too.
The Floor
If your
Else install ceramic or porcelain tiles. They are the best for areas where there can be water spills; bathrooms, kitchen & laundry room.
Now all you need to do is to paint the remaining garage walls and the ceiling. Color is always a very personal choice. I would not use the same color as the existing one in the garage, but I would certainly use a complementary color. Use a darker shade for the studs and trims and a lighter shade for the walls & ceiling.
The room is ready. Let’s fill it up with equipment and closets.
Bottom Line
The bottom line is that To Make an Enclosed Laundry Room in a Garage you must start with a detailed documented plan incorporating Location, Layout, Electricals, Plumbing, Equipment & Storage.
It’s not easy but it can be done!
Thank you very much for reading the post. I do hope you found it informative and useful.