How to Apply Epoxy Coating to Garage Floor? (Helpful 7 Step Guide!)
As an Amazon Associate, I earn from qualifying purchases.
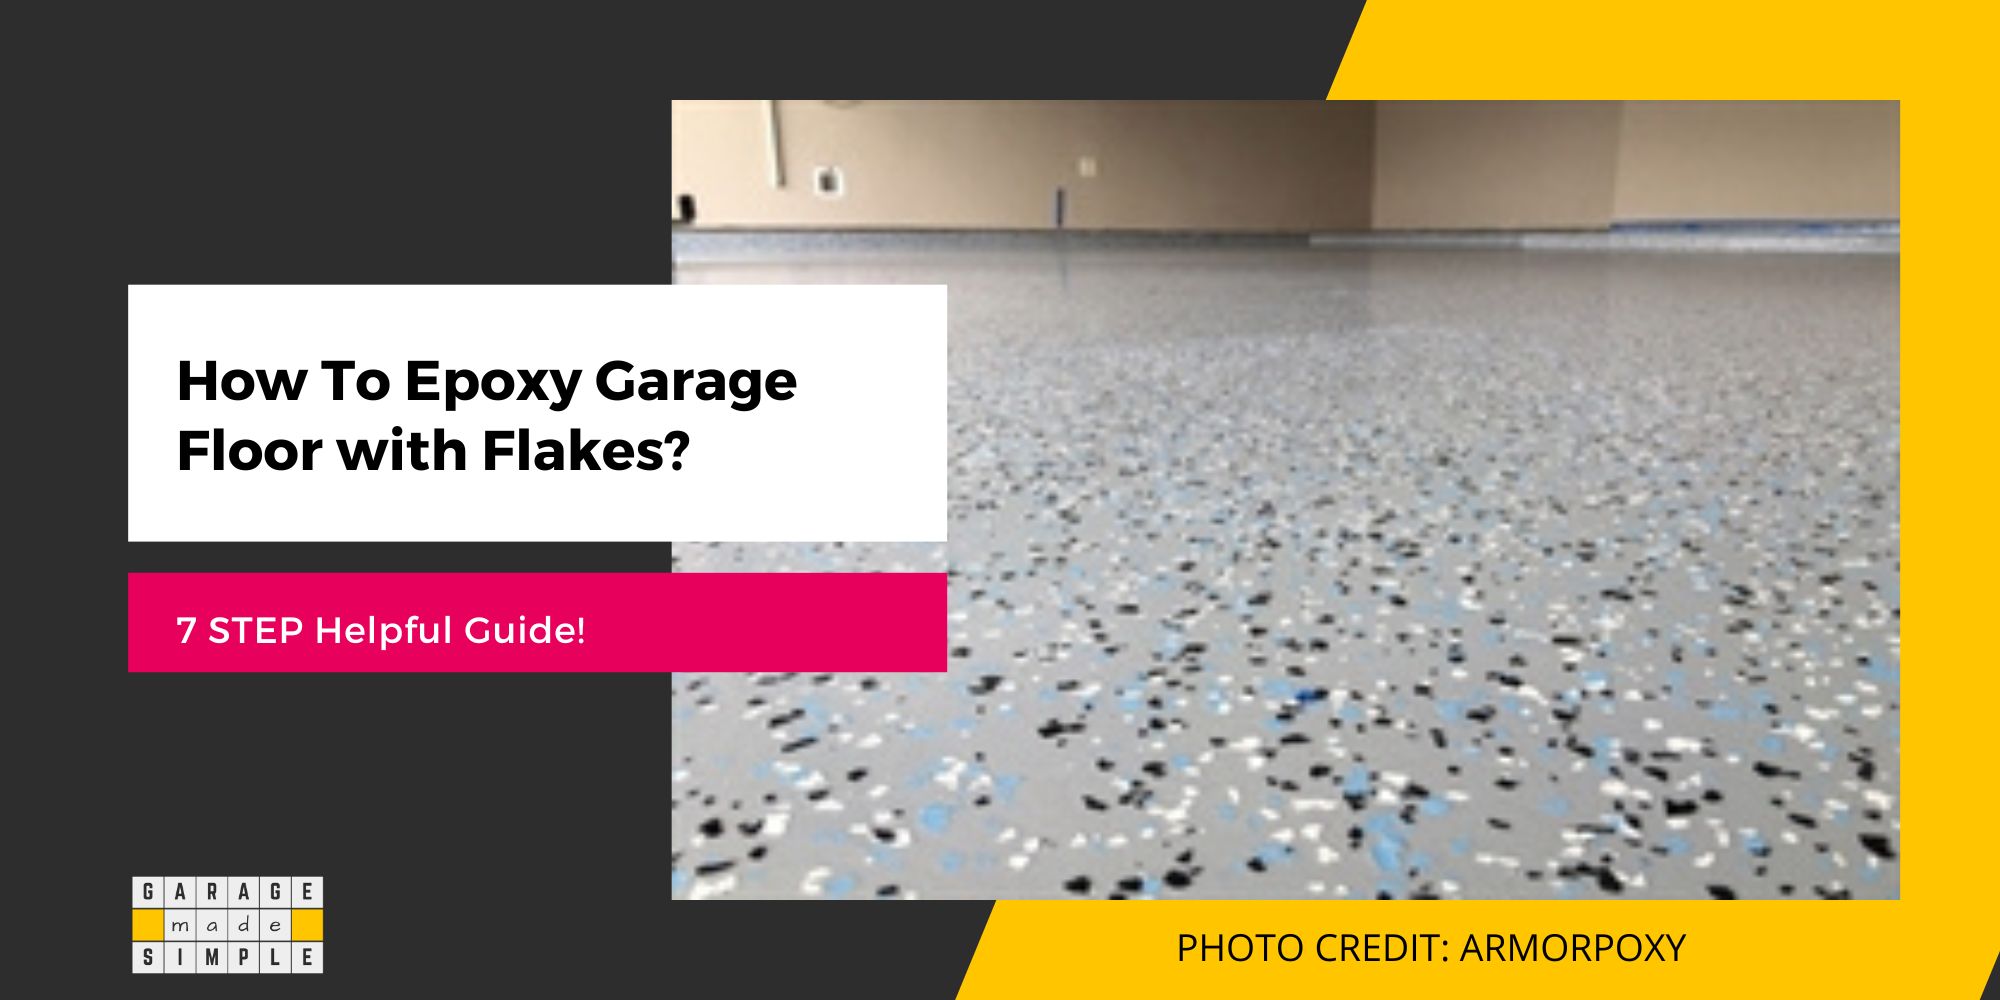
Have you just built a new garage and wish to apply epoxy coating on the new garage floor? Great! Epoxy is one of the best options when it comes to a garage floor coating. Epoxy is hard wearing, durable and easy to maintain as it is resistant to most stains. But how do you apply epoxy coating to a garage floor?
You can apply epoxy coating on your new garage floor yourself over 3-4 days. The application process will be a breeze and the result breathtaking if you follow this helpful 7 step guide. Surface preparation is critical and a coat of primer will make all the difference!
In this post I’m going to give you the helpful 7 step guide on how to apply epoxy coating on a new garage floor.
- STEP 1: Assemble Tools & Materials
- STEP 2: Prep the Garage Floor for Epoxy
- STEP 3: Etching the New Concrete
- STEP 4: Epoxy Primer Application
- STEP 5: Epoxy Topcoat Application
- STEP 6: Color Flake Broadcasting
- STEP 7: Final Clear Coat Application
Note: If you have a garage with an existing epoxy floor coating and wish to apply a fresh coat of paint or epoxy coating on it, then you should read the relevant blog post from two listed below:
Can You Paint Over an Epoxy Garage Floor? (The Best Complete Guide!)
Can You Recoat an Epoxy Garage Floor? (The Best Way To Do It!)
STEP 1: Assemble Tools & Materials
To successfully apply epoxy coating to your concrete garage floor you need a few tools & some materials as under:
- Scrubs, Brushes and Other Cleaning Equipment & Materials
- Push Broom with Natural Fibers
- Drill with a Mixer Attachment
- Paint Trays & Paint Brushes
- Paint Rollers with Extension Rods
- Masking Tape
- Personal Protective Equipment (Ppe)
- Etching Solution, Epoxy Primer,
- Epoxy Topcoat, Color Flakes,
- Epoxy or PU Clear Topcoat
Please buy and assemble your supplies beforehand. Make sure that you have enough of the Etching Solution, Epoxy Primer, Epoxy Topcoat, Color Flakes and Epoxy or PU Clear Topcoat.
Quite often big brands sell epoxy garage floor kits. These are quite convenient as they include almost everything that you will need.
STEP 2: Prep the Garage Floor for Epoxy
The correct surface preparation is crucial for strong adhesion of the Epoxy coat. So how do you prep your garage floor for Epoxy application?
Dust, dirt & grime are major reasons for poor adhesion between an epoxy coat and the new concrete floor. So start off by sweeping the floor using a semi-stiff brush or broom. Use an old paintbrush to remove dust from corners, crevices and expansion joints.
Use the painters masking tape to stick plastic sheets on the lower section of the garage walls. This will ensure that you do not get any epoxy on the walls. Similarly over electrical sockets, plumbing or any other items that you do not wish to get paint on.
Mopping the floor with some soap water will help remove any grease marks or oil stains. Just make sure that you give enough time for the concrete to dry out. Moisture content in the concrete is another reason for poor adhesion and peeling of epoxy coatings.
Use a fan or a leaf blower if natural ventilation in the garage is not sufficient.
STEP 3: Etching the New Concrete
Before you apply any paint or coating on a concrete floor you have to ensure that the fresh concrete has fully cured. Typically a concrete slab will take four weeks to cure completely.
The process of pouring a concrete slab involves floating the concrete mix. The process rearranges the aggregates based on their size. The bigger aggregates move to the bottom to provide strength & support. The smaller aggregates such as sand move up. Cement moves right up to the top.
As a result, the surface of the concrete slab is very smooth. Epoxy primers or coatings will not adhere to such a smooth surface.
Etching the new or bare concrete is the only solution.Etching solutions are acidic (hydrochloric or muriatic acid) and therefore you need to wear protective gloves, rubber boots and safety glasses.
Etching the bare concrete floor will make the surface a bit rough. This gives a grip to the concrete. The epoxy primer or coating gets a foothold to cling on to.
Mix the etching solution with water in a plastic watering can. Follow the instructions on the label regarding the ratio between etching solution and water.
Use the garden hose to wet 100 – 120 ft.² area. Then pour the etching solution mixture, in lines, on this area. Work the solution into the concrete using a bristle broom. For maximum effectiveness spread the solution in one direction first. Then go over the same area in a perpendicular direction.
Continue this process from the far end of the garage up to the garage door. Make sure you etch the entire garage floor. Use a garden hose to rinse off the excess etching solution. Start from the farthest end of the garage and progress towards the garage door.
A garage slab must have a slope as prescribed in the International Residential Code. The 2021 International Residential Code (IRC) Section 309.1 stipulates
Garage floor surfaces shall be of approved noncombustible material. The area of floor used for parking of automobiles or other vehicles shall be sloped to facilitate the movement of liquids to a drain or toward the main vehicle entry doorway.
Let the floor dry for at least four hours.
STEP 4: Epoxy Primer Application
Some people are reluctant to use an Epoxy Primer or for that matter any primer on concrete floors. They feel it is unnecessary and a waste of money.
The truth is that priming a concrete floor will always result in a better, thicker and more uniform Epoxy garage floor coat. Concrete is pretty absorbent. The absorption rate is not uniform. So different sections may absorb the paint applied on it to different degrees.
A direct application of an Epoxy Topcoat onto the concrete garage floor is likely to give you a patchy finish. This is more common if the topcoat color is heavily pigmented (red or yellow) or very light (white, off white or beige).
The application of an Epoxy Primer will ensure that you end up with a more uniform epoxy garage floor coating.
Epoxy Primer application on the concrete will only make things better. Even the extra cost of priming is usually covered by reduced consumption of a more expensive Epoxy Topcoat.
Epoxy Primer is a 2-part product. Mix the 2 parts in the ratio mentioned on the packaging. Use a drill with a mixer attachment to ensure thorough mixing. Mix for 3-5 minutes.
You should only mix the quantity that you can comfortably apply within the pot life of the Epoxy Primer. Check the pot life on the product label. It is usually between 1 – 2 hours.
Start painting from the far end of the garage and work your way backwards towards the door.
Pour the primer onto the floor in 3 – 4 lines. Use a ⅜ “ nap roller to spread it out in an even thin film.
You may use a brush at hard to reach places such as the floor and wall edge. The epoxy primer should be allowed to cure overnight. The primer will be touch dry the next morning
STEP 5: Epoxy Topcoat Application
Epoxy Topcoat is a 2-part product. Part A and part B need to be mixed in the ratio mentioned on the packaging or Technical Data Sheet, by the manufacturer. The process of mixing is similar to that of mixing the Epoxy Primer.
You should only mix the quantity that you can comfortably apply within the pot life of the Epoxy Topcoat. Check the pot life on the product label. It is usually between 1 – 2 hours.
Pour the Epoxy Topcoat mixture onto a roller tray and use a 3 inch paint brush to paint the perimeter of the first 100 – 120 ft.² that you plan to paint. Start from the far end corner of the garage and work your way out towards the garage door.
After creating the perimeter, pour several lines of the Epoxy Topcoat mix, within this area. User ⅜ “ nap roller to roll the epoxy. Go over the area at least twice, in perpendicular directions to get an even spread of the epoxy.
Continue using this process to complete 100 – 120 ft.² sections, one after the other. Allow the Epoxy Topcoat to cure overnight. Do keep in mind that curing times can be higher in humid or cold weather conditions.
Typically you require at least two coats of Epoxy Topcoat. Apply the second coat in exactly the same manner as the first coat.
STEP 6: Color Flake Broadcasting
Using color flakes in your epoxy garage floor is a personal choice. It does not add to the strength or durability of the Epoxy garage floor. However, it does provide an aesthetically appealing floor finish. It allows you to put your own stamp of creativity and make your garage floor stand out.
The color flakes also serve to hide any imperfections in the concrete, such as cracks, or in the coating application, such as fisheyes or pinholes.
The color flakes should be broadcast while the second coat is still wet. Therefore STEP 6 and STEP 5 have to be coordinated in case you have chosen to go with the color flakes. Sprinkle the color flakes on each section while it is still wet before moving onto the next section.
To broadcast the color flakes, take a small quantity in your hand and throw it on to the still wet Epoxy Coating from waist height. Think of it like throwing seeds in a field. The color flakes must spread out evenly on the floor.
You are the best judge on how dense the color flake spread be, but it is important that you try to get a fairly even spread.
STEP 7: Final Clear Coat Application
For an epoxy garage floor with color flakes, the application of a clear topcoat is essential. Without a clear topcoat, the color flakes will be sticking out and look terrible. The clear topcoat will ensure that the color flakes get “locked in”. They will get totally encapsulated within the clear coating.
Even if you have chosen not to use color flakes, application of a clear topcoat is highly advisable. The topcoat could be clear epoxy or even a clear polyurethane.
A clear polyurethane has additional benefits. Polyurethane (PU) is a lot more UV resistant than epoxy. A PU clear coat will prevent fading of the epoxy topcoat. Epoxy has poor UV resistance. Normally this is not a problem as the garage floor usually does not get direct sunlight.
However, if you like to keep your garage door open during the day and the sun streams in, then the front section of the epoxy garage will fade faster than the rear section.
The mixing and application of the clear topcoat is exactly the same as that for epoxy topcoat or epoxy primer. However, as this is the final finish you have to be extra careful in ensuring a smooth even film.
An uneven application of the clear topcoat will not give your epoxy garage floor a mirror finish that you are striving for.
NOTE: Some clear coats appear white or milky when wet. This is natural and no cause for worry. The coat will become clear once it dries.
Now that you have completed all the 7 steps, all you need to do is wait for the epoxy system to fully cure. Typically a new epoxy garage floor can handle foot traffic in 24 hours and vehicular traffic in 72 hours. Unless you are in a great hurry give it more time if you can especially if the weather is humid or cold.
Congratulations you have just completed applying epoxy coating to your garage floor successfully.
Thank you very much for reading the post. I do hope you found it informative and useful.