How To Finish Drywall In Your Garage in 3 Easy, Simple Steps!
As an Amazon Associate, I earn from qualifying purchases.
Why Finish Drywall in Your Garage?
Do you want a garage that’s more than just a place to park your car? Imagine a garage that’s clean, finished, and inviting—a space you can use for relaxation and recreation.
Finishing the drywall in your garage can make this possible. Here are some key benefits:
Aesthetics: Painted, finished drywall can give your garage the same look and feel as your home. This seamless transition is perfect for attached garages.
Even for detached garages, it allows you to extend your home’s personalized styling into the garage, making it ideal for activities like working out, working from home, or relaxing with a book.
Climate Control: Finishing the drywall can motivate you to insulate your garage, turning it into a cozy, comfortable space that can be used year-round. This is especially beneficial if you plan to use your garage as a DIY workshop, man cave, or yoga studio.
Value: Finishing the drywall can add value to your home. Potential buyers will be impressed, seeing it as a sign that you take good care of your property, and they may be willing to offer a higher price.
What to Check Before You Finish Drywall in Garage?
A great way to ensure that you get the finished garage of your dreams is to take a few moments (or days) to visualize your dream garage in your head.
Do this even before you start hanging the drywall. Take notes. Better still sketch it out. Or take pictures, print them out, and write on them. This helps you
Add Blocking
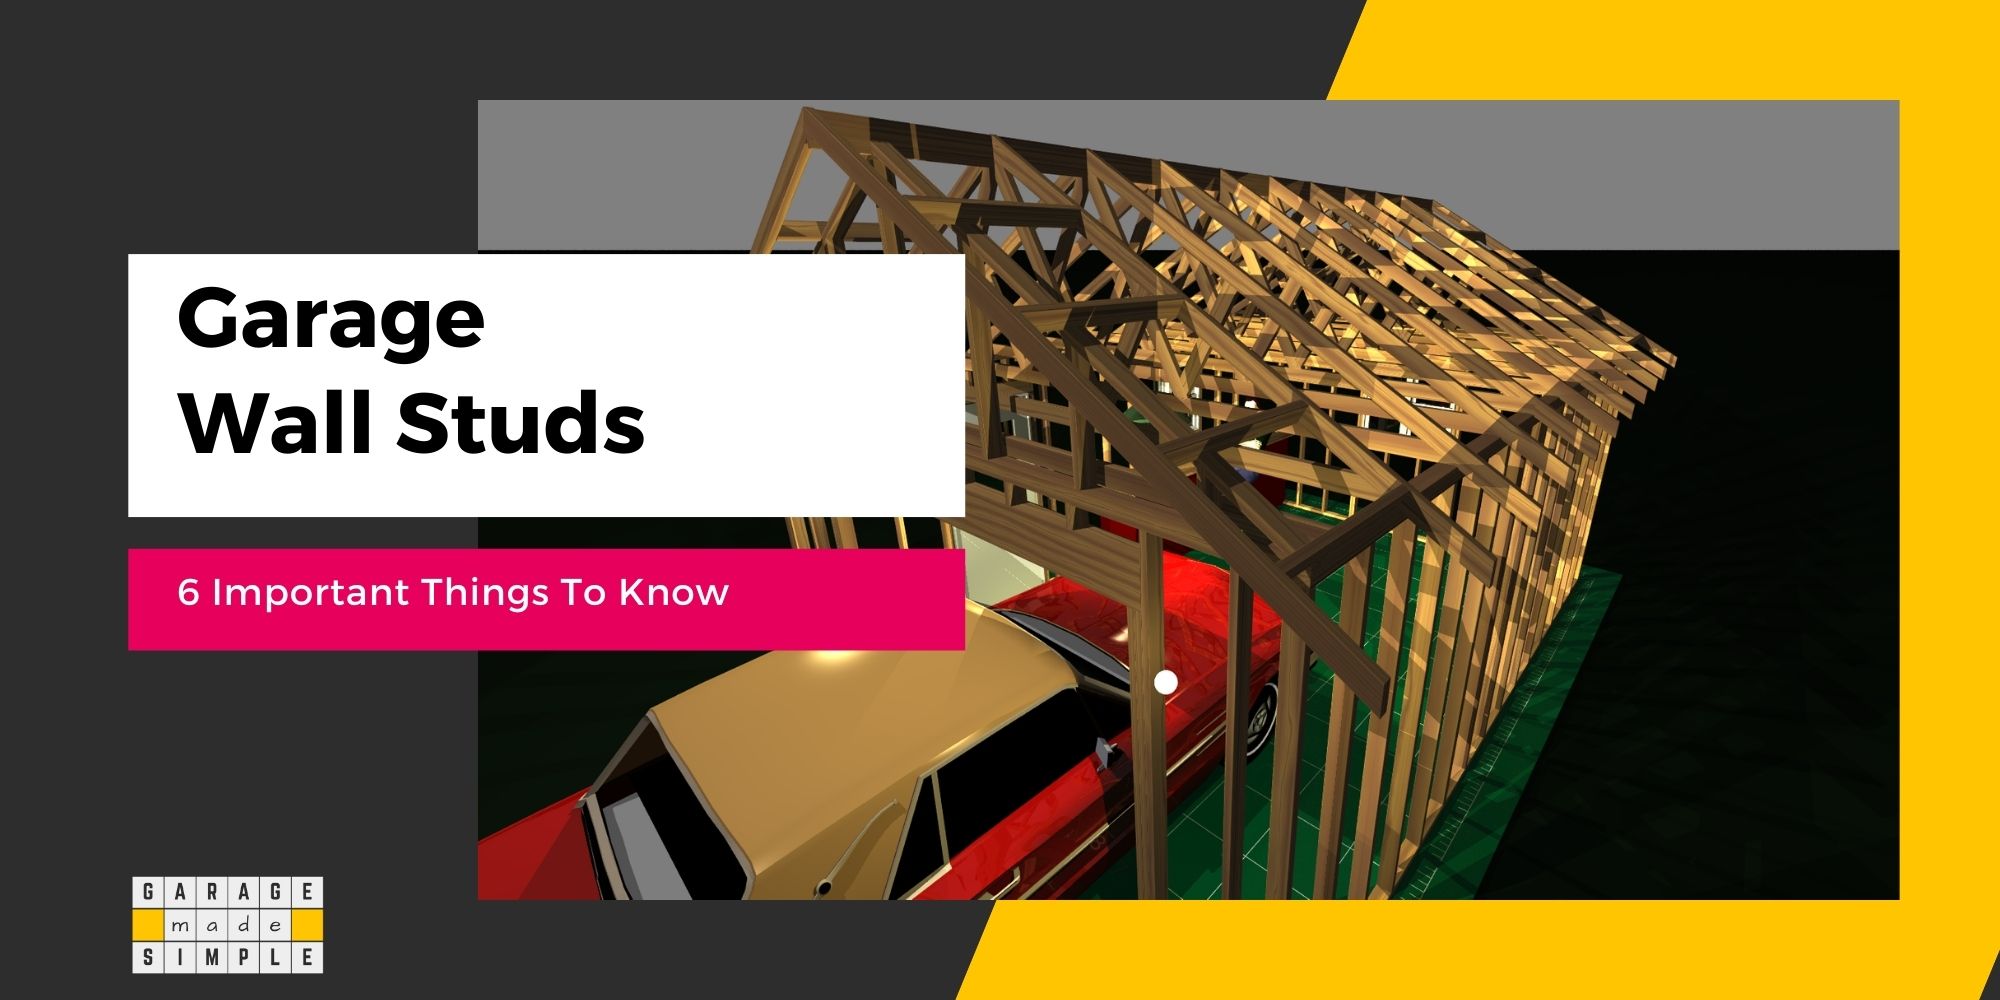
A garage wall frame is a pretty straightforward rectangle with horizontal top & bottom plates and vertical 2X4 wall studs, 16” on center. But you can add blocking to the studs to
- Make the frame structurally stronger
- Provide more spots for outlets, hooks, cupboards, etc.
- Affix the drywall more securely
Electrical Outlets
Think of all the places where you are going to have appliances such as garage heaters, air conditioners, workbenchs, etc. Provide the electrical outlets for all these existing (and likely in the future) appliances.
And then provide several extra outlets, spaced out along all the walls. Extra outlets never hurt anyone! A lot safer than using extension cords in the future.
And make sure you are abreast of all the electrical codes that apply to a garage. Not sure what they are? Check out my earlier blog post Detached Garage Electrical Code: 5 Absolutely Important Sections!
Wall Insulation
Add garage wall insulation before you drywall. I know you may have a budget for your garage, but it is a lot cheaper to add insulation before the drywall than later as an afterthought.
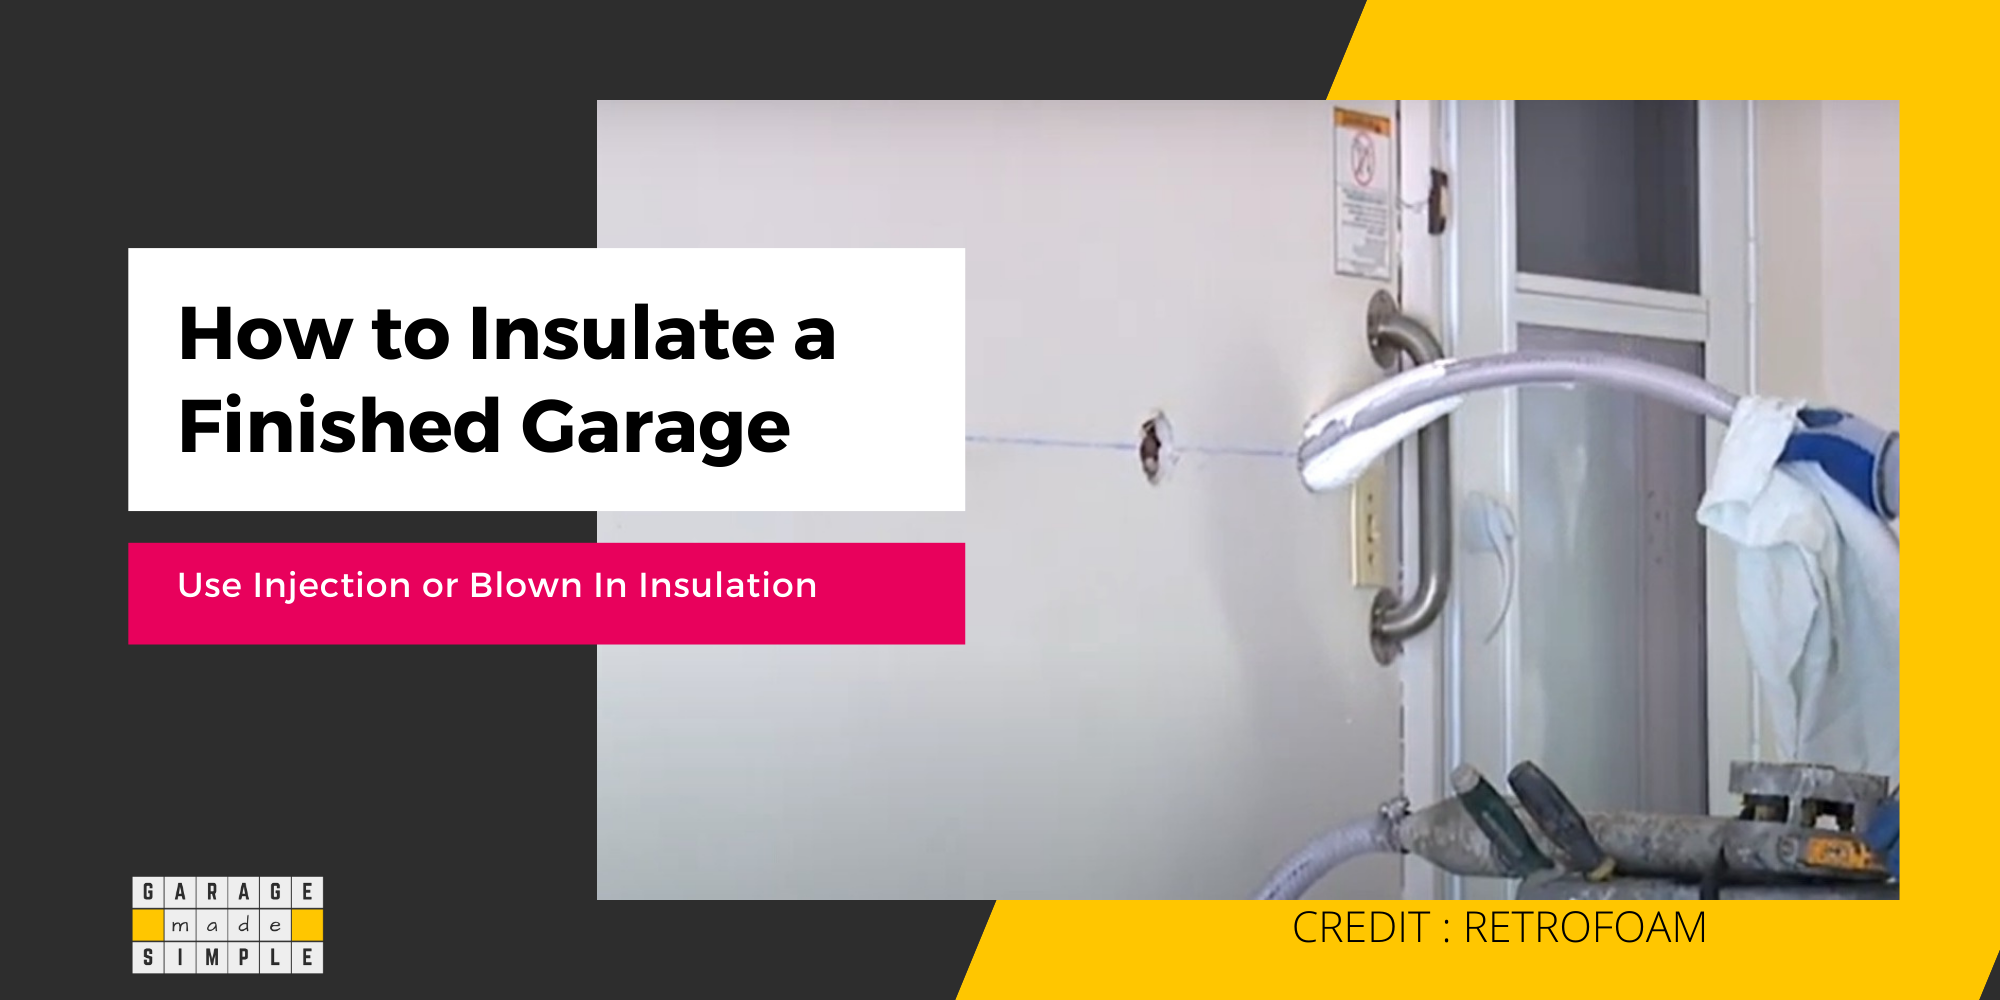
It is possible to add insulation even after the drywall in the garage has been finished. But it does cost more and is certainly a hassle. Nonetheless, you can check out my earlier blog post, How to Insulate a Finished Garage? What you Need to Know!
Take Pictures at Each Stage
Trust me, these pictures will be a lifesaver, months or even years later. You can save a lot of time and effort when you want to add a new slatwall or cupboard or do any kind of garage remodeling.
How Do You Drywall Like a Professional?
The finish on the drywall in your garage, especially with painting, will only be as good as the drywalling results. Here are a few tips that will surely help you drywall like a pro!
- Reduce butt joints: You can do this by using 4X8 drywall sheets vertically in an 8’ high garage.
- Use a Drywall Screw Setter: The USG Sheetrock ‘The Dimpler’ Drywall Screw Setter Bit is ideal for controlling the depth of the screw during driving applications in drywall. The dimples are easy to fill in.
- Use a Drywall Cutout Tool: The Makita 3706K Drywall Cut-Out Tool Kit lets you cut rectangles for electrical outlets, cleanly.
- Use a Jay Trim: This lets you cap the rough side of the bottom edge of the drywall to give you a smooth straight edge. It also makes the edge moisture-proof. You can use corner beads too (similar to Jay Trims, but for corners).
- Fill holes correctly: Nail or screw holes should be covered with a patching compound. Fill a row of holes with one swipe. Skim coat areas with a lot of dents or holes. Patch up areas with large holes or cuts using stick-on mesh patches.
- Leave a gap at the bottom: Both drywall and concrete are extremely porous. Even a small amount of water on the floor will wick up the drywall. A wet drywall is sure to lead to mold & mildew growth.
- Use good quality joint compound (drywall mud): The USG Ez Sand 90 Joint Compound is ideal for heavy fills in gypsum/drywall interiors and exterior gypsum ceiling boards The compound is lightweight for easy handling and sands easily for fast, smooth finishing.
How to Finish Drywall in Garage?
You could use sheathing such as Plywood, OSB, or Fiber Cement Board (FCP). Alternatively, you could use paneling such as PVC Panels, Shiplap Panels, or Single Skin Metal Panels.
Using sheathing material over drywall, in most garage wall applications, defeats the very reason for using drywall in the first place.
Drywall is cheap, fire-resistant, and easy to install. If these factors are not important, then you could go straight for the sheathing material, without any drywall.
Moreover, plywood, OSB, or FCB would need to be finished with paint anyway.
Using panels over drywall is an option. You can get more details on paneling from my earlier blog posts.
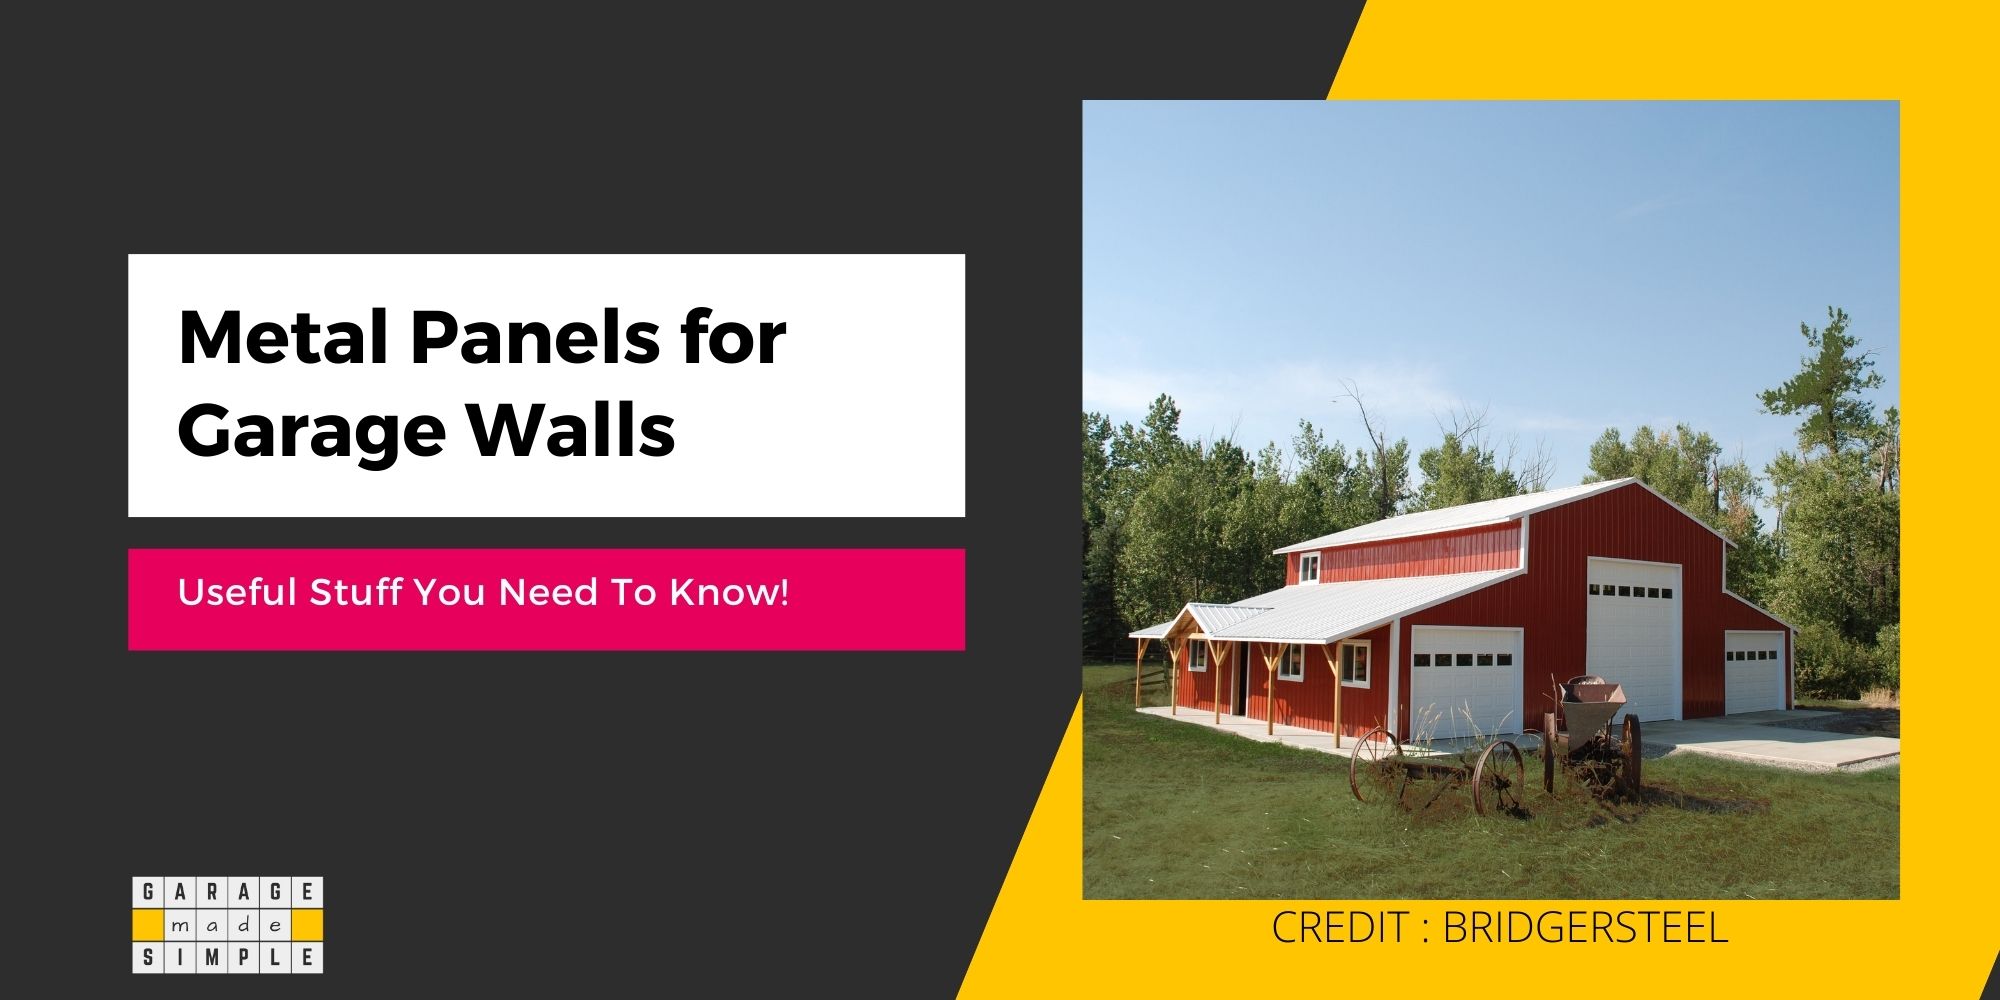
Metal Panels For Garage Walls (Useful Stuff You Need To Know)
Finish the Drywall with Paint
However, possibly the easiest and best option to finish drywall in your garage is painting it. It is a simple DIY project that can be completed over the weekend. The steps in getting a good paint finish over drywall in a garage are as below:
Now that you have installed the near-perfect drywall in your garage, you are ready to paint the new drywall in your garage.
STEP 1: MUD. SAND. REPEAT.
Yes, it is time-consuming & back-breaking. But it has got to be done. Every time you apply drywall mud to a joint, you need to lightly sand the wall after it dries. Do it till the surface is as smooth as a baby’s bottom.
This is prepping the drywall garage wall before you can prime it and paint it.
STEP 2: USE A DRYWALL PRIMER
Priming drywall before paint is essential. Make sure to pick a drywall primer specially formulated for the job.
When choosing the primer to apply DO NOT
- Skip the primer coat. It is really required to ensure the top coat adheres well with the drywall.
- Use a thinned top coat as a substitute for a primer. The top coat does not have the same properties as a primer.
- Use products that state “topcoat & primer in one”. They don’t work.
- Use any latex primer, as all primers are not made the same.
Recommended Primer
ZINSSER White, Bulls Eye 1-2-3 Water-Based Stain Blocking Primer/Sealer

Rust-Oleum ZINSSER Bulls Eye 1-2-3 Water-Based Stain Blocking Primer/Sealer
- Interior/exterior primer for use on new or previously painted drywall
- Water-based formula that seals uniformly
- Quick Drying
- Has excellent stain-blocking resistance
- One coat hide saves time and money
STEP 3: APPLY 2 COATS OF TOP COAT
You need to apply at least 2 coats of the top coat to get a uniform smooth finish. You just can not get the richness in the finished color with one coat. The one-coat finish is more of a marketing ploy used by some paint companies. It does not work too well.
Recommended Paint
Zinsser Perma-White Mold and Mildew-Proof Interior Paint
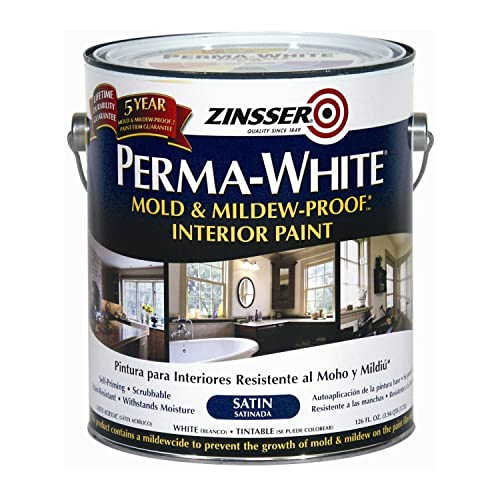
Zinsser Perma-White Mold and Mildew-Proof Interior Paint (Satin)
- Mold & Mildew-Proof™* paint film- guaranteed for 5 years
- Washable, scrubbable, stain & moisture-resistant finish
- Fade Resistant
- Water-base, low odor
- Tintable to off-white, pastel, and medium colors
Thank you very much for reading the post. I do hope you found it informative and useful.