Prepping Drywall for Paint: Best Secrets Revealed
As an Amazon Associate, I earn from qualifying purchases.
Importance of Prepping Drywall for Paint
Attention to detail is the secret to correctly prepping drywall for paint. Choosing the perfect paint color for your garage is only half the battle; visible imperfections on the drywall can ruin the entire effect.
Meticulously prepping drywall for paint is the foundation for a professional-looking finish for drywall walls of your garage.
Whether you’re a beginner or an experienced DIYer, understanding the importance of thorough preparation is crucial.

It’s not just about hiding flaws; it’s about creating a smooth surface for the paint to adhere to, ensuring durability and a polished appearance.
This comprehensive guide will demystify prepping drywall for paint and empower you to achieve the perfect paint finish on your garage drywall.
Detailed & Thorough Inspection
Before starting prepping drywall for paint, it is important to conduct a thorough inspection of the drywall surface. Look for any cracks, holes, or other imperfections.
Even minor flaws can ruin the final paint job, so addressing them beforehand is essential. Pay close attention to seams, corners, and edges, as these areas often hide subtle discrepancies.
Make sure to run your hand over nail or screw heads, as some of them may either be sticking out slightly or gone too deep into the drywall.
Even the slightest protrusion or depression can create unevenness under the paint and mar the looks.
Collect All the Tools, Materials & Safety Equipment
Here is a list of tools, materials, and safety equipment required for prepping drywall for painting:
Tools
- Drywall knife or trowel
- Putty knife
- Sandpaper (coarse, medium, and fine grit)
- Sanding block
- Corner trowel
- Drill
- Screwdriver
- Cordless vacuum cleaner
- Tape measure
- Utility knife
- Bucket
- Stirring stick
Materials
- Joint compound
- Drywall tape (paper or fiberglass)
- Primer
- Painter’s caulk
- Drop cloths
Safety Equipment
- Safety glasses
- Dust mask
- Gloves
- Work boots
- Ladder or scaffolding (if necessary)
Taping Drywall Seams
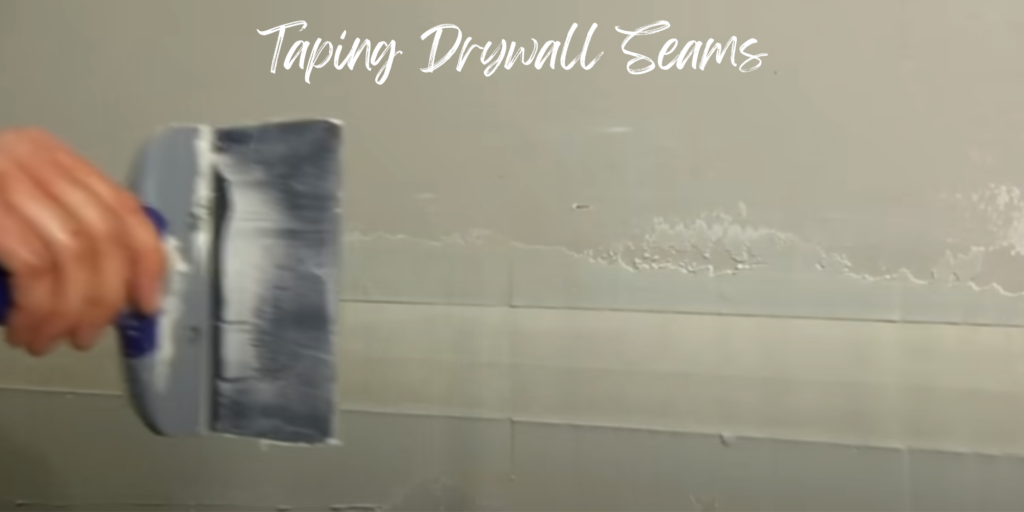
In spite of best efforts, gaps or unevenness between adjoining drywall sheets is almost impossible. Properly taped seams are, therefore, essential to prepping drywall for paint.
Covering the drywall seams with paper or fiberglass tape and then applying mud and smoothing it out is a crucial step in achieving a flawless finish on your garage walls.
NOTE: A question often asked is that whether paper tape or fiberglass mesh tape is better? There are pros and cons of both. Many professionals prefer paper tape.
In general, paper drywall tape is slightly stronger and more versatile, but mesh tape has a more manageable learning curve and better moisture resistance.
Family Handyman
The tape and mud also act as reinforcement, preventing cracks and gaps from appearing over time. However, there are two techniques that require a degree of skill.
Ensuring Proper Tape Adhesion
Start by applying a thin layer of joint compound along the seam. Press the drywall tape gently into the compound, ensuring proper alignment along the seam.
Smooth out any wrinkles or bubbles with a drywall knife, ensuring the tape lies flat against the wall.
Eliminating Air Bubbles
It is possible that you may still see some air bubbles under the tape. Use your fingers or a drywall knife to push out any trapped air, ensuring a seamless surface.
Avoiding air bubbles is crucial as they will leave an ugly look and prevent you from achieving the smooth appearance of the painted wall that you are striving for.
Recommended Products


Joint Compound Application
Preparing Joint Compound for Optimal Application
Begin by preparing the joint compound to a creamy consistency. This ensures it’s easy to spread but not overly watery, preventing drips and uneven surfaces.
On the other hand save time and effort by using ready mixed joint compound. Check out this YouTube video.
Recommended Product

USG All Purpose Joint Compound
- For patching interior drywall and plaster surfaces.
- For finishing drywall joints.
- Ready-mixed.
- Sands easily.
- Advanced formula.
Applying Joint Compound for a Seamless Finish
Using a drywall knife or trowel, apply a generous layer of compound over the taped seams, corners, and any visible imperfections.
The goal is to create a smooth, even surface that seamlessly blends with the surrounding drywall.
Feathering Edges for a Smooth Transition
Feather the edges of the compound slightly beyond the seams to create a gradual transition between the mudded area and the surrounding drywall.
This technique eliminates harsh lines and ensures a smooth, continuous surface.
Sanding for a Uniform Finish
Once the first layer of compound dries, sand the mudded areas gently to remove any high spots and achieve a uniform finish.
Use fine-grit sandpaper and work with light pressure to avoid damaging the drywall surface.
Corner Mudding for Professional-Looking Edges
For corners, use a corner trowel to apply and feather the compound, ensuring sharp, professional-looking edges. This specialized tool helps achieve precise angles and prevents unsightly gaps or bumps.
Covering Fastener Heads
Irrespective of whether nails or screws have been used to fasten the drywall boards to the studs, there is bound to be a depression around them. An important requirement of prepping drywall for paint is concealing nail or screw heads.
Importance of Proper Fastener Coverage
Properly covered fastener heads not only enhance the aesthetic appeal of the finished drywall garage wall but also prevents the fasteners from rusting. The rust will eventually spread and make your garage wall look awful.
Applying Joint Compound for Flush Coverage
Using a putty knife or trowel, carefully apply the joint compound over the fastener heads. Work in small amounts, gradually building up coverage until the fasteners are completely concealed.
Aim for flush and even coverage, ensuring a smooth transition between the fastener head and the surrounding drywall.
Smoothing and Sanding for a Seamless Finish
Allow the first layer of joint compound to dry completely. Once dry, gently sand the area to create a smooth, even surface. If necessary, apply a second coat of joint compound to ensure complete coverage and a seamless finish.
Sanding Techniques for a Flawless Finish
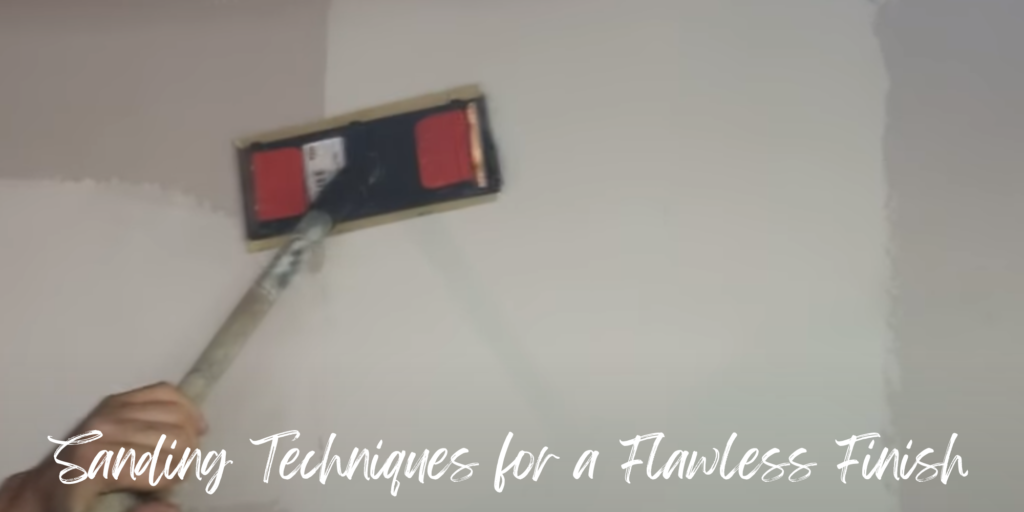
Selecting the appropriate sandpaper grit is crucial for achieving a smooth, polished surface.
Initial Sanding with Coarse Grit
Begin with coarse-grit sandpaper, say between 80-grit to 100-grit to remove rough imperfections and excess joint compound. Use firm, even strokes, applying consistent pressure to ensure uniform sanding.
Refining the Surface with Medium-Grit Sandpaper
Progress to medium-grit sandpaper, say between 100-grit to 120-grit to further refine the surface. Sand lightly, focusing on areas that still require smoothing.
Achieving a Polished Finish with Fine-Grit Sandpaper
Use fine-grit sandpaper, say between 150-grit to 180-grit for the final sanding stage. Work gently, creating a silky-smooth surface free of imperfections.
Sanding Techniques for a Uniform Finish
When sanding, use long, even strokes, avoiding uneven patches. For corners and edges, sand in circular motions to blend them seamlessly with the rest of the wall.
Sanding Between Joint Compound Coats
Always sand lightly between coats of joint compound to achieve a smooth, level surface. This prevents buildup and ensures optimal paint adhesion.
Detecting and Correcting Remaining Imperfections
After sanding, run your hand over the surface to detect any remaining imperfections. If you feel bumps or rough spots, revisit those areas with fine-grit sandpaper until the surface is smooth.
NOTE: Sanding drywall is backbreaking, but you can make life easier and healthier by using a power tool with vacuum attachment.
Recommended Product

810W 7A Electric Drywall Sander with Vacuum Attachment
- Powerful Function: The 810w motor provides adequate power
- Variable Speed: There are 6 adjustable speeds between 900-1800 RPM.
- Vacuum System: Comes with a dust hose, two connection adaptors, and a dust bag.
- Surround LED Light: The Bottom has soft LED lights.
- Extension Handle: Comes with a collapsible extension handle
Now that you have finished prepping drywall for paint, you have 3 tasks still left before your garage starts looking really great.
- Cleaning the Drywall before applying one or two coats of Primer
- Priming the Drywall so that it is ready for Painting
- Painting the New Drywall to get your Dream Garage
Thank you very much for reading the post. I do hope you found it informative and useful.