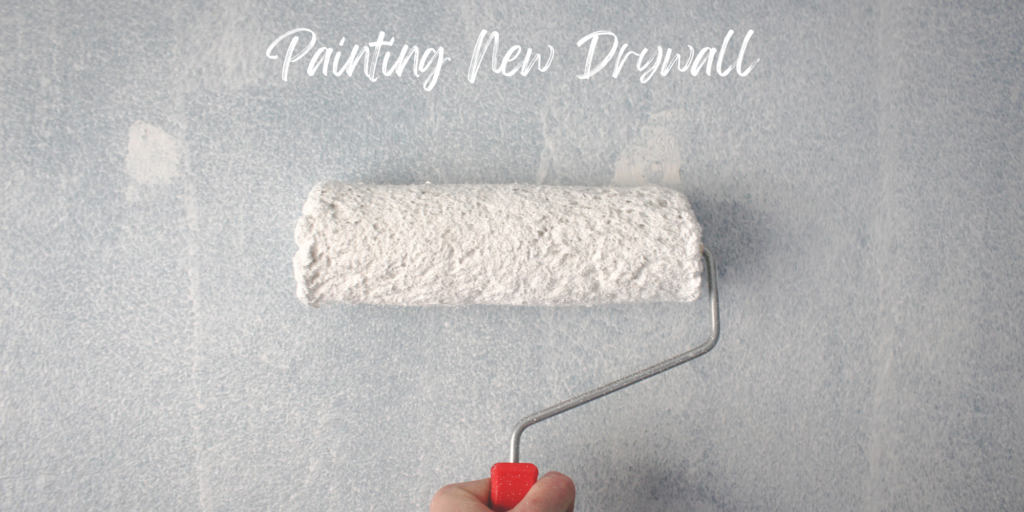
Painting New Drywall in Garage: Best Step-by-Step Guide
As an Amazon Associate, I earn from qualifying purchases.
It’s a great feeling when your new or remodeled garage is all drywalled up. But wait! What about painting new drywall?
All your hard work will only look visually appealing, once you are done painting new drywall. Painting new drywall of your garage correctly is what will not only enhance the aesthetics but also protect the garage from moisture, mold, pests, etc.
Unless you are an experienced painter, painting new drywall can be quite challenging to say the least. Quite likely that the drywall on your garage wall has imperfections. These need to be addressed before painting new drywall.
Moreover, you have to make sure you have all the right tools and safety equipment for the job. And you can’t go wrong on your choice of the drywall primer and paint!
So, there is a lot to figure out. This is why I have created this easy-to-understand step-by-step guide on painting new drywall, especially for your garage.
Basics of Painting New Drywall
Before you pick up your paint roller, it’s a good idea to get a basic idea about drywall. Drywall is also known as gypsum board, plasterboard, or most commonly as Sheetrock.
The name Sheetrock is actually a brand name that has become generic to drywall; a bit like Xerox for photocopying. Gypsum board is more descriptive as that is what drywall is made of.
Essentially, drywall boards are made by sandwiching gypsum between two sheets of paper. Drywall is lightweight and yet a sturdy and affordable sheathing material. No wonder it has become an integral part of modern construction.
Drywall installation provides a smooth surface, concealing electrical wiring and insulation and creating a polished interior appearance.
All it needs is a coat of paint to liven up the room or the garage, as the case may be. That is where painting new drywall with the right primer and paint is critical.
Recommended Painting Tools and Materials
Make sure to gather all the tools, materials and safety equipment before painting new drywall of your garage. Here is a list that will help you get organized.
Tools:
- High-quality paint brushes: Choose brushes with synthetic bristles for smooth application.
- Paint rollers: Get a few rollers with various nap lengths, suitable for different wall textures.
- Paint Roller Trays: Get ones that are deep and can hold a fair amount of paint. Disposable liners help in cleaning up and make the tray re-usable.
- Paint sprayer: Chances are you won’t need a sprayer for a DIY garage painting project. Consider using a sprayer for even coverage, only on larger garage walls.
- Drop cloths or plastic sheets: Protect the floor and surrounding areas from paint splatters and spills.
- Step Ladder, Paint Roller Extension Pole: Lets you reach the drywall sections near the ceiling or for painting drywall on the garage ceiling.
Couldn’t be bothered collecting all that stuff? Just get a Voomey 22 Pcs Paint Roller Kit.
Voomey 22 Pcs Paint Roller Kit

Voomey 22 Pcs Paint Roller Kit
22 PCS PROFESSIONAL PAINT ROLLER KIT: A silent roller frame with a 9-inch wrapped rubber handle, a mini roller frame of 4 inches, a round head sponge roller cover of 4 inches in white, a microfiber roller cover of 4 inches, two White Dove Roller Covers of 9 inches, a paint can opener, paint sticks, masking tape, a drop cloth, a paint tray liner, a paint tray, and pa are included.
Materials:
- Drywall primer: Use a primer specifically designed for new drywall to ensure proper adhesion.
- Interior latex paint: Select a high-quality latex paint for its durability, easy cleanup, and low odor.
- Painter’s tape: Precisely mask edges and corners to achieve clean, professional lines.
- Sandpaper or sanding block: Smooth out imperfections on the drywall surface before painting.
- Patching compound: Fill gaps, cracks, and holes in the drywall for a seamless finish.
Recommended Primer
ZINSSER White, Bulls Eye 1-2-3 Water-Based Stain Blocking Primer/Sealer

Rust-Oleum ZINSSER Bulls Eye 1-2-3 Water-Based Stain Blocking Primer/Sealer
- Interior/exterior primer for use on new or previously painted drywall
- Water-based formula that seals uniformly
- Quick Drying
- Has excellent stain blocking resistance
- One coat hide saves time and money
Recommended Paint
Zinsser Perma-White Mold and Mildew-Proof Interior Paint
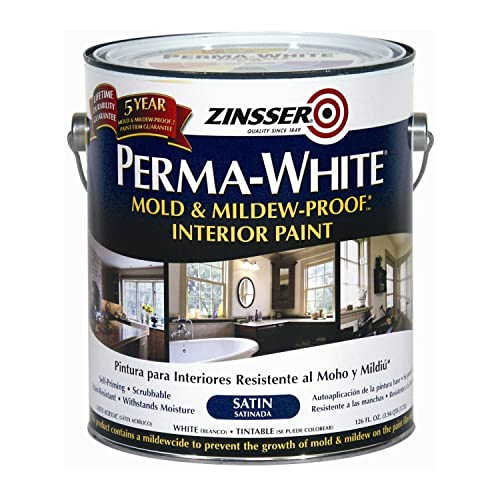
Zinsser Perma-White Mold and Mildew-Proof Interior Paint (Satin)
- Mold & Mildew-Proof™* paint film- guaranteed for 5 years
- Washable, scrubbable, stain & moisture resistant finish
- Fade Resistant
- Water-base, low odor
- Tintable to off-white, pastel and medium colors
Safety Equipment:
- Safety goggles: Protect your eyes from dust, debris, and paint splatters.
- Respirator or dust mask: Safeguard your lungs from inhaling paint fumes and dust particles.
- Nitrile gloves: Keep your hands clean and protected while working with paints and chemicals.
- Step ladder or scaffolding: Ensure a stable platform to reach high or challenging areas safely.
Painting New Drywall in a Garage: Step-by-Step
Total Time: 2 days
STEP 1: Clean Before Painting New Drywall
Cleaning the new drywall before painting will ensure good adhesion and a smooth and flawless finish. New drywall often collects dust, dirt, grease marks, etc. during and after installation. Any dust or grease on the drywall will result in poor primer adhesion.
You can ensure excellent adhesion and bonding by thoroughly cleaning the drywall surface. The process of meticulous cleaning also gives you the opportunity to smooth out uneven textures and blemishes by sanding and mudding.
Step-by-Step Instructions:
Dust Removal:
Begin by removing loose dust from the drywall surface using a dry, clean cloth or a duster. Gently wipe the walls, paying special attention to corners and edges where dust tends to accumulate.
Vacuuming:
Utilize a vacuum cleaner with a brush attachment to remove finer dust particles. Run the vacuum nozzle along the walls and ceiling edges and corners to eliminate dust from hard-to-reach areas.
Tack Cloth:
Dampen a tack cloth (a sticky cloth designed for cleaning surfaces before painting) and carefully wipe the drywall. The tack cloth will capture remaining dust particles, leaving the surface impeccably clean.
Inspect for Imperfections:
After cleaning, inspect the drywall for any visible imperfections such as bumps or rough spots. If found, use a sanding block or sandpaper to smooth out these areas, creating an even surface for painting.
STEP 2: Drywall Primer Application
Selecting a high-quality primer for your new drywall is the key to ensuring excellent paint adhesion and even coverage. The right primer allows the paint to adhere better by providing a uniform surface, and will help it last longer.
I highly recommend using Rust-Oleum ZINSSER Bulls Eye 1-2-3 Water-Based Stain Blocking Primer/Sealer for priming before painting new drywall.
Step-by-Step Instructions for Primer Application:
Stir the Primer:
Thoroughly stir the primer to achieve a consistent texture. Use a paint stir stick or an electric drill with a mixing attachment for this purpose.
Primer Application:
Using a high-quality paintbrush or a paint roller with a medium nap, apply an even coat of primer on the drywall surface. Begin by cutting in around the edges and corners with a brush, then fill in the larger areas with the roller.
Work in Sections:
Divide the wall into manageable sections, working on one section at a time to maintain a wet edge and ensure uniform coverage.
Drying Time:
Allow the primer to dry completely as per the manufacturer’s instructions. Typically, it takes a few hours. Avoid painting over the primer before it is fully dry.
Inspect for Coverage:
Once the primer is dry, inspect the surface for any missed spots or uneven coverage. Touch up any imperfections before proceeding to the painting stage.
STEP 3: Painting New Drywall
Most garages struggle with water seepage and high humidity which can result in mold & mildew growth, among other problems. As such opting for a mold & mildew resistant interior latex paint for painting new drywall of a garage is a smart choice.
I highly recommend using 2 coats of Zinsser Perma-White Mold and Mildew-Proof Interior Paint (Satin) for your garage drywalls. Not only is it guaranteed for 5 years, it can be tinted to off-white, pastel or medium colors. It is easy to apply and clean-up as it is water based with low VOC.
Step-by-Step Instructions for Paint Application:
Stir the Paint:
Thoroughly stir the paint to achieve a consistent texture. Use a paint stir stick but avoid vigorous shaking, which can introduce air bubbles.
Cutting In:
Start by “cutting in” around edges and corners using a high-quality angled brush. Create a clean line where the walls meet the ceiling and trim.
Roller Application:
Use a high-quality roller with the appropriate nap length for your wall texture. Roll the paint onto the surface in a “W” or “M” pattern, ensuring even coverage.
Backrolling:
After applying paint with a roller, gently go over the freshly painted area with a clean, dry roller to eliminate any streaks or bubbles, ensuring a smooth finish.
Sprayer Application (Optional):
If using a sprayer, follow the manufacturer’s instructions. Sprayers provide a uniform finish but require careful masking and coverings to prevent overspray.
Second Coat:
Repeat the process after the first coat is dry. Leaving the first coat to dry overnight will do the trick. A second coat is important to get a rich even finish.
Pro Tips on Achieving a Smooth and Professional Finish:
- Brushes: Use brushes for detailed work, edges, and corners. Choose high-quality brushes to prevent bristle shedding.
- Rollers: Choose rollers with the right nap length: shorter for smooth walls, longer for textured surfaces. Roll slowly and evenly to prevent roller marks.
- Sprayers: Sprayers offer a consistent finish on large, flat surfaces. Ensure proper coverage and avoid overspray by masking off surrounding areas thoroughly.
Thank you very much for reading the post. I do hope you found it informative and useful.