14 Reasons Why Your Epoxy Garage Floor Is Peeling: Best Ways to Prevent!
As an Amazon Associate, I earn from qualifying purchases.
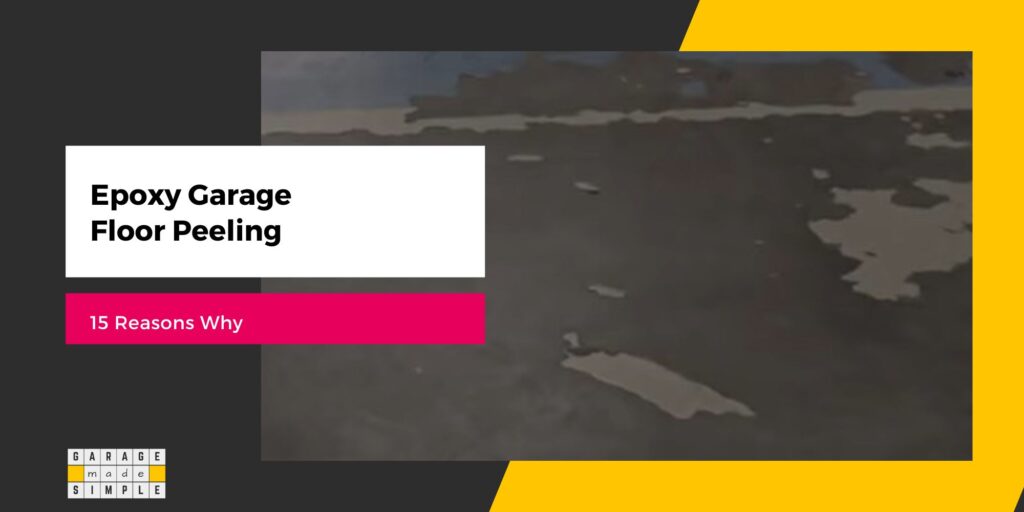
It can be quite distressing to discover that your epoxy garage floor is peeling shortly after application. You applied the epoxy yourself or got a well-known contractor to do it. You followed all the instructions on the epoxy packaging. Then why is your epoxy garage floor peeling?
Most of the 14 reasons why your epoxy garage floor may be peeling, in such a short time, are related to poor surface preparation. You could prevent the epoxy garage floor from peeling, if you were aware of the reasons and took the correct preventive action.
In this post I am going to explain all the 14 reasons. I will also tell you the best ways to prevent each of them. Follow them and you will not have the problem of epoxy garage floor peeling.
So let’s get started
SURFACE PREPARATION RELATED
1. Dirt & Dust on the Floor
A garage floor can be quite a dusty place. A newly poured concrete slab will accumulate dust while it is left to cure. Most of this dust comes through the big garage door. Some dust also comes from the items you store in the garage. The concrete generates its own dust too!
The top layer of a concrete slab is mainly cement. This fine cement layer has pretty low bonding strength. It gets abraded easily, resulting in powdery dust on the concrete garage floor, all the time.
Epoxy coatings require a strong solid substrate to which they can adhere to. Loose dirt & dust prevents adhesion.
To prevent an epoxy garage floor from peeling, the concrete surface should be completely free of dirt & dust. Epoxy application should commence only after cleaning the concrete garage floor thoroughly. You can clean the concrete floor by sweeping, vacuuming or mopping it.
Always check for dust on the concrete garage floor, with your finger, before applying epoxy.
2. Oil & Similar Contaminants
As soon as you start parking your cars in the garage, there is bound to be some oil leaks & spills. Oil film is water repellent. You can easily check for oil stains on the garage floor by sprinkling a few drops of water on the stain. In case of an oil or grease stain, the water will bead up.
Oil film on the garage floor acts as a barrier. The epoxy will not be able to penetrate and adhere to the concrete surface. The result will be that the epoxy garage floor will peel at those spots.
Other contaminants such as silicone, paint solvents, etc. can also form water repellant films. They will also prevent the epoxy from bonding strongly with concrete.
To prevent epoxy garage floor peeling due to the presence of oil stains and similar contaminants, you must clean the garage floor with soap water. For heavier oil and grease stains, use a commercial degreaser such as Rust-Oleum Quick Prep 3-in-1 Cleaner Degreaser and Etch.
Eliminate oil stains and similar contaminants and you will eliminate epoxy garage floor peeling.
3. Moisture Content in Concrete
Epoxy garage floor coatings are not designed to adhere to wet concrete surfaces. The technical data sheet of a high quality brand of epoxy floor coating will recommend that the moisture levels in excess of 3.5 lbs/1000 sq ft/24 hours are excessive.
For a quick check of concrete floor moisture level, tape down a sheet of 4’ x 4’ clear plastic sheeting to the floor with duct tape on all four sides. Wait for 24 hours. If moisture builds up under the plastic, or if the floor is noticeably darker/damp then the moisture content is too high for epoxy application.
Alternatively you can check the moisture content of your concrete garage floor by using a moisture meter. I recommend using General Tools 4-in-1 Pin/Pinless Combo Moisture Meter.
Moisture content in a concrete slab can be high for several reasons. Some common causes are high humidity or low ambient temperature.
You can reduce the moisture content of the concrete garage floor by using a dehumidifier or an infrared heater.
4. Smooth Surface Profile
Cured concrete garage floor is usually very smooth. The reason is that the contractor will trowel the concrete mix at the time of placement. They do this to make the larger aggregates settle to the bottom and the lighter aggregates such as sand and fine cement float up to the top.
Epoxy is unable to adhere to such a smooth concrete surface. There are no footholds. For good adhesion, epoxy requires the concrete surface to have a rough profile. The epoxy can then cling to the profile peaks & valleys.
The best way to create a profile on the smooth concrete garage floor is to use an acid etching solution. Muriatic acid, Hydrochloric acid and Phosphoric acid are good etching solutions, as they are strong. Weak acids, such as Citric acid, are not able to create the desired profile.
There are a few non-chemical ways to create a profile on the concrete floor. These include wire brushing, grinding, sand blasting and shot blasting. They are effective in creating a profile but not convenient or cost-effective for a garage.
If the concrete garage floor has been etched to create a good surface profile, the epoxy will have excellent adhesion. You will not have the problem of Epoxy garage floor peeling.
5. Residues on the Floor
Acid etching will certainly give your concrete floor the right profile. However, you need to thoroughly rinse your garage floor to remove all acid etch residues. The residue is similar to fine dust and will not permit Epoxy to adhere to concrete.
You can also have a similar problem from soaps & cleaning solution residues.
You need to use acid etching as well as soap water cleaning for surface preparation. Make sure you are not adding another problem. The problem of residues reducing adhesion between epoxy and concrete.
To remove the residues, you must rinse the garage floor thoroughly with clean water.
You can use a pressure washer to clean the concrete floor. However, you should not use very high pressure, low angle water jet continuously at the same spot. Find out more on my earlier blog post Can You Pressure Wash an Epoxy Garage Floor? (A Helpful Guide!).
An electric pressure washer with a psi rating of around 2000 psi can be used to pressure wash concrete garage floor.
Then make sure the concrete does not have a high moisture content. Allow sufficient time for the concrete garage floor to dry out.
6. Topical Sealer on the Concrete
Concrete is an extremely strong building material. In spite of the strength, concrete is pretty porous. Ingress of water into any concrete structure, including concrete garage floors, can be extremely detrimental. Find out more about this from my earlier blog post 10 Important Reasons Why You Should Waterproof Your Garage Floor!
Sealing the concrete garage floor can improve its water resistance significantly. Concrete sealer‘s are either “penetrating” or “topical”.
A penetrating concrete sealer is a clear, low viscosity liquid that penetrates into the concrete pores, fills them up, solidifies and forms a hydrophobic barrier. Penetrating Sealers do not form any film on the surface.
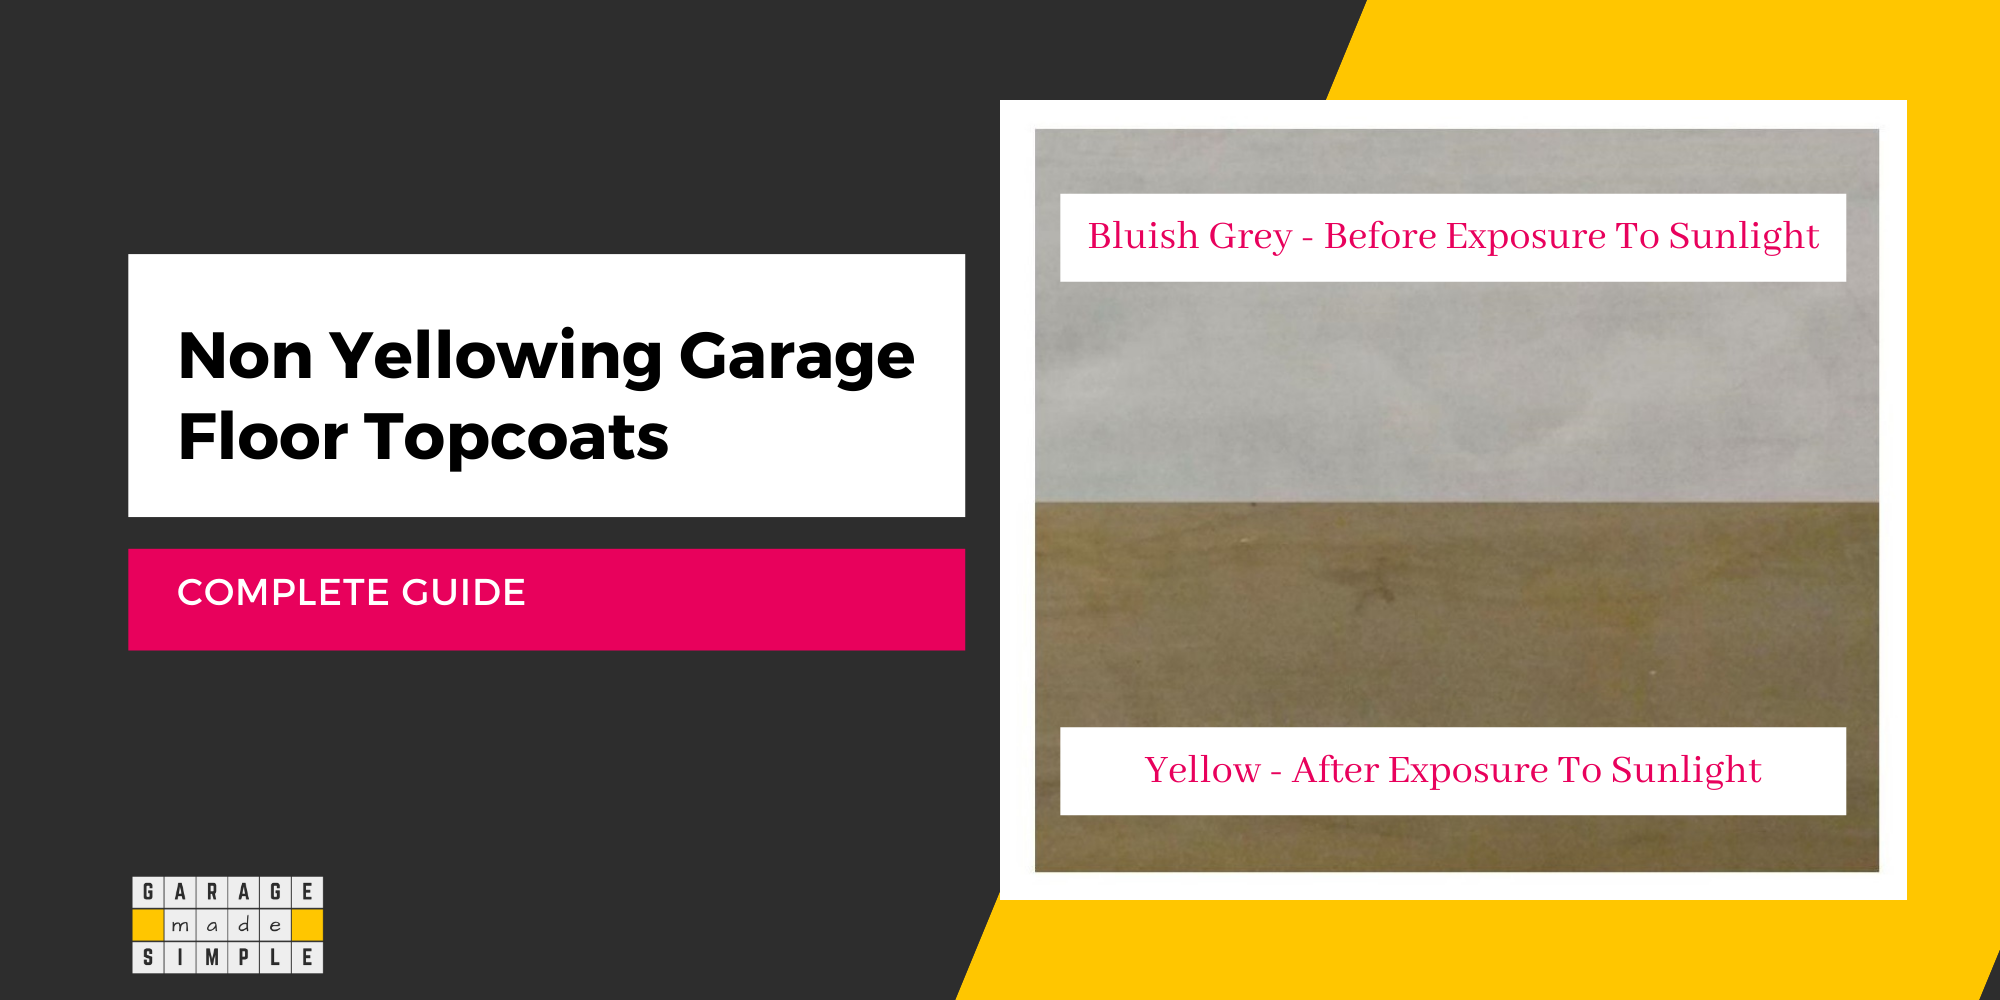
Topical Sealers on the other hand form a clear film on the concrete surface. The film acts as a barrier to water entry into the concrete pores. Unfortunately, the clear film also prevents epoxy from adhering to the concrete surface. Even the etching solution is not able to penetrate the topical sealer film.
The solution is to physically remove the topical sealer, using a grinder. Follow this up with the etching solution to get the desired surface profile. This process will prevent epoxy garage floor peeling.
7. Hot Tire Pickup
When applying epoxy coating over an existing coating, the spots that have tire marks can result in poor adhesion.
When applying epoxy coating over an existing coating, the spots that have tire marks can result in poor adhesion. Tire marks are due to “plasticizer migration”, from the tires to the parking surface. Epoxy can not adhere with the plasticizer which is a polymer.
You need to remove the tire marks from the garage floor coating. You can use
- A cleaning solvent solution such as simple green or
- A concrete degreaser such as Rust-oleum Degreaser
Apply them on the tire marks and let them sit for a few minutes. Then use a nylon brush with semi-stiff bristles and try to scrub the marks away. You have to be persistent yet gentle at the same time. You may need to do this more than once before you can get the marks out.
CONCRETE SLAB RELATED
8. Excess Laitance
Laitance is the weak top layer of a concrete slab. This layer is weak because it consists mainly of fine cement and very little sand. Excess laitance is the result of using excessive water in the concrete mix.
After the concrete slab is poured, the contractor will trowel & float the concrete mix. This is done to move the large aggregates to the bottom and the finer aggregates to the top. The process is essential as it makes the concrete stronger and smoother.
However, in case of excess laitance the top layer will have a very poor mechanical bond with the rest of the concrete slab. Acid etching may give it a profile but it can not increase the strength.
If the excess laitance is not physically removed by grinding, the epoxy will adhere to this weak layer. At a later date the epoxy will peel along with the weak cementitious top layer.
9. Poor Quality Concrete Slab
An Epoxy coating is most likely to peel, if applied on a concrete surface that is of poor quality. Actually the epoxy is not peeling. It is the poor quality concrete which is crumbling away.
You can end up with a lower strength poor quality concrete garage floor, either due to the poor quality of the concrete mix used or the poor quality of workmanship. Improper curing can also lead to poor quality concrete slabs.
To be honest, if you have a problem like this, then there are no easy solutions. Demolishing the concrete floor and pouring a new one will be very expensive and difficult. It will not be worth it.
I recommend that instead of using an Epoxy coating on your garage floor, you settle for other options, such as interlocking tiles or garage floor mats.
Check out some of these following options:
10. Hydrostatic Pressure
A concrete garage floor is essentially a “slab on grade”. The floor therefore requires waterproofing from groundwater that can rise up due to hydrostatic pressure, water vapor gradient or capillary action.
The most cost effective time to waterproof the garage concrete floor is at the construction stage. A vapor barrier (aka moisture barrier) needs to be laid out on the compacted base, prior to placing the concrete mix.
A vapor barrier is a material that prevents the movement of vapor or moisture from an area of concentration to the livable area.
For maximum effectiveness, the vapor barrier should be in direct contact with the underside of the concrete slab. This means that the vapor barrier should be laid out after all the ground preparation has been completed.
Unfortunately, this step is knowingly or unknowingly skipped. When the water table rises due to heavy rain or flooding in neighboring water bodies the hydrostatic pressure will lift off the epoxy coating on the garage floor resulting in peeling.
I recommend using a flexible waterproof coating such as Liquid Rubber below the Epoxy Coating.
Note: Epoxy, a preferred garage floor coating is hard, brittle and not flexible. It tends to lift off under hydrostatic pressure from rise in water table.
Liquid Rubber Coating is not hard but is flexible. It will seal any cracks in the concrete. It is excellent for waterproofing concrete garage floors.

APPLICATION RELATED
11. Not Using Primer
Some people are reluctant to use an Epoxy Primer or for that matter any primer on concrete floors. They feel it is unnecessary and a waste of money.
The truth is that priming a concrete floor will always result in a better, thicker and more uniform Epoxy garage floor coat. It is helpful in two respects.
- The primer functions as a tie coat between the existing epoxy and the new epoxy. This helps increase adhesion between the two coats.
- The primer helps in color transition. Especially if you are trying to change the color from a dark shade to a
Concrete is pretty absorbent. The absorption rate is not uniform. So different sections may absorb the paint applied on it to different degrees.
A direct application of an Epoxy Topcoat onto the concrete garage floor is likely to give you a patchy finish. Not only will the color be patchy, adhesion will be patchy too. Some spots may have weaker bonding to the concrete substrate.
The application of an Epoxy Primer will ensure that you end up with a more uniform adhesion and less chance of epoxy garage floor peeling.
12. Poor Quality Epoxy Coating
It is tempting to purchase the lowest priced epoxy coating for your garage floor. More often than not, low price equates to a low quality product. The chances of a low priced, low quality epoxy garage floor coating peeling are quite high.
Spend a few extra dollars and buy a branded product which has a good reputation and gets excellent reviews.
I recommend two brands that have an excellent track record.
Rust-Oleum 251965 EPOXYSHIELD Garage Floor Coating, 1 Car Kit, Gray
- Durable, 2-part epoxy formula works on interior concrete surfaces, such as garage floors, workshops, basements and more
- Professional glossy finish is easy to clean and provides a long lasting protection that is 5X harder than 1-part epoxy floor paint
- Walk on ready in 24 hours, vehicle and drive-on ready in 3 days
- Superior adhesion coating ensures no hot tire pickup and protects against gasoline, antifreeze, motor oil, and salt
- Low odor, low VOC gloss finish provides a show room shine
- Recommended for indoor use only
- Cleans up easily with soap and water
Armorclad Epoxy Kit w/ Topcoat (1 Car Garage Kit
- Has a unique 100% solids Adaptive Molecular Technology that gives this epoxy a better bond than any other epoxy on the market today.
- Kit contains: 1.5 gals 100% solids epoxy, 1 gal UltraGlaze Industrial 1 part clear topcoat, 1 pack Clear Grip non skid additive, 1 qt ArmorEtch, 3 lbs decorative flecks. Covers up to 300 sq ft.
- Abrasion Resistance – 8 (mg loss)
- Backed by a 1-year warranty, this epoxy is very easy to use, install and maintain and will turn any space from drab to fab.
- Armorclad Add-On Kit w/ Topcoat is very easy to clean and maintain. We recommend periodic mopping of the flooring surface with cleaners that contain no bleach followed by rinsing the floor with clean, clear water.
TIP: When comparing prices across different epoxy garage floor kits do check what is included in the kit as well as the % solids of the epoxy.
13. Weather Condition
Not all weather conditions are ideal for applying epoxy coating. There is a high probability of epoxy garage floor peeling if it is applied when it is too cold or too hot. High humidity during application should also be avoided.
Ideal weather conditions for epoxy application on concrete garage floors is
- Temperature Range: 50-90 deg. F
- Relative Humidity: Less than 80%
If you must apply even when the weather condition is not ideal try to improve the micro climate within the garage by using heaters, fans, air conditioner or dehumidifier, as the case may be.
14. Incompatibility
Epoxy can be applied on a previously coated garage floor. However, for strong adhesion epoxy must be compatible with the previous paint or coating.
Quite often the existing coating may be 1 part epoxy floor paint. There are quite a few misconceptions when it comes to paints and coatings.
When it comes to Epoxy Paint vs Epoxy Coating, the differences are:
- Epoxy Floor Paint is 1 part. while Epoxy Floor Coating is 2 parts.
- Epoxy Floor Paint “dries” while Epoxy Floor Coating “cures”.
- Dry Film Thickness (DFT) of Epoxy Floor Paint is less than 2 mils. while the DFT of Epoxy Floor Coating is more than 2 mils.
- Epoxy Floor Paint has lower solids and less Epoxy resin than Epoxy Floor Coating.
You can find both Epoxy Floor Paint and Epoxy Floor Coatings in the marketplace. A 2 part epoxy coating is not compatible with 1 part epoxy paint. The two products have different chemistries. The 1 part epoxy paint is basically a latex (aka acrylic) paint. The epoxy content is miniscule. The name “epoxy paint” is a marketing ploy.
There are high chances of peeling if a 2 part epoxy coating is applied over a 1 part epoxy paint. You should completely remove the old paint using a grinder before applying epoxy coating.
Thank you very much for reading the post. I do hope you found it informative and useful.
