Replacing A Concrete Garage Floor: 15 Important Steps To Focus On!
As an Amazon Associate, I earn from qualifying purchases.
Can You Replace the Concrete Floor in Your Garage?
Do you have a garage floor that is heavily pitted, corroded or stained, is crumbling or has large cracks and has become uneven because of ground movement? These are all signs of age or poor workmanship. It is also a signal that you need to repair, resurface or maybe even replace the concrete garage floor. But can you replace the concrete floor in your garage?
You can replace the concrete floor in your garage. However, replacing the entire concrete garage floor is neither simple nor cheap. You need a professional with expertise, experience and equipment to execute the project.
The professional needs to assess the state of the floor and determine the causes leading to the concrete garage floor failure. Only then can they advise the best course of action and give you an estimate of the time & cost involved.
Replacing the concrete garage floor will basically require lifting the garage structure, breaking up the old floor & the base below it and pouring a brand new concrete slab.
Even though you will not do the work yourself you must focus on 15 important steps that you and your contractor will need to take.
This post is all about that. You can jump straight to the relevant section by clicking on 15 Important Steps for Replacing a Concrete Garage Floor or read the entire post to get a better understanding of why concrete garage floors fail.
Repair Resurface Replace: What’s the Difference?
Replacing a concrete garage floor is an extreme step. Resurfacing or even just repairing may be appropriate for your garage floor, depending on the extent of damage.
Repairing an Old Concrete Garage Floor
Quite often the only problem with your garage floor may be cracks. Hairline cracks are very normal in concrete slabs and are also known as shrinkage cracks. You should just ignore them.
Larger cracks (¼” or more wide) that have not moved the concrete surface vertically can be repaired easily. It is a relatively simple DIY activity which can be done in a few hours. You need to clean out the crack and fill it with a waterproof flexible sealant.
Larger cracks caused by sinking or heaving of the floor may require professional services as you may have to resort to mud jacking or polyurethane foam raising.
Resurfacing an Old Concrete Garage Floor
Resurfacing goes beyond repairing floor cracks. The entire garage floor surface is overlaid with a resurfacer to give it a fresh, new look and prevent water from permeating into the concrete slab. Of course the cracks need to be repaired first.
There are many choices when it comes to resurfacing which include epoxy coatings and self-leveling concrete overlays.
Resurfacing projects, though a bit more difficult and time-consuming, can also be done as a DIY project. Expect to spend a few days on it.
Replacing an Old Concrete Garage Floor
Replacing the concrete garage floor is a totally different ball game altogether! Sometimes people refer to resurfacing as replacing. In reality, replacing a concrete garage floor requires complete breaking up of the existing concrete slab & base.
A brand new base is prepared and fresh concrete is poured. All this needs to be done without demolishing the garage structure, which is possibly in good condition.
Replacing a concrete garage floor requires professionals who have expertise, experience and equipment for completing such projects. Even for them it is not an easy job and will take several weeks to complete.
What Causes Concrete Garage Floor Damage?
Let us admit it. The life of a concrete garage floor is not easy! Garage floor is possibly the most used (or abused) floor in the entire house. Following is an indicative list of the wear & tear that a concrete garage floor is subjected to on a daily basis:
- Parking of Heavy Cars & Trucks
- Vehicular & Foot Traffic
- Garden Equipment being hauled around
- Furniture & Storage Shelves being pushed or dragged
- Hand & Power Tools being dropped on the floor
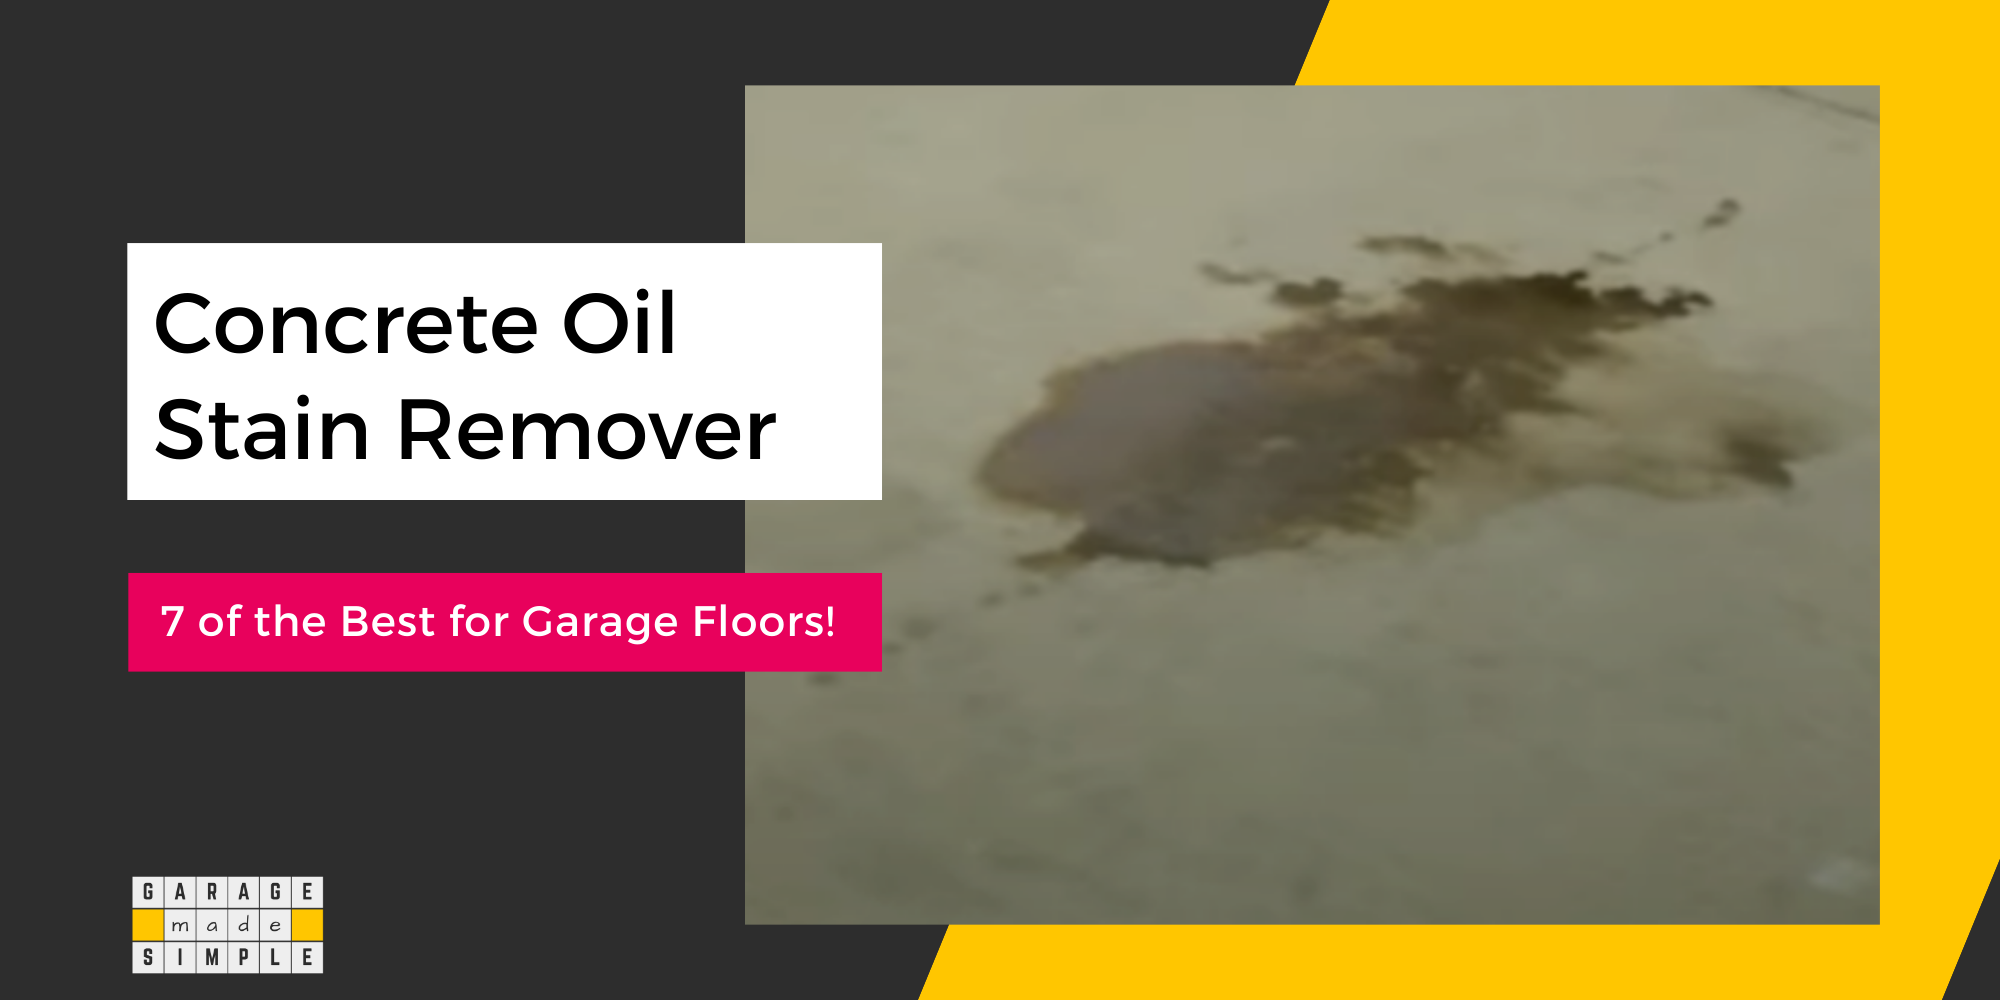
- Spillage of Oil, Grease and other Corrosive Liquids & Chemicals
- High Humidity, Water Seepage & Flooding and Ice Formation
- Temperature Fluctuations as most Garages are not Climate Controlled
The passage of time and the above factors at work, it is not surprising that concrete garage floors corrode, crumble, crack & disintegrate in a couple of decades.
The process of concrete garage floor failure is even faster if workmanship, construction process and materials used have been substandard.
15 Important Steps for Replacing a Concrete Garage Floor
Total Time:
STEP 1: Find a Professional
Replacing a concrete garage floor is not a small project. You’ll have to find the best professional for the job. The contractor must have expertise, experience & equipment to successfully complete the project.
Remember you have only one chance to get it right. So do not take any risks. Pay a little extra if required, but certainly get the best!
Another point to keep in mind at this stage is that you will require a permit from your local building authority. Usually the contractor will arrange this as part of the deal. It is much easier for the contractor to get the permit as they are knowledgeable about all the rules & regulations.
STEP 2: Find Temporary Storage
Replacing the concrete garage floor requires that everything within the garage has to be moved out. You need to store all that stuff in another location for 6 to 8 weeks. In other words, you need temporary storage.
NOTE: Use this opportunity to declutter your garage. Get rid of stuff that you don’t really need.
Maybe a family member or a friendly neighbor can help you out! If you have way too much stuff, consider splitting it up and storing it in multiple locations.
STEP 3: Clear Out the Garage
You must clear out the garage before the contractor’s crew arrives. Move as much as you can using your own vehicles. If that is not enough request a family member or friend to help out
Alternatively you may have to rent transport for the movement.
STEP 4: Jack up the Garage Structure
Your job is mostly done. Now the contractor will take over. Assuming that your garage structure is in good shape, they will suggest lifting up the garage structure by a foot or two.
If the garage structure is quite dilapidated, they may recommend demolishing that as well.
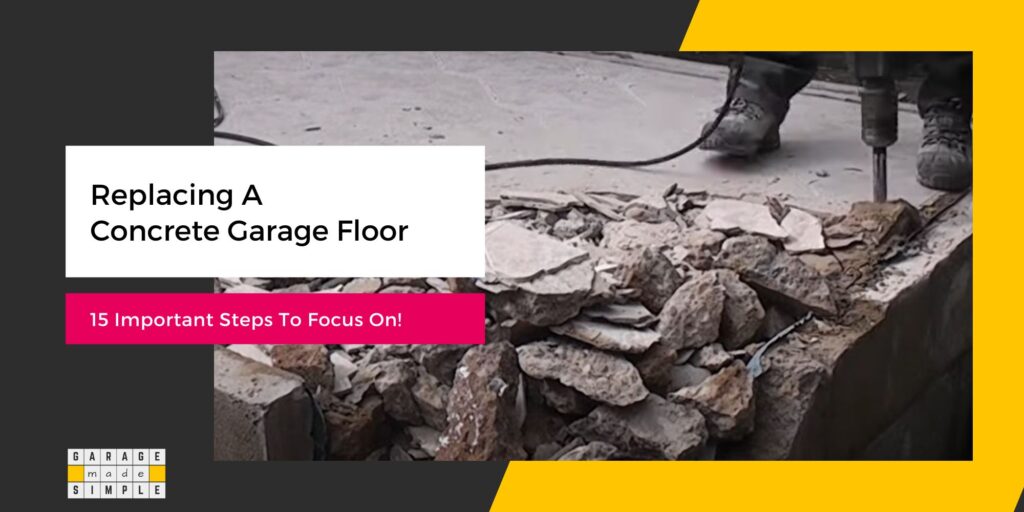
STEP 5: Demolish the Garage Floor
Once the garage structure has been raised, the work on the demolition of the garage floor can start. Be aware that this will create a tremendous amount of noise, dust and debris.
The debris has to be dealt with on a day-to-day basis. You don’t want it lying around in your driveway or backyard. A good contractor should take care of the debris. In fact they should use some of the crushed concrete from the old floor as aggregates for the new concrete slab base.
STEP 6: Dig Deep & Remove the Base
Do not stop at just breaking up the concrete slab. The problem with the original concrete garage floor probably came from the poor quality base or damaged footing & foundation.
The contractor must dig deep to excavate the old base. This also gives him access to the foundation & footings.
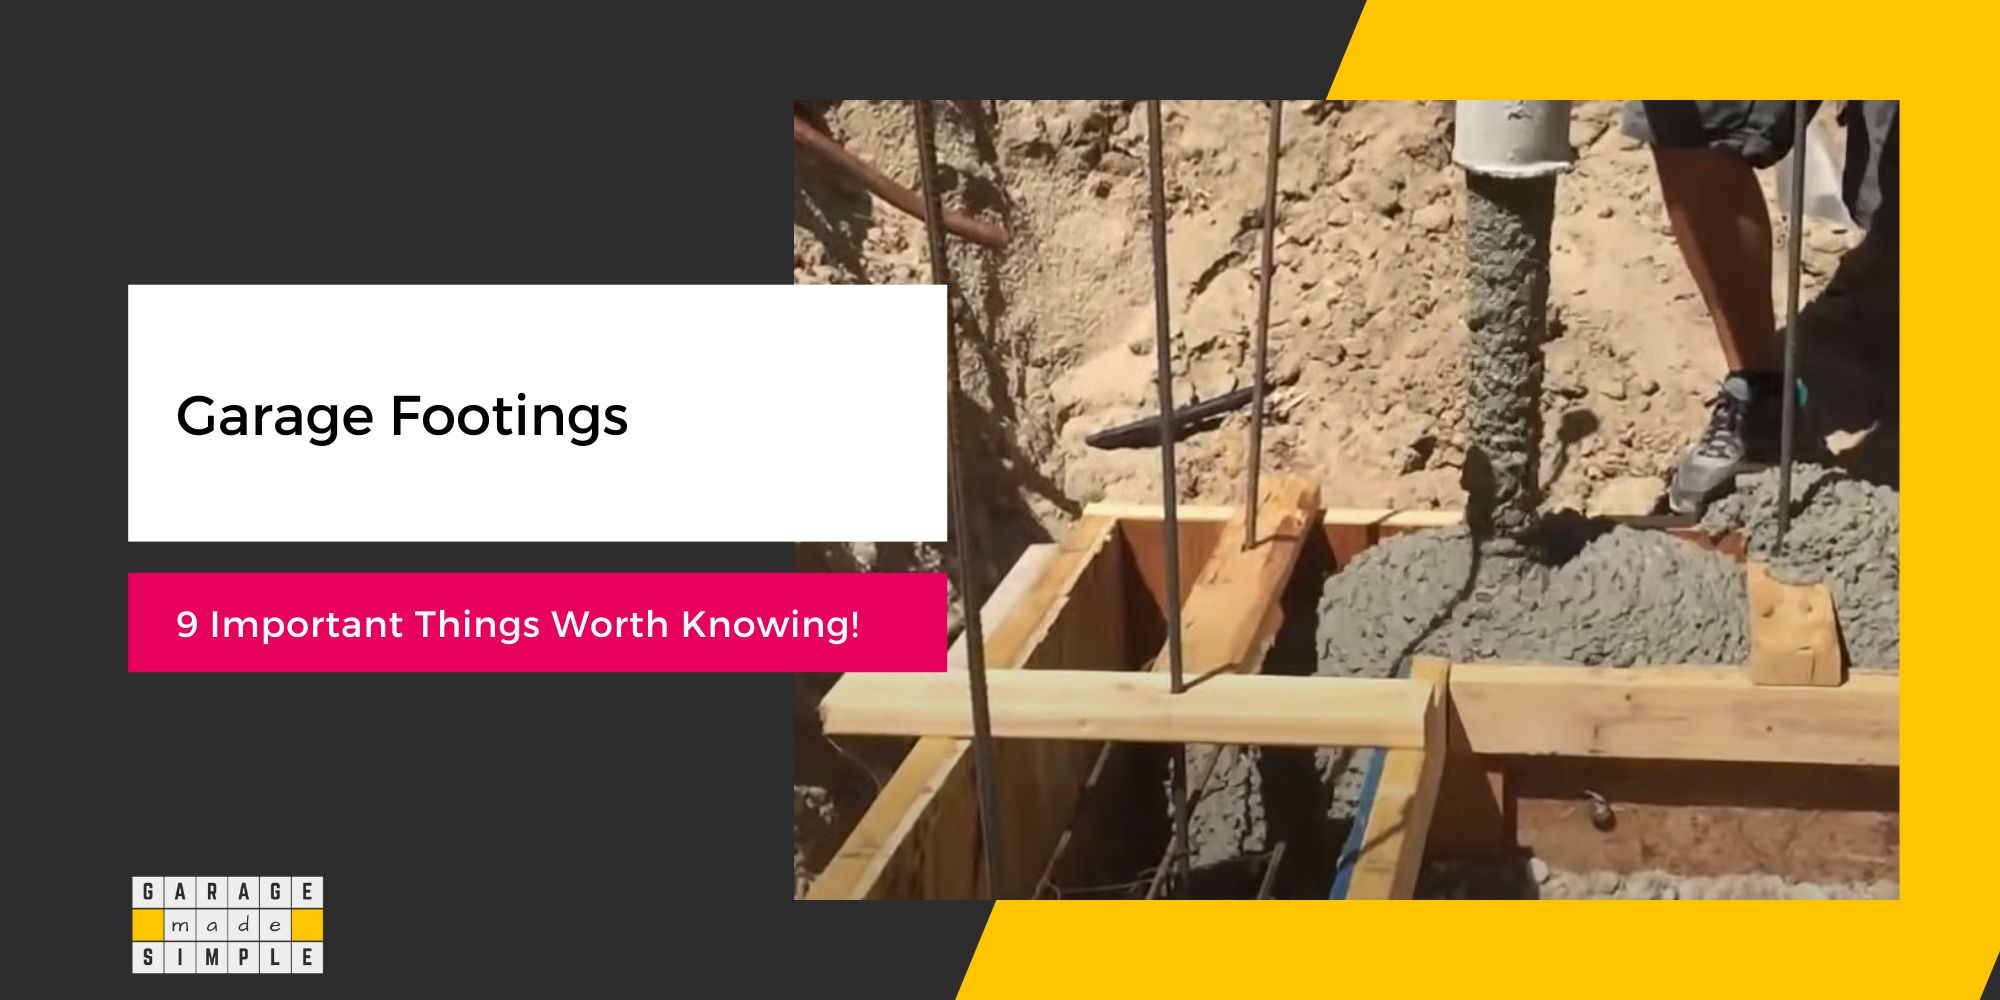
STEP 7: Repair or Reinforce the Garage Foundation & Footings
The contractor will then examine the condition of the garage foundation & footngs. It is possible that there may be structural cracks there. The contractor will need to repair the cracks and reinforce the foundation & footings.
If the foundation and footings are heavily damaged then the contractor will need to remove them and install new ones.
STEP 8: Install Geotextile Fabric
Geotextile fabric is absolutely necessary when preparing the base for a concrete slab-on-grade foundation. Geotextile fabric prevents the aggregates from getting dissipated and lost in the subgrade below.
Geotextile fabric also helps in better drainage and reducing the risk of soil subsidence.
NOTE: If not done now it can never be done!
STEP 9: Install Sub-Slab Drainage
To prevent groundwater from washing away the subgrade below the concrete slab, you need to install a sub-slab drainage system.
Perimeter Drains (aka French Drains or Weeping Tiles) is a sub-slab drainage system that runs around the proposed concrete slab-on-grade foundation.
STEP 10: Prepare the Base
The subgrade should be tamped tight before placing the geotextile fabric on it. The base itself should be at least 4 inches thick and made up of a combination of coarse and fine aggregates.
The coarse aggregates should be sharp angular gravel, crushed stone or recycled concrete. The fine aggregates should be stone dust or sand.
Make sure that the aggregates are compacted at every stage. A well prepared base will reduce the risk of ground settlement and ensure that sub-slab drainage is effective.
STEP 11: Install a Vapor Barrier
Vapor barrier is a material that prevents the movement of vapor or moisture from one area of concentration to another. Vapor barrier between the base and the concrete slab will prevent moisture from wicking up from the grade below into the concrete slab above.
Ingress of water in a concrete slab is extremely damaging and the main reason for concrete degradation and reinforcement corrosion. Ensure that a vapor barrier between the base and the concrete slab is installed.
NOTE: If not done now it can never be done!
STEP 12: Place Reinforcement Wire Mesh or Rebars
Some kind of reinforcement within the concrete slab is necessary to prevent the concrete from cracking under stress. Concrete has very high compressive strength but relatively low tensile and flexural strength. Reinforcement compensates this weakness.
Concrete garage floors that are 4” thick or less, should not have rebars. But they must be reinforced either with a wire mesh or polymer fibers incorporated in the concrete mix.
Though a 4” thick concrete slab is strong enough for a standard garage, you may want to go for a 6” – 8” thick slab. You certainly need to use steel rebars in that case.
NOTE: Rebars, as well as wire mesh, should always be placed on 2” high chairs. Reinforcement at the absolute bottom of a concrete slab is not effective.
STEP 13: Pour Fresh Concrete
Once the reinforcements are in place you are ready to pour the concrete mix. The strength of the concrete depends a lot on the quality of the concrete mix ingredients as well as certain ratios.
The water cement ratio is the most critical and should be kept at 0.5 or less for optimal strength. Water reducing admixtures can reduce water cement ratio without compromising on the plasticity of the concrete mix.
STEP 14: Ensure Proper Curing
Once the concrete mix has been poured and troweled to get the desired finish you have to let the concrete cure. Concrete takes 28 days to cure fully and develop maximum strength.
However there are several factors that affect the curing process and ultimate strength. Concrete cures when water reacts with cement to form a crystalline structure. The rate of water evaporation plays a vital role in this reaction.
The water evaporation rate depends on the ambient humidity & temperature, wind speed, concrete temperature, etc. Control the water evaporation rate by ponding or covering the concrete slab in wet blankets if it is very hot outside.
STEP 15: Seal the Concrete
More often than not, the last step of sealing the concrete floor is missed. This step is as crucial as any other. Sealing a concrete garage floor will prevent the ingress of moisture and water into the concrete.
Penetrating sealers permeate into the capillaries of the concrete and form hydrophobic barriers. This is the best way of preventing concrete degradation from within. Application of a couple of coats of a penetrating sealer is a must!
Topical sealers prevent water from entering a concrete slab by forming a clear, water impermeable layer on the surface. Topical sealers also make the concrete garage floor stain resistant, less dusty and easy to clean.
NOTE: Do not apply topical sealer if you plan to use epoxy, polyaspartic or polycuramine coatings. They will not bond with the concrete.
Thank you very much for reading the post. I do hope you found it informative and useful.