How to Use Self-Leveling Concrete on Garage Floor: Helpful Guide!
garagemadesimple.com is a participant in the Amazon Services LLC Associates Program, an affiliate advertising program designed to provide a means for sites to earn advertising fees by advertising and linking to Amazon.com . The website is also an affiliate of a few other brands.
Can You Use Self-Leveling Concrete in a Garage?
Quite often an old garage floor requires some fixing, repairs or refurbishment. Concrete garage floors that are just a few years old may develop low spots due to uneven grade subsidence. Older concrete floors may be riddled with holes, gouges, dents & scratches due to wear & tear. A refurbishment may be required. So can you use self-leveling concrete in your garage to solve floor problems?
Self-leveling concrete is very effective, both for patch fixing of low spots or as a complete overlay on a weather-beaten concrete garage floor. You can also use self-leveling concrete to correct leveling errors of a fresh concrete garage floor.
In this post I discuss all the three uses of self-leveling concrete on the garage floor. But before that it would be worthwhile to understand some of the basics of self leveling concrete.
What Is the Difference Between Self Leveling Concrete and Regular Concrete?
The key difference between self-leveling concrete and regular concrete is the amount of water required to get the desired fluidity. Regular concrete needs large quantities of water whereas very little water is necessary to make self-leveling concrete fluid for a pour.
Self-leveling concrete is made from a polymer modified cement. The special polymer additive, known as superfluidifying additive, reduces the viscosity of cement. As a result at the time of pour, self-leveling concrete has the fluidity similar to a pancake batter or honey.
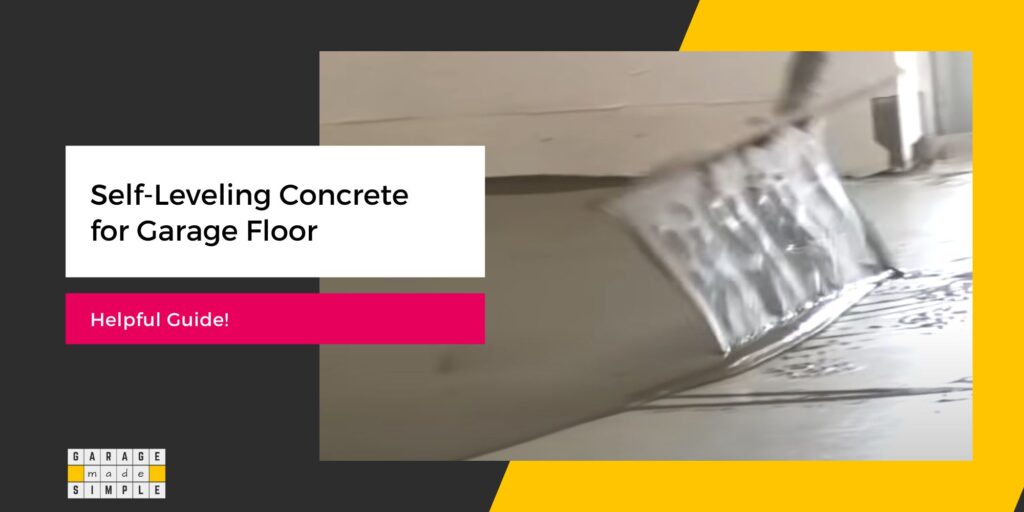
Self-leveling concrete, when poured on a surface, flows out and forms a smooth, level surface. As a result, even a novice can get an even & level surface once the self-leveling concrete cures and sets.
Comparing Self Leveling Concrete with Regular Concrete
The table below gives a comparison between self-leveling concrete and regular concrete on some important parameters.
| Self-leveling Concrete | Regular Concrete |
| Requires hardly any water to achieve the required workable plasticity | Requires a lot of water to achieve the required workable plasticity |
| Results in a smooth & level surface and can be applied even by beginners with ease | To create a smooth & level surface a lot of work is required by skilled & experienced professionals |
| Dries extremely fast | Takes a day or two to dry and four weeks to fully cure |
| Less messy and easy to work with | Pouring concrete is a difficult and messy job |
| Self-leveling concrete is stronger than regular concrete for the same thickness | Regular concrete needs to be thick to achieve desired strength |
| Can be used to overlay not only concrete but other types of hard surfaces such as ceramic tile or even plywood | Does not work well as an overlay on existing old concrete due to poor bonding |
| Expensive | Affordable |
When Can You Use Self-Leveling Concrete on a Garage Floor?
There are three situations when you can use self leveling concrete on a garage floor:
Self-Leveling Concrete to Fix Low Spots in Garage Floor
Low spots usually become visible shortly after pouring a new concrete garage floor (typically within 1 to 3 years)
Sometimes the low spots are because the base below the slab-on-grade was not compacted properly. Other times the low spots may be the result of unexpected soil movement or grade subsidence.
Shallow depressions with cracks that are not too wide can be patched up. Self-leveling concrete is ideal for fixing the low spots in the garage floor.
Even a person with little DIY experience can execute such a project provided they have a detailed & helpful guide!
However, if the concrete garage floor has sunk or heaved significantly then you may have to resort to mud jacking or polyurethane injections. This can only be done by professionals with expertise & equipment.
Self-Leveling Concrete to Resurface an Extensively Damaged Garage Floor
After 10 – 15 years of use your concrete garage floor will start showing signs of degradation and wear & tear.
Concrete garage floors can develop pitting, cracking, delamination and splitting with age. Scratches, gouges, holes will start to add up as storage racks are dragged, power tools are dropped and chemicals are spilled.
You will want to give your battered garage floor a new lease of life. Resurfacing with self-leveling concrete is a great option!
Self-Leveling Concrete as a Finishing on New Garage Floor
Though not very common, it is possible to use self-leveling concrete on top of a new concrete garage floor as finishing. Self-leveling concrete can be a substitute for other types of coverings such as tiles, epoxy coatings or concrete acid etching.
Self-leveling concrete can be colored using colorants. With creativity you could end up with a pretty interesting & unique looking garage floor.
How To Use Self-Leveling Concrete to Fix Low Spots in Garage Floor
Clean the Slab
You need to find all the low spots first. To do this you must thoroughly sweep and vacuum the entire garage floor. Use ordinary dish soap mixed with water to clean the floor to remove stains. For stubborn oil & grease stains you may need to use a degreaser.
Mark the Low Spots
Now it is time to find all the low spots and mark them. Move a 8’ long 2 X 4 stud along the floor looking for gaps between the stud and the floor. Mark the boundary of the low spot with a bright colored (orange or yellow) crayon.
NOTE: Look for only low spots that are deeper than ¼”. Minor undulations in the concrete are normal and not a cause for concern.
Get Rid of Ridges
Use a concrete grinder to level off any high ridges that may have been caused by large cracks or uneven sinking & heaving of the concrete garage floor. In case the degreaser has failed to remove some of the stains then you should grind that area as well.
Clean up the dust created, by using a shop vac.
Repair Deep Cracks
Repair any deep and large cracks by filling them up with a non-shrinking concrete patch. You may use a caulking gun if the patch is in a tube or trowel if the patch is in a tub.
NOTE: This process is required because self-leveling concrete is great for large shallow depressions but not so good when it comes to filling deeper cracks.
Let the patch dry up for at least 24 hours.
Mix the Self-Leveling Concrete
Self-leveling concrete is usually available in powder form and needs to be mixed with water to a pancake batter like consistency. Follow the specific instructions on the product packaging.
Fill a 5 gallon bucket with the recommended quantity of water. Pour the powder in the bucket gradually. Keep mixing with a drill & paddle mixer continuously.
Pour the Self-Leveling Concrete
Slowly pour the self-leveling concrete over the depressed area and let it flow on its own. Make sure that you do not pour too much. The self-leveling concrete should remain within the area that you have marked out for the depression.
Self-leveling concrete flows freely and evenly, so you may not need to use the trowel at all. However, use the 2X4 stud to screed and spread the self-leveling concrete over the depressed area.
Allow to Dry.
How To Use Self-Leveling Concrete to Resurface an Old Garage Floor
If your garage floor has seen better days and you want to resurface it to look like new, follow these steps:
Clean the Old Garage Floor
Remove all items from the garage that are not securely fixed to the floor. Use a broom to clean out all the debris on the floor. Follow it up by vacuuming the floor to remove dust.
Look for spots that have stains. Remove them by using a bristle brush dipped in soap water. Use a commercial grade degreaser for stubborn oil & grease stains.
Pressure Wash the Garage Floor
Pressure wash to ensure good bonding between the self-leveling concrete resurfacer and the existing concrete garage floor.
Repair Floor Imperfections.
Before proceeding with resurfacing you must repair all surface imperfections such as large cracks, holes, pitting and spalling. You can do this by preparing the self-leveling concrete resurfacer at a consistency that can be troweled. (1part water to 7 parts resurfacer by volume is recommended by Quikrete).
Let the patched up area dry and harden before resurfacing the entire garage floor.
Prime the Surface
Prime the clean dry floor surface using a mix of 1 part QUIKRETE® Self-Leveling Primer to 4 parts water. You can apply this by brush.
NOTE: Apply 1 coat of diluted primer to new and precast concrete surfaces and 2 coats to old concrete surfaces.
Allow the primer to dry for 1 to 2 hours.
Mixing of Quikrete Resurfacer
Mix the self-leveling concrete resurfacer in a 5 gallon empty bucket. Use 4 1/2 quarts of water for each 50 pound bag.
NOTE: The powder should be added gradually to the water in the bucket. DO NOT ADD WATER TO THE POWDER.
Keep mixing with a drill and paddle mixer, as you pour the powder in the water.
You will achieve the correct consistency when one cup (9 oz) of the mixture spreads 8 inches when poured on a flat glass surface.
Pouring of the Resurfacer
You must maintain the contraction & expansion joints on the existing concrete garage floor. Block them by using weatherstripping or duct tape. Self-leveling concrete resurfacer should not be allowed to get in.
Work in small sections at a time and stay within the contraction & expansion joints. Wet the existing concrete with water but remove any standing water with a squeegee.
Pour the resurfacer on the floor and spread it around with a squeegee but with minimal downward pressure. Keep blending the new pour with the old pour as you move.
Easy Calculator
(Approximate # of 50 lb bags of QUIKRETE® SelfLeveling Floor Resurfacer required)
| Resurfacing Thickness | Standard 1-car Garage 288 sq. ft (12’X24’) | Standard 2-car Garage 480 sq. ft (20’X24’) |
| 1/16” | 3 | 5 |
| ⅛” | 7 | 12 |
| ¼” | 14 | 23 |
| ⅜” | 21 | 34 |
How To Use Self-Leveling Concrete as a Finishing on New Garage Floor
The method of application is pretty much the same as that for resurfacing an old garage floor. Some differences will be:
- Make sure that the new concrete has fully cured (4 weeks from pour)
- Surface cleaning requirements will be minimal
- Repairing floor imperfections will not be necessary
- 1 coat of primer will be enough
- You can color the self-leveling concrete resurfacer to give your garage floor a unique look
FAQ
How Does Self-Leveling Concrete Work?
Self-leveling concrete is formulated using cement as the main component. Polymeric binders, fillers (usually sand) and fluidizing agents are added to create the self-leveling concrete powder.
Very small quantity of water is required to convert the powder into a mixture that has the consistency of honey or maple syrup. This consistency allows self-leveling concrete to flow, spread and level out. The binders ensure quick setting.
Is Self-Leveling Concrete as Strong as Regular Concrete?
The main active component in self-leveling concrete is cement, just as in regular concrete. The special polymeric binders give self-leveling concrete compressive strength that is equal to or higher than regular concrete.
Is Self-Leveling Concrete Durable?
Self-leveling concrete is quite durable and can be used as finishing on a garage floor. It will stand up to everyday wear and tear for quite a few years.
How Thick Can Self-Leveling Concrete Be Poured?
The thickness that you can achieve with self-leveling concrete depends on the brand and the product. Thickness as low as 1/16” is possible. Most resurfacing jobs require the thickness to be between ⅛” – ⅝”.
Most brands recommend building up the thickness in stages. This gives better bonding and strength to the concrete.
Thank you very much for reading the post. I do hope you found it informative and useful.
