Painting Repaired Drywall: Simple & Easy How-to Guide
As an Amazon Associate, I earn from qualifying purchases.
The Importance of Properly Painting Repaired Drywall in a Garage
Preventing damage to the garage drywall is a tough act, a lot tougher than the rooms in your home. Nonetheless, challenging though it is, repairing and then properly painting repaired drywall in your garage is extremely important.
Here are just a few of the benefits of properly painting repaired drywall in your garage:
- Protection: The paint coat helps to protect the garage drywall from moisture, dirt, and pests.
- Aesthetics: Who wants ugly patches and spots, even on a garage wall.
- Cleanliness: Paint make it easier to maintain and keep your garage wall clean.
If you have drywall that has been repaired in your garage, be sure to paint over the repair, as soon as possible. This will help to protect the drywall and keep your garage looking its best.
Types of Drywall Damage Typical in a Garage
Drywall damage comes in various forms, each requiring specific repair techniques.
Small dents, often caused by accidental impacts, can be repaired by applying a fast-drying spackle, which is sanded smooth after drying.
Popped nailheads, where nails lose grip and protrude, demand reattachment using drywall screws, followed by covering, sanding, and smoothing the area.
Small holes, a common issue should be fixed using patch kits with self-adhesive mesh. For medium-sized holes, the California Patch method involves cutting a piece of drywall larger than the hole, inserting it with joint compound, and applying additional coats if necessary.
Large holes require attaching furring strips, securing a patch, applying joint tape, and multiple joint compound layers. Damaged corner beads are resolved by cutting, replacing, and applying joint compound.
Textured drywall repairs involve sanding the patch area and flicking a joint compound-water mixture onto the wall. Textured drywall damage repairs need careful attention to detail, ensuring the texture matches the surrounding surface seamlessly.
Understanding these damage types and their respective repair methods is crucial for effective drywall restoration in garages.
General Steps for Drywall Repairs
Drywall repairs, regardless of the damage type, follow a standard set of steps.
First, remove loose debris around the damaged area. Next, fill the hole or dent with spackle or joint compound, ensuring it’s level with the surrounding surface. Once dry, sand the repaired area until it’s smooth and flush with the wall.
After achieving a seamless surface, apply a primer to prepare the repaired area for painting. The primer seals the repair, allowing the paint to adhere uniformly.
Finally, once the primer is dry, paint the repaired section using a roller or brush, matching the color and texture of the surrounding wall. These fundamental steps form the basis for effective drywall repairs in garages, ensuring a professional finish.
Specific Instructions for Each Type of Repair
Small Dents and Dings
For small dents and dings, apply fast-drying spackle to the damaged area. Let it dry for 24 hours, then sand it smooth. The spackle should be level with the wall surface, ensuring a seamless repair.
Popped Nailheads
To fix popped nailheads, reattach the drywall to the stud with a screw, then drive in the popped nail. Cover the area with joint compound, sand it, and ensure it’s flush with the wall for a flawless finish.
Small Holes
For small holes, use a patch kit. Place the self-adhesive mesh patch over the hole and cover it with joint compound. Apply a second coat if needed, sand it smooth, and the repair will blend seamlessly.
Medium Holes (California Patch Method)
Cut a piece of drywall slightly larger than the hole. Score the back, snap away the gypsum, apply joint compound, insert the gypsum, and cover the patch. Apply additional coats if necessary for a level surface.
Large Holes
Cut a patch slightly larger than the hole, attach furring strips inside, and secure the patch. Apply joint tape, followed by multiple layers of joint compound. Sand the repair until it’s smooth and level with the wall.
Damaged Corner Bead
Cut through the damaged bead horizontally, remove the drywall, and snip a new corner bead. Apply joint compound to the new bead, ensuring a seamless connection. Sand the area smooth for a polished look.
Textured Drywall
Sand the patch area smooth, then mix 4 parts joint compound with 1 part water. Dip a stiff brush into the mixture and flick it onto the wall. Flatten the particles lightly and let it dry. This technique replicates the textured finish, ensuring a uniform appearance.
Prep Required Before Painting Repaired Drywall
Filling Remaining Voids and Gouges
Once the repair is complete, inspect the area carefully. Fill any remaining voids, gouges, or imperfections with either spackle or joint compound, ensuring a level surface.
Use a putty knife for precise application, smoothing out the material until the repair seamlessly blends with the surrounding wall.
Sanding the Repaired Area to Achieve Smoothness
After the spackle or joint compound dries, gently sand the repaired area with a fine-mesh drywall sanding sheet. Aim for a smooth, flush surface, removing any excess material or rough edges.
Proper sanding is crucial to achieving a seamless transition between the repair and the existing wall, ensuring a professional finish.
Importance of Drywall Primer
Choosing the right drywall primer is key. Match the existing paint sheen to create a uniform surface.
Quite often the right drywall primer selection can address the issue of texture differences between the repair and the wall. A well-chosen primer sets the foundation for a flawless paint job.
Apply the primer evenly using a paintbrush or roller, depending on the size of the repair. Brush or roll in one direction for a consistent texture.
The primer seals the repair, ensuring the paint adheres properly. Without this step, the repaired area might absorb multiple coats of paint, resulting in an uneven finish.
Properly priming the repaired drywall guarantees a professional and lasting paint job.

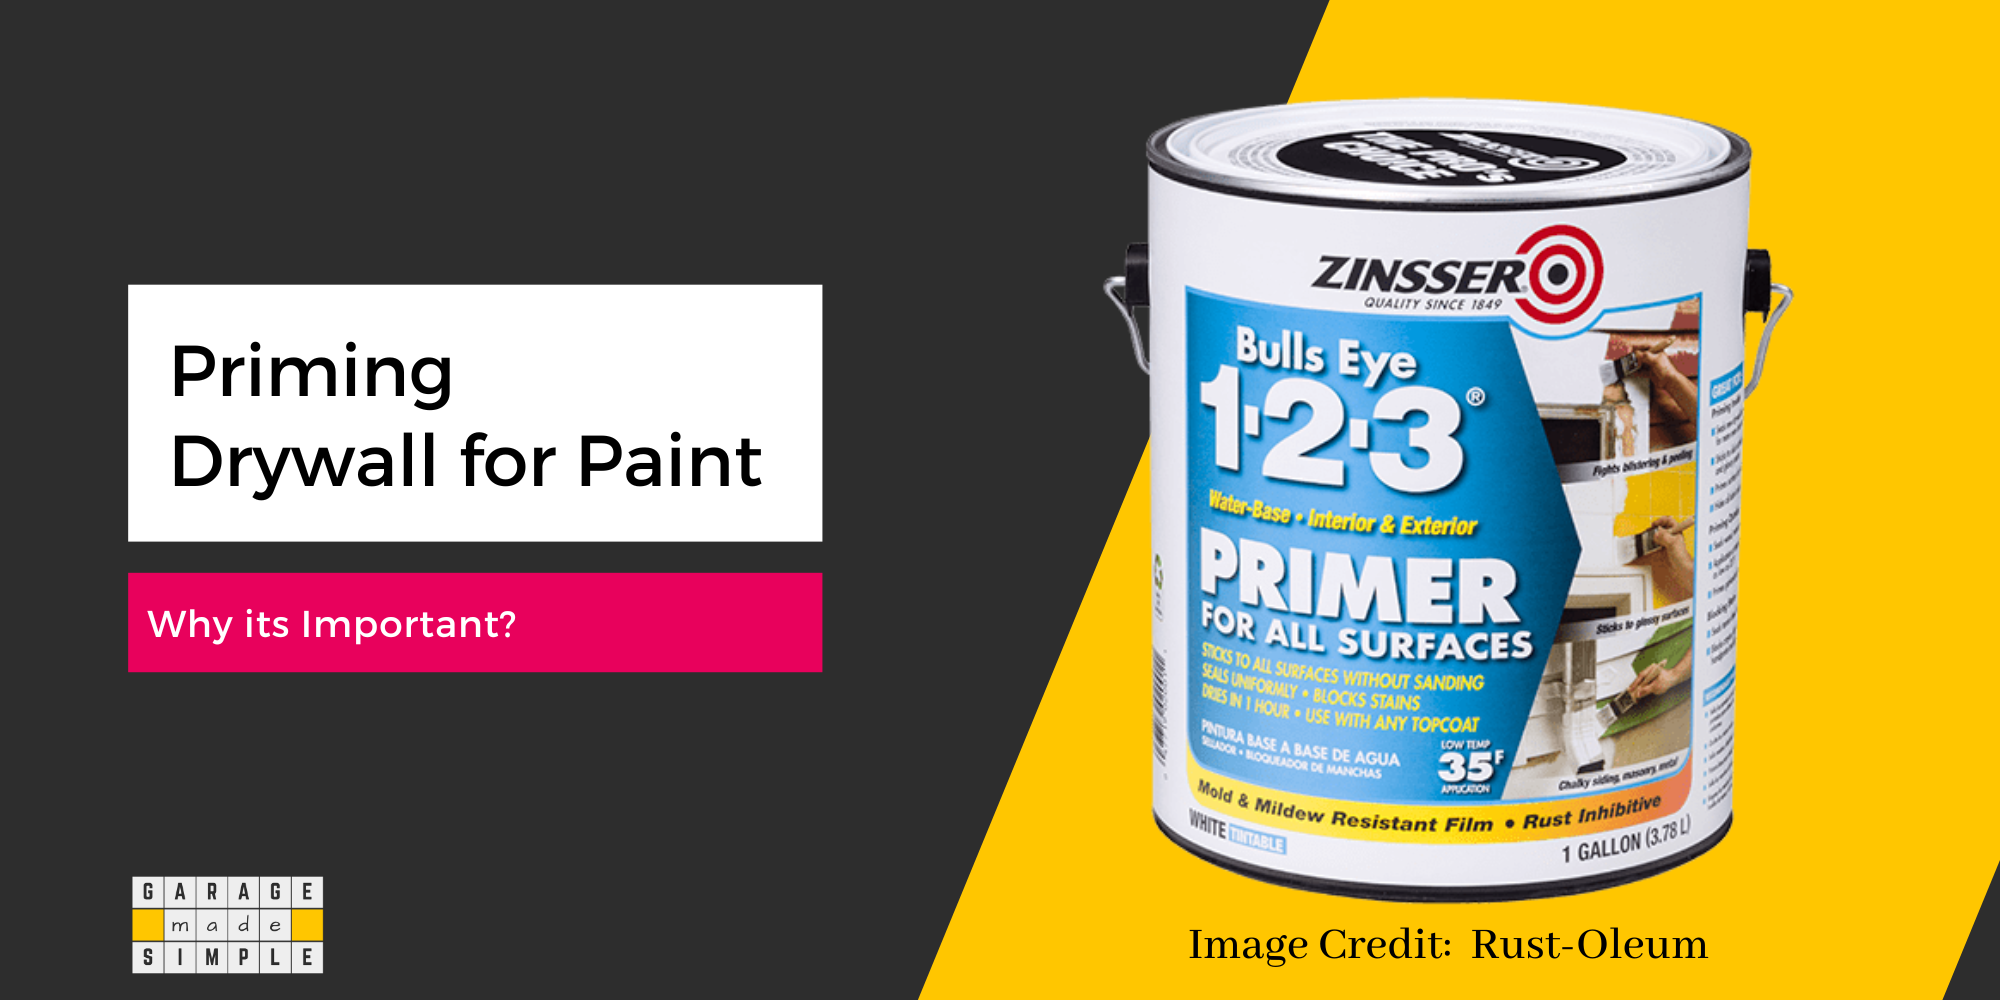
Rust-Oleum ZINSSER Bulls Eye 1-2-3 Water-Based Stain Blocking Primer/Sealer
- Interior/exterior primer for use on new or previously painted drywall
- Water-based formula that seals uniformly
- Quick Drying
- Has excellent stain blocking resistance
- One coat hide saves time and money
Overcoming Challenges in Painting Repaired Drywall
Matching the Existing Paint Sheen
Paint comes in various sheen levels, such as satin, eggshell, and gloss. Satin offers a subtle shine, while gloss reflects the most light. Understanding these levels is crucial.
Even a slight difference in sheen is noticeable, especially in well-lit areas. Consistency in sheen ensures a seamless repair.
To achieve consistent sheen, use the same type of paint as the existing wall. Apply paint evenly with a roller or brush, avoiding overlapping strokes. Feather out the edges of the repair area to blend seamlessly.
Working in good lighting helps identify any discrepancies. Careful application guarantees an even sheen throughout the painted surface.
Dealing with Different Eggshell Textures in the Paint Finish
Even seemingly smooth walls have subtle textures. Brushes leave straight lines, while rollers create an eggshell texture. Thicker rollers produce an orange peel texture. These variations can be challenging to match, especially on repaired areas.
Identifying the texture type is crucial before painting. Begin by applying a high-quality primer to the repair, matching the existing texture. Use a 3/8” nap paint roller for the primer to create a slight eggshell finish.
Assess if the texture matches the surrounding wall. If not, apply an additional coat of primer or a first coat of paint on the repair area. Ensure the textures align perfectly before applying the final finish coat.
Thorough priming and layering ensure the repair blends seamlessly, achieving a cohesive texture across the entire wall.
Bottom Line
Painting repaired drywall in your garage involves understanding the specific damage types and employing the right techniques for each. From small dents to textured surfaces, addressing these issues meticulously is fundamental.
Properly filling voids, sanding diligently, and selecting the right primer and paint are vital steps. Attention to detail, especially in well-lit or high-profile areas, is paramount. Meticulously matching paint sheen and texture ensures that even the most discerning eye won’t detect the repair.
Consistent application techniques, careful blending, and thorough priming are non-negotiable. Small discrepancies, if ignored, can stand out glaringly, undermining the overall aesthetics of your garage.
By adhering to the techniques outlined in this guide, you can achieve a professional finish in your garage drywall repairs and painting projects. Every step, from the initial repair process to the final coat of paint, demands precision and patience.
Remember, a flawless repair not only enhances the visual appeal of your garage but also reflects your commitment to quality workmanship. With attention to detail and the right approach, you can transform your garage walls, leaving them looking polished and professionally restored.
Thank you very much for reading the post. I do hope you found it informative and useful.