Distance Between Wall Studs for a Garage: Comprehensive Guide
As an Amazon Associate, I earn from qualifying purchases.
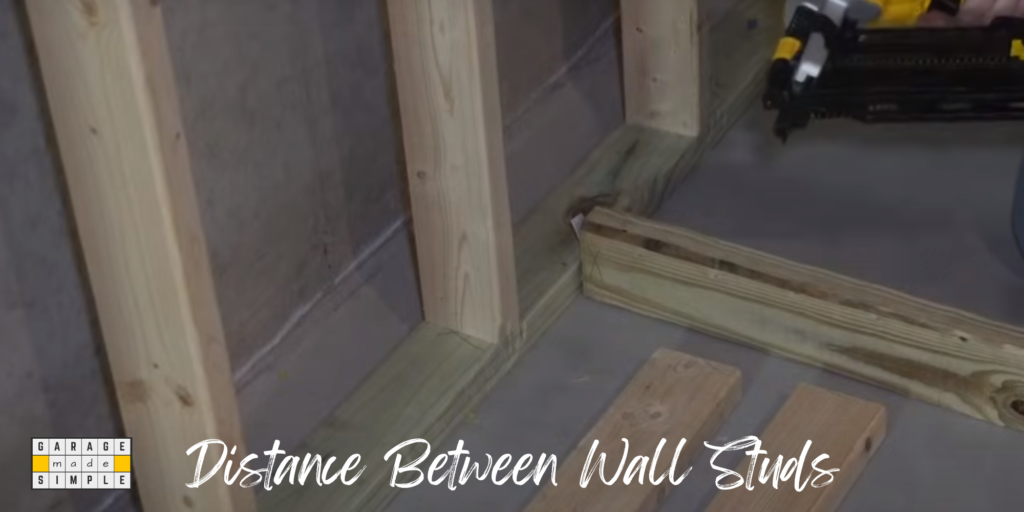
What Is the Standard Distance Between Wall Studs?
The industry standard for distance between wall studs is 16 or 24 inches on center (OC).
The 16-inch on center standard is the industry standard for residential wall framing, while the 24-inch on center standard is commonly used in outbuildings or other structures that aren’t homes.
The distance between wall studs in older homes may be 24 inches apart. It is even possible that they are spaced irregularly, as there were no industry standards in those days.
Table R602.3(5) of The 2021 International Residential Code (IRC) requires that studs are either 16” OC or 24” OC depending on the stud size and loading.
The distance between wall studs is extremely important. Moreover, there are 7 clear benefits of having a standard distance between wall studs. The benefits are as under:
- Even load distribution
- Meets industry standard
- Building code compliance
- Sheathing material size
- Matches insulation batts
- Pegboard & slatwall friendly
- Helps locating studs
16 Inch on Center Vs 24 Inch on Center
The distance between wall studs, along with its size is key to determining the load-bearing capacity and structural integrity of a stud framed wall.
The two most common stud spacings are 16 inches on center (OC) and 24 inches on center (OC). The two most common wood stud sizes used in residential wall framing are 2×4 and 2×6.
In the context of garage wall framing we almost always use 2×4 studs with distance between wall studs being 16 inches on center (OC).
When to Use 16-Inch on Center Stud Spacing
- When the garage wall requires high load-bearing capacity to support heavy shelves, cabinets, or equipment.
- When constructing a garage workshop or storage space for valuable or heavy items.
- For garages located in high wind zones or where the grade is less stable.
Advantages of 16-Inch on Center Stud Spacing
- Stronger and more robust framework
- Reduced risk of wall deflection
- Better support for heavier loads
When to Use 24-Inch on Center Stud Spacing
- When the garage’s primary function is for parking vehicles. There is little or no need to hang loads from the walls.
- When cost is an important consideration.
- For garages where long lifespan is not necessary.
Advantages of 24-Inch on Center Stud Spacing
- More economical, requiring fewer studs and materials
Stud Spacing in Older Houses
- Older houses may have irregular stud spacing, ranging from 12 to 24 inches on center.
- Contractors working on older structures should always check the distance between wall studs as current standards can not be taken for granted.
How Standard Distance Between Wall Studs Help in Find Studs
Yes, the wall studs are there primarily to hold up the garage wall and the roof. But that’s not all. You are going to want to hang all kinds of stuff on your garage walls and you can do it only by attaching the load to the garage wall stud.
Which means you need to find the studs. Stud finders are the easiest way to do it. But what if you don’t have one readily available. This is where the standard distance between wall studs (typically 16” OC) is a life saver. Use one of the hacks below to find all the garage wall studs.
Measuring from the Corner
- Your garage has to have a stud at each corner,
- Measure 16 inches from the corner of the garage.
- Mark the spot with a pencil.
- Keep going and you will have all the garage wall studs marked out
Using the Location of Switches and Outlets
- Locate a light switch or an electrical outlet. These are almost always placed on the center of a stud. But sometimes, they can be on the edge.
- Knock on either side of the switch or outlet.
- The side that returns a solid sound is the stud side.
- Measure 3/4 inch away from the outlet on the stud side and mark the spot with a pencil.
Looking at the Trim
- Inspect the baseboard for dimples, which are holes filled with caulk and paint.
- Dimples indicate where the baseboard is nailed to a stud.
- Measure 16 inches from each dimple to locate the studs on either side.
Using a Magnet
- Use a strong neodymium magnet to locate the metal screws used to attach the drywall to the studs.
- Move the magnet slowly around the wall’s surface until you feel it pull to one of the screws.
- Mark the spot with a pencil.
Pre Drilling the Wall
- Make an educated guess of where the stud should be.
- Pre-drill a hole through the drywall with a narrow drill bit.
- If the bit hits a stud, you will feel resistance.
- Even if you are wrong, it is relatively easy to patch up a small drill hole.
- Mark the spot with a pencil.
If All Else Fails
Use a stud finder. Check out: Zircon Multiscanner A200 Electronic Wall Scanner
Expert Tips
- If you are having trouble finding a stud, try using multiple methods.
- Be careful not to damage the drywall when pre drilling.
- Always mark the location of studs with a pencil before hanging any heavy objects.
Thank you very much for reading the post. I do hope you found it informative and useful.