How To Drywall Your Garage Walls? (A Really Helpful 10 Step Guide!)
As an Amazon Associate, I earn from qualifying purchases.
How To Drywall Your Garage Walls?
So your garage is done. The foundation, floor, stud walls, the roof and even the insulation is in place. All that is left to be done is to drywall the garage. But how to drywall your garage walls as a novice DIYer?
With a helpful step by step guide, you can drywall your garage walls as a DIY project. Drywall boards are heavy so do request a family member or friend to help you. The tools required for the project are minimal.
In this post I outline a 10 step process which will let you drywall your garage walls like a pro. So let’s get started: basically you have to edges on drywall do you have the factory edge for the butt joint and then you have the other and picked it up but it rides a certain depth and then it has a little scoop here
STEP 1: Prep the Garage
An important point to keep in mind is that you must drywall the garage ceiling before you drywall the garage walls. Make sure, using an 8 foot level, that the ceiling is perfectly level. If not, make the required adjustments.
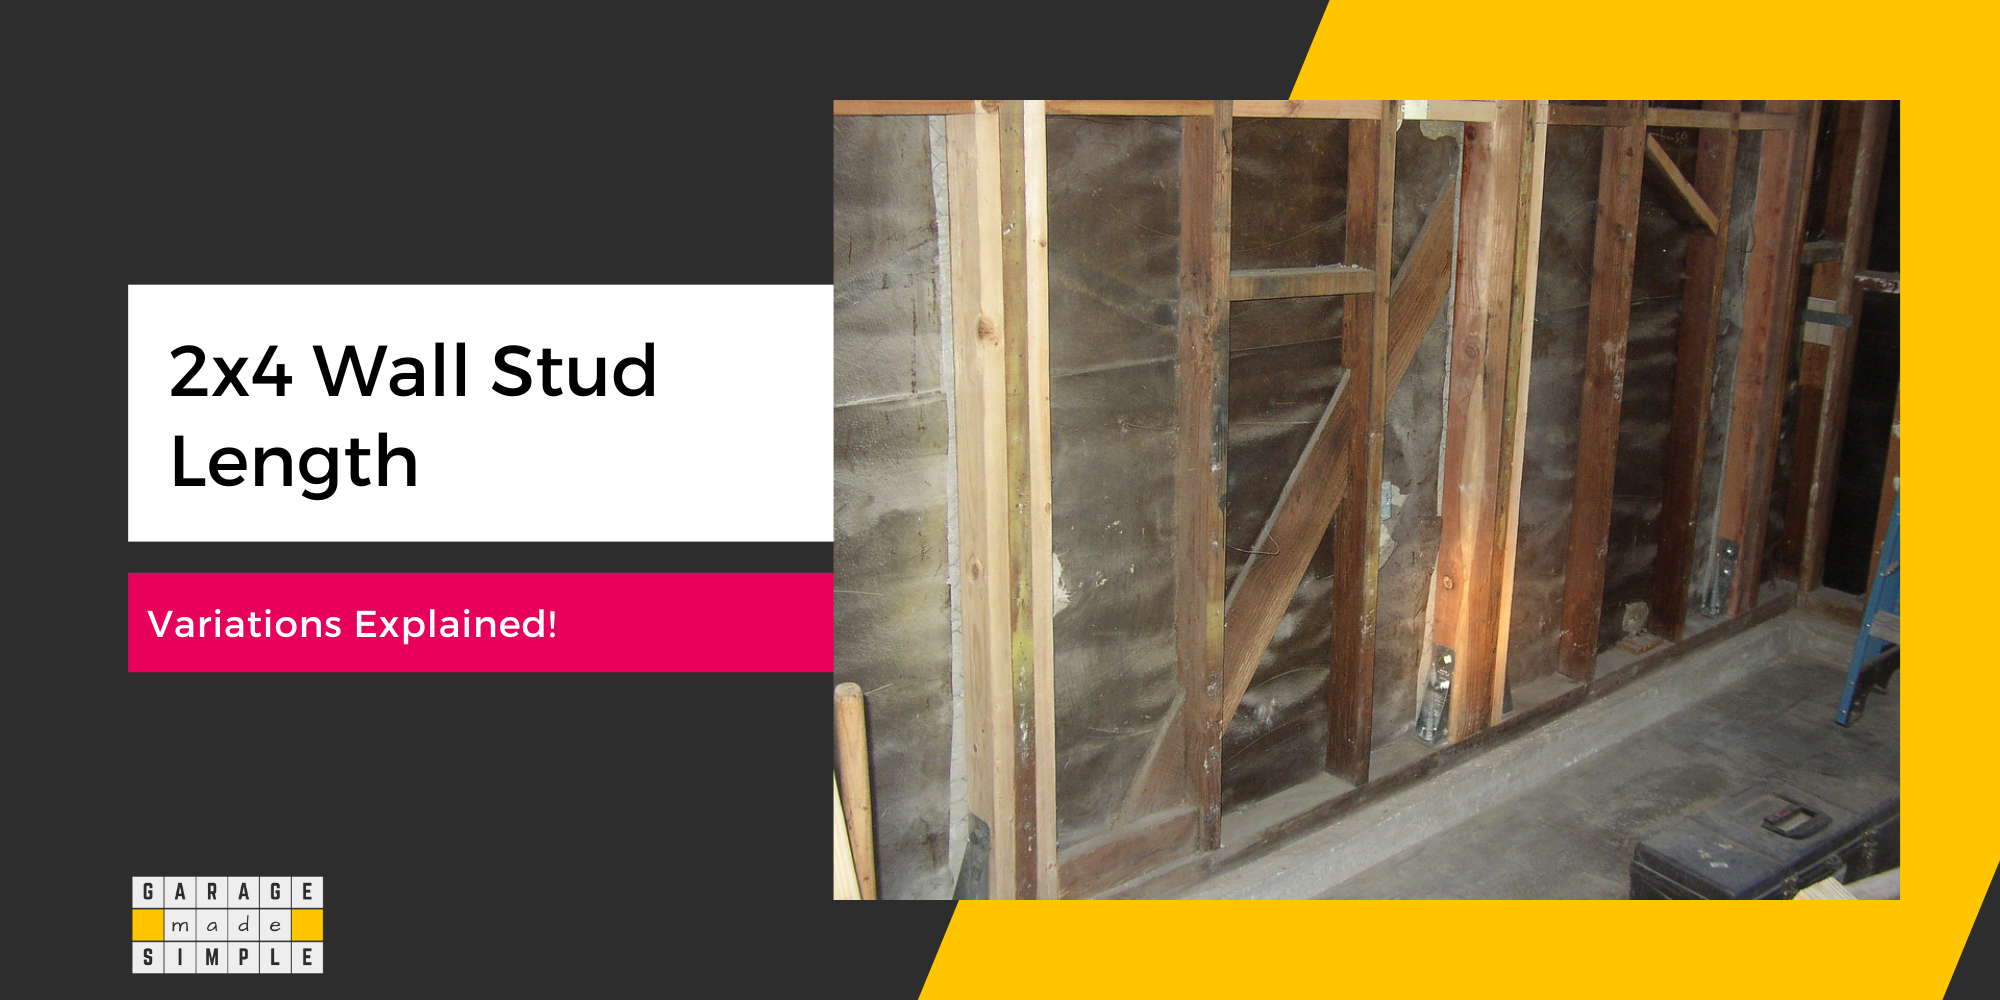
You also need to make sure that studs on the walls are straight and level. Sometimes a stud may be warped. If not corrected the drywall on your garage walls will not be level and smooth.
Check each stud for nails or screws that may be jutting out. These need to be pulled out or removed. Also check for electrical wires or insulation that may be protruding beyond the studs. Tuck them in and secure them.
STEP 2: Measure for Bill of Materials
To get the bill of materials you need to measure the total area of the surfaces that will be drywalled. You will be able to use 4’X8’ boards in most areas of a garage ceiling & walls.
PRO TIP: Try to use full boards, as far as possible. It reduces wastage and the extra effort of making a butt joint and taping it.
Nonetheless you must buy at least 10% more than the measured area to allow for wastage.
For an attached garage you should go for drywall with a thickness of ⅝” to comply with 2021 International Residential Code (IRC). For a detached garage drywall with a thickness of ½” will be fine. For more information check out my earlier blog post What Type of Drywall is Best for Your Garage? (A Helpful Guide!).
You will need a lot of drywall screws. A 4’X8’ drywall board requires a minimum of 32 screws (4 each for the middle 5 studs and 6 each for the 2 end studs).
PRO TIP: Use 37 screws for every 4’X8’ drywall board for higher strength and better finish (5 each for the middle 5 studs and 6 each for the 2 end studs).
Make sure that you get the right screws. The threads on the screw can be fine or they can be coarse. The screws with the fine thread are meant for metal studs. Since garage wall studs are usually 2X4 wood studs, you need to get the screws with the coarser threads.
A screw with a fine thread will not get a good grip on the wood stud. The drywall may tend to pop out.
It is also important to get screws with the right length.
THUMB RULE: Take the thickness of drywall and multiply that by 2 ½. That is the length of the screw that you need.
So, if you are installing a ½” thick drywall, you need a 1 ¼” long screw (¾” to go into the stud and ½” to cover the thickness of the drywall).
And if you are installing a ⅝” thick drywall, you need a 1 ⅝” long screw (1” to go into the stud and ⅝” to cover the thickness of the drywall).
PRO TIP: If the screw is too long you may accidentally screw right into electrical wiring. If the screw is too short it won’t hold the weight of the drywall.
STEP 3: Assemble the Tools
Assemble all the tools and material beforehand. It will save you a lot of time while you are putting the drywall on your garage walls. You will need the following:
- Stepstool, Ladder, Work Platform
- Utility Knife, Rotozip, Drywall saw, Handsaw
- Drywall hammer, Rasp
- Drywall T-Square, 8 foot level, Measuring tape
- Screw gun
- Personal Protective Equipment (PPE)
- Drywall lifter (not essential if you have strong helping hands)
STEP 4: Planning & Cutting Drywall
Make a rough sketch (but to scale) of each wall with the studs on 11×17″ Blueprint and Graph Paper sheets. Cut several rectangles of colored craft paper (to the same scale) to represent 4’X8’ drywall boards.
Have fun laying out the “drywall” rectangles on the “garage walls”. Figure out the combination that requires the least number of cuts.
NOTE: In this little game, the butt joint of one row or column must not align with the butt joint of the adjoining row or column.
You will, of course, need to make cuts. Some will be straight edge cuts. Others will be holes, square, rectangular, round, whatever to accommodate electrical outlets, smoke alarms, etc.
How to Make a Straight Edge Cut?
All you need is your utility knife and your Drywall T-Square (Check out Big Horn 19583 48-Inch Heavy-Duty Drywall T-Square).
PRO TIP: You just need to cut the paper, not the gypsum below it. A deeper cut will only dull the sharpness of your utility knife.
A 48” Drywall T-Square lets you cut right across the width of a 4’X8’ drywall board. Slice the paper on both sides, give it a snap and you have a neat cut.
How to Make a Square or Round Hole Cut?
You will need to make holes in the drywall to accommodate plug boxes, light fittings, etc. This is best done with a Rotozip tool.

The alternative to Rotozip is the Drywall Saw. I do not recommend using a drywall saw because it is extremely sharp and can cause really bad cuts in case of any mishap.
PRO TIP: Never cut drywall or make holes in drywall in advance based on measurement. Cut as you progress. You won’t mess up!
STEP 5: Always Drywall Ceiling First
The rule is that you must drywall the garage ceiling before you drywall the garage walls. There is a reason for this rule.
You do not want any gap between the drywall edge on the wall and the ceiling, but you want a gap between the drywall edge on the wall and the floor.
PRO TIP: Drywall should never be in contact with the concrete garage floor. The dampness in the concrete will wick into the drywall and encourage mold growth.
For more information please check out my earlier post How To Protect The Bottom Of Drywall In A Garage?
Drywalling the garage ceiling is a lot more difficult than drywalling the garage wall due to the height and the angle. A drywall 4’X8’ board weighs between 50 – 60 pounds. It’s tough holding it 8’ high next to the garage ceiling, even for two people.
If you must work alone or just want to make the installation a bit easier you can use a FDW Drywall Lift Panel. This one has good reviews but many do not.
The other difficult part of installing drywall on the garage ceiling is taking care of recessed lights, smoke alarms, etc.
To ensure that you do not miss out on any of them, locate them and get the coordinates as you go along, board by board. Cut the holes as you install each board. Do not wait till the end.
PRO TIP: Make doubly sure that the power is switched off when fiddling around with electrical fittings on the ceiling.
STEP 6: Hanging Drywall on the Garage Walls
Get the first board right and it will be a cakewalk after that. The first board goes against the ceiling and one corner. Make sure the top edge of the vertical drywall is flush with the ceiling. One of the sides should align with the side of the adjoining wall.
The next board goes below this one and it will most probably require some cutting. Measure the distance between the bottom of the first board and the floor at three points. The width of the bottom board should be a ¼” shorter than the shortest distance.
You will end up with a gap between the bottom edge of the bottom board and the floor. This is actually a good thing. The drywall will not get moist from the floor and the gap can be concealed by a garage floor trim or garage wainscoting panels.
PRO TIP: Use a Drywall Panel Foot Lifter. It slips under the panel while you can step on it with your foot to lift the panel off the floor. Helps keep both your hands free!
Check out Drywall Panel Lifter + Edge Rasp + Scraper

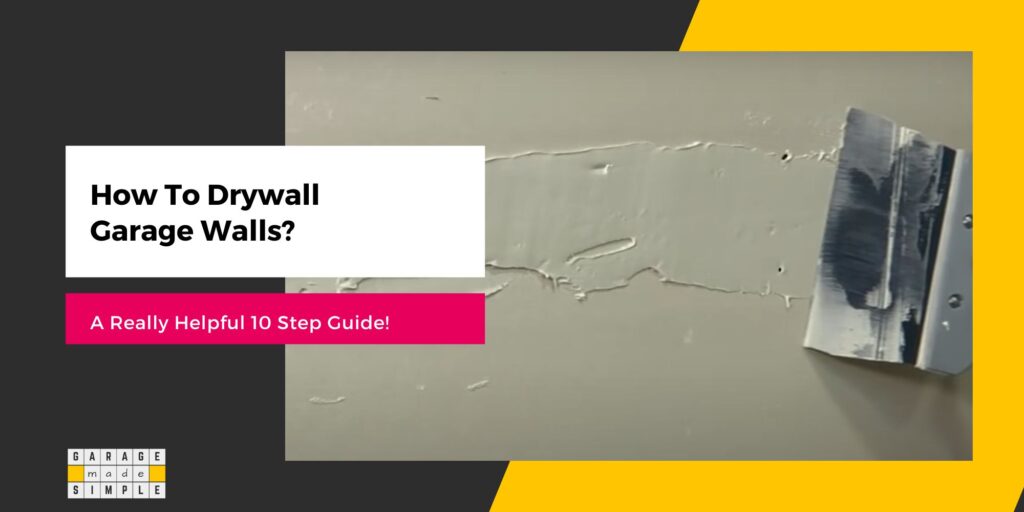
STEP 7: Mudding & Taping Drywall
The job is only half done after you have installed all the drywall sheets. Finishing the drywall are the next few steps. This involves mudding & taping to begin with.
A craftsman is only as good as his tools. So here are the basic tools that you need for mudding & taping the drywall.
- 6” Flexible Blade Knife
- 4”X10” Knife
- 13” Aluminum Hawk
- Mixing equipment (Variable Speed Drill)
- Sponge
In addition to the tools you need tape & mud.
Tape is for covering the seams between panels. Tape can be made from paper or fiberglass mesh. Unless the joint is wide, paper tape is better. The fiberglass mesh tape is better if the joint is wide. The mesh helps to bridge the gap and hold the mud in place.
PRO TIP: Only mud with hardener will stick to fiberglass mesh tape. Normal mud will not.
Mud is made from gypsum, limestone and other fillers. It can be bought dry as a powder (to be made into a paste by adding water) or ready to use paste. Drywall mud, the same as jointing compound, is used to cover screw or nail holes and all other imperfections.
The mud that you use to fill the joint gaps should have a hardener in it. This helps the mud to dry & harden quickly. This is applied before taping the joints.
PRO TIP: Most ready to use drywall mud is too thick. Add some water & mix to get a thinner but smoother paste for initial mudding. Add more water to the paste & mix for the top coat. You will spend less time sanding.
When taping the seams, it is best to do the wall corners first. Do not apply paper tape on paper tape. Paper tape should adhere to the mud on the drywall corners. You want to make sure that the adhesion is good and no air bubbles form under the paper while it dries.
PRO TIP: After taping has been done, wet the paper tape on the top by wiping mud on and off on the surface. When the paper tape is wet on both sides it dries without forming any air bubbles and peeling off.
Next, apply mud vertically on the horizontal seams, top to bottom getting 2” of mud on each side of the seam. Remember, no tape on tape and wet the top of the tape by wiping mud on and off on it.
In a similar way you complete taping the vertical seams and the ceiling corners. And of course you need to cover up the screw holes with mud and make the surface real smooth.
Outside corner beads will be required on a wall that has the garage door, garage entry door to the house or a window.
If you have been doing a decent job of mudding & taping then you won’t need to sand them before applying the second coat. Apply the second coat the next day.
On the third day remove the ridges with the drywall knife. You still do not need to sand. Apply the third coat with the intention of getting as smooth as possible.
Once the third coat has dried (45 – 60 minutes) you want to apply the finish coat. The mud for the finished coat needs to flow better for getting the drywall really smooth. The finishing mud is prepared with some extra water.
PRO TIP: When applying mud on vertical drywall, move your knife from bottom to top. You will not drop too much mud on the floor.
STEP 8: Sanding the Drywall
How much sanding needs to be done depends on how the mud was applied on the drywall. Good mud application means you need to sand less. That is less work and less dust. Poor mud application means just the opposite. More sanding, more work, more dust.
Sanding is never a fun thing. The dust from the dry mud gets all over the garage. When you drywall the garage walls of an attached garage, the dust will even get into your house. So how can you avoid or at least minimize the clean up operation?
PRO TIP: Create “negative air” in the garage, when sanding drywall.
Fortunately, creating “negative air” in the garage is not some complex engineering feat. All you need to do is seal all the doors, windows & cracks (except one small window) with clear plastic sheets using masking tape.
Cut a small hole, 6” – 8” in diameter, in the sheets farthest from the window that has not been covered. Run a simple plastic duct from a portable fan within the garage that leads out of the open window.
If you run the fan at a high enough speed, fresh air will be sucked in from the hole you made while dust laden air from the garage is pushed out of the window. (An exhaust fan will do the job as well).
If you can’t set up “negative air” then use a mask for sure.
The airborne dust will go out of the window. If you have been clever enough to lay a plastic sheet on the garage floor, the balance will fall on it. It will be easy to clean the dust off the plastic sheet, once you are done sanding.
I highly recommend using Radius360 Sanding Tool as it will make your job a lot easier. Its outstanding features are:
- Up to 3 times faster than a conventional sanding pole, with better results
- No flipping, skipping, or scratching. Movement is flawless with the round shape
- 90-Percent larger then a standard rectangle pole sander, making it the largest surface area sander on the market

Use 150 grit sanding pad or sponges. Aim to remove the ridges only. Do not get obsessed with sanding, trying to get the perfect finish.
STEP 9: Drywall Priming
Drywall Primer is not just any ordinary primer. It has to be a primer sealer.
PRO TIP: Apply drywall primer with some pressure. You want it to penetrate the paper coating of the drywall. Only then can it provide a strong bond and a smooth foundation.
At the same time the drywall primer must seal the surface so that the finish coat of paint is not absorbed by the drywall. Without a good primer sealer the finish coat will end up being patchy. The drywall with mud in some patches will absorb the finish paint at different rates in different areas.
A good drywall primer is thick and has a lot of solids to cover the drywall. I highly recommend using Rust-Oleum ZINSSER Bulls Eye 1-2-3 Water-Based Stain Blocking Primer/Sealer for priming before painting new drywall.
Recommended Primer

Rust-Oleum ZINSSER Bulls Eye 1-2-3 Water-Based Stain Blocking Primer/Sealer
- Interior/exterior primer for use on new or previously painted drywall
- Water-based formula that seals uniformly
- Quick Drying
- Has excellent stain blocking resistance
- One coat hide saves time and money
You must start priming the drywall from the ceiling and then move over to the walls. Use a roller for the main areas and a brush for the edges & corners.
Once priming is done the garage ceiling & walls will look pristine white. All the messy mud & tape will no longer be visible. Some light sanding with a sanding sponge or the sanding tool will get any extra mud off and the drywall ready for painting.
STEP 10: Drywall Painting
You should apply at least two coats of the finish paint. Remember to sand lightly between coats for a smooth finish.
Recommended Paint
Zinsser Perma-White Mold and Mildew-Proof Interior Paint
Zinsser Perma-White Mold and Mildew-Proof Interior Paint (Satin)
- Mold & Mildew-Proof™* paint film- guaranteed for 5 years
- Washable, scrubbable, stain & moisture resistant finish
- Fade Resistant
- Water-base, low odor
- Tintable to off-white, pastel and medium colors
You have done it. Congratulations on your beautifully drywalled garage!
Thank you very much for reading the post. I do hope you found it informative and useful.