Garage Slab Details: 10 Important Specifications From An Expert!
As an Amazon Associate, I earn from qualifying purchases.
What Is the Specification for the Garage Slab?
I get asked this question all the time from first time homeowners and beginner DIYers. Getting all the garage slab details into an easy to read & understand article, is certainly a challenge. So, I decided to take my game a notch up. I sat down with my friend, who is an expert on building garages, and popped this question to him.
According to him, even beginners will get a perfect concrete garage floor if they just understand 10 important specifications for the garage slab and get them right. Here is his list for the 10 specifications for garage slab detail, that you need to know and adhere to:
- Soil Support System
- Vapor Retarder Film
- Concrete Slab Thickness
- Steel Rebar Reinforcement
- Concrete Mix Strength
- Garage Slab Slope
- Contraction & Expansion Joints
- Concrete Curing Conditions
- Surface Drainage
- Sealing & Finishing

1. Soil Support System
Making a perfect garage concrete floor starts with the “soil support system”. After all, the garage floor will rest on it. Get it wrong and you will never get a long lasting, strong & stable garage floor!
The soil support system consists of 3 layers.
Subgrade
Remove 10 to 12 inches of the topsoil. In case the top soil quality is not good, remove an additional 4 inches and replace it with better quality.
Fill up any low areas, smooth out and tamp the surface using a hand or mechanical tamper. The soil should be firm enough for you to walk on without leaving a footprint.
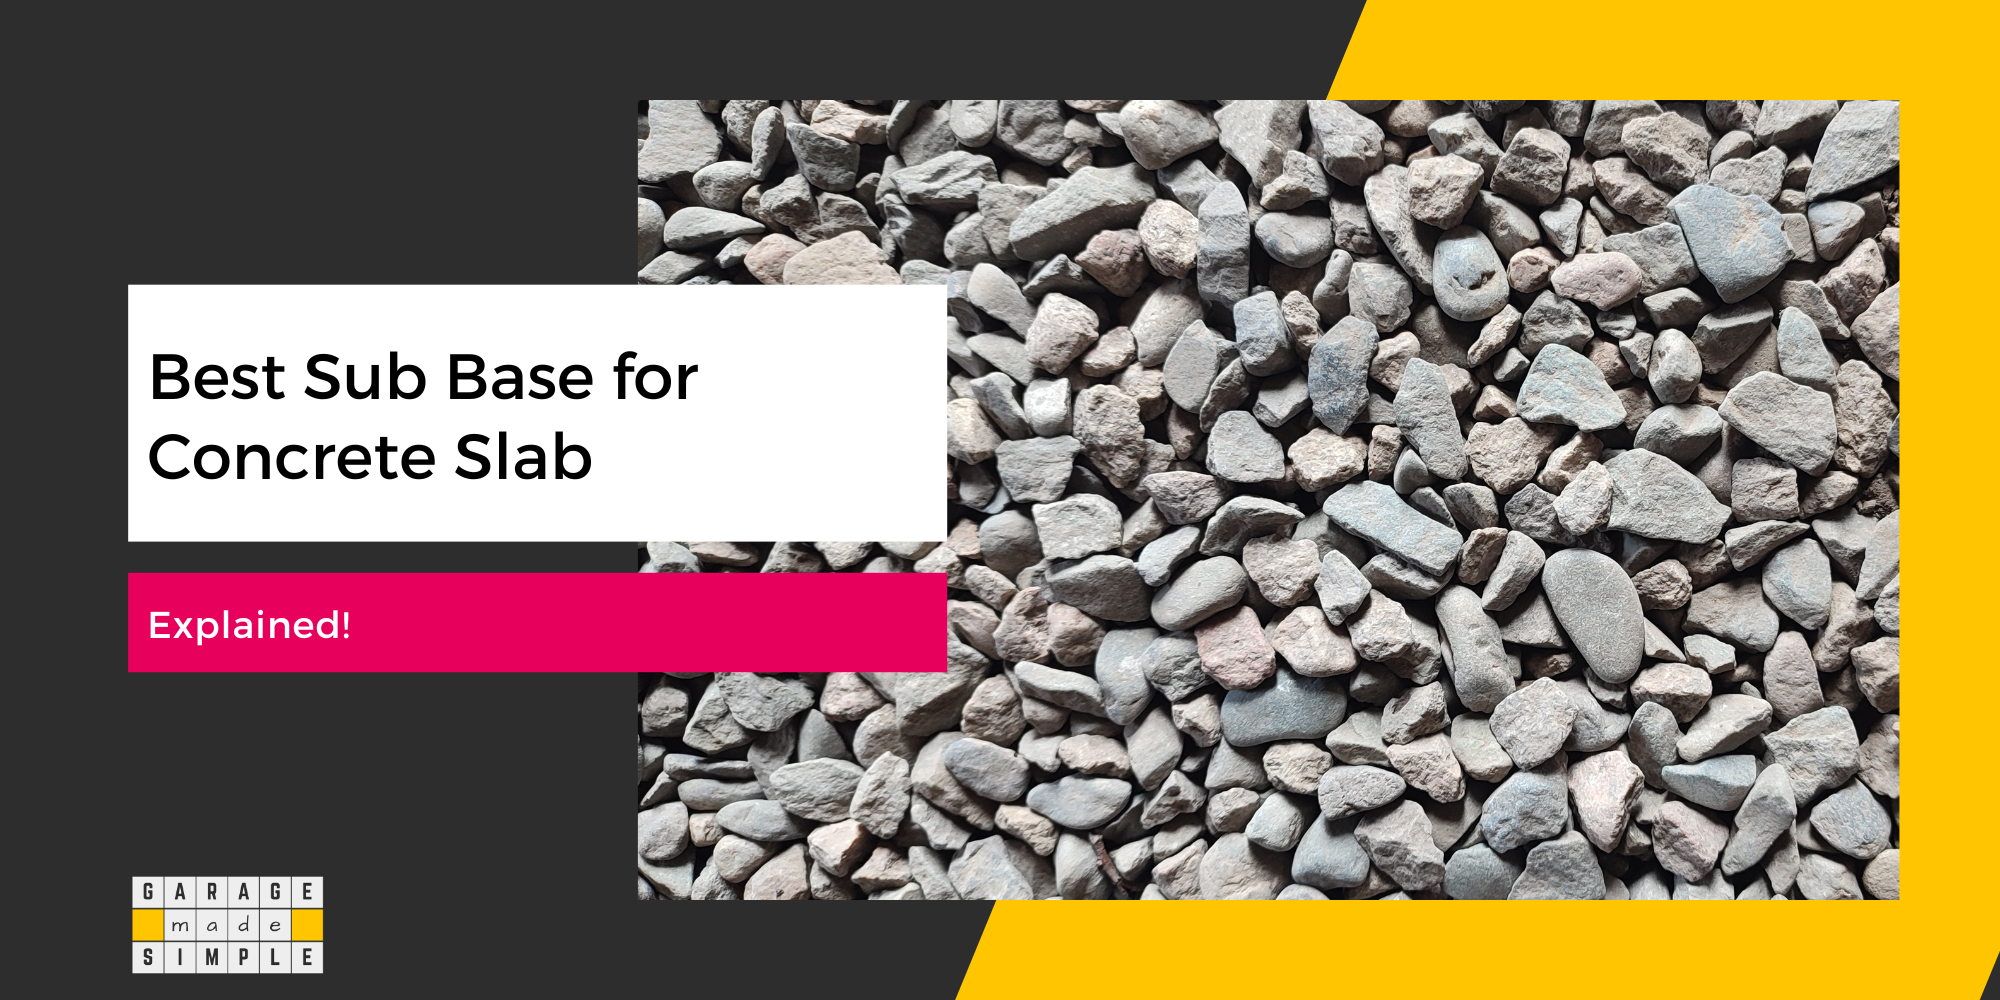
Sub Base
Lay a geotextile on the subgrade. This will prevent the aggregates, that form a part of the sub-base, from getting lost in the grade when it moves under hydrostatic or seismic stress.
Next put layers of compactible gravel, crushed stone or recycled concrete for providing the strength to the base. Layer the sub-base material such that the biggest pieces are in the bottom most layer. The layers must be compacted at each stage for a strong and solid sub-base.
Build up around 4 to 6 inches of this sub-base.
Base
Lastly add a couple of inches of fine gravel & sand and compact it. This layer is the base and will facilitate drainage.
2. Vapor Retarder Film
Section R506.2.3 of the 2021 International Residential Code (IRC) requires the placement of a 10 mil vapor retarder film between the concrete floor slab and the base. However, certain constructions such as garages, driveways, utility buildings are permitted as exceptions to the rule.
While the code does not require you to install a vapor retarder under a concrete garage floor, installing it is a good practice. It will help increase the life of the slab considerably.
A vapor barrier should be laid over the base before wire mesh or rebars are placed on chairs. Vapor barrier is a film with low permeability. It prevents the migration of moisture from an area of high concentration to an area of low concentration.
When you place a vapor barrier between the base and the concrete slab, you stop the ingress of moisture into the concrete slab from the grade below. This will protect the concrete slab from deterioration.
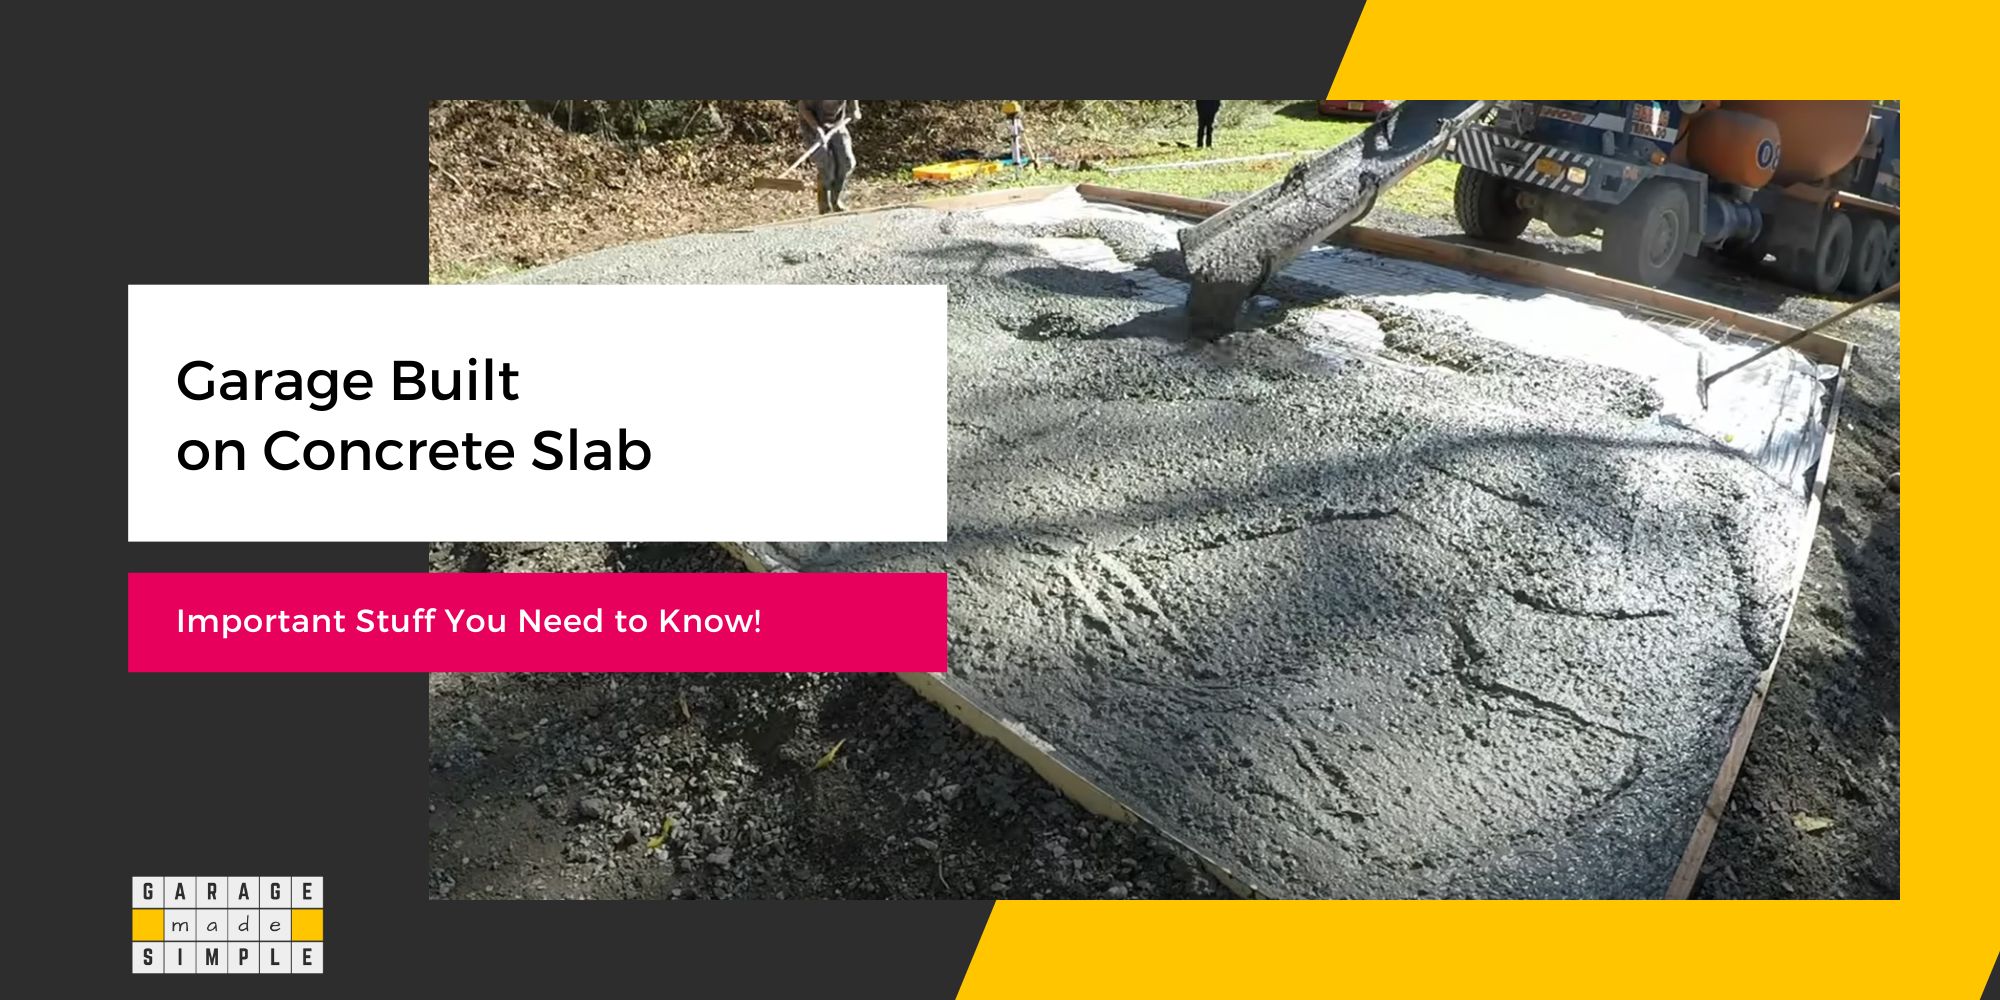
3. Concrete Slab Thickness
The thickness of the concrete slab plays a crucial role in determining the strength of the garage concrete slab. As a rule of thumb, the thicker the concrete slab the stronger it is. A thicker slab is less likely to crack under stress.
The code requires the minimum thickness of slab on grade to be 3.5 inches.
ACI 332 Chapter 10 Section 10.4 states that
“The minimum thickness of slabs-on-ground shall be 3.5 inches”.
A slab thickness of 4” is the right specification for residential garages that will have light loads such as standard passenger cars and shelves for storage.
However, a slab thickness of 6” is preferable if you anticipate parking heavier SUVs or trucks, now or in the future. A slab thickness of 6” is also preferable if you are a keen DIYer and plan to have a workshop in the garage.
Increasing the slab thickness from 4” to 6” will increase the load bearing capacity of the slab by 50%. But there is another advantage. You can add rebar!
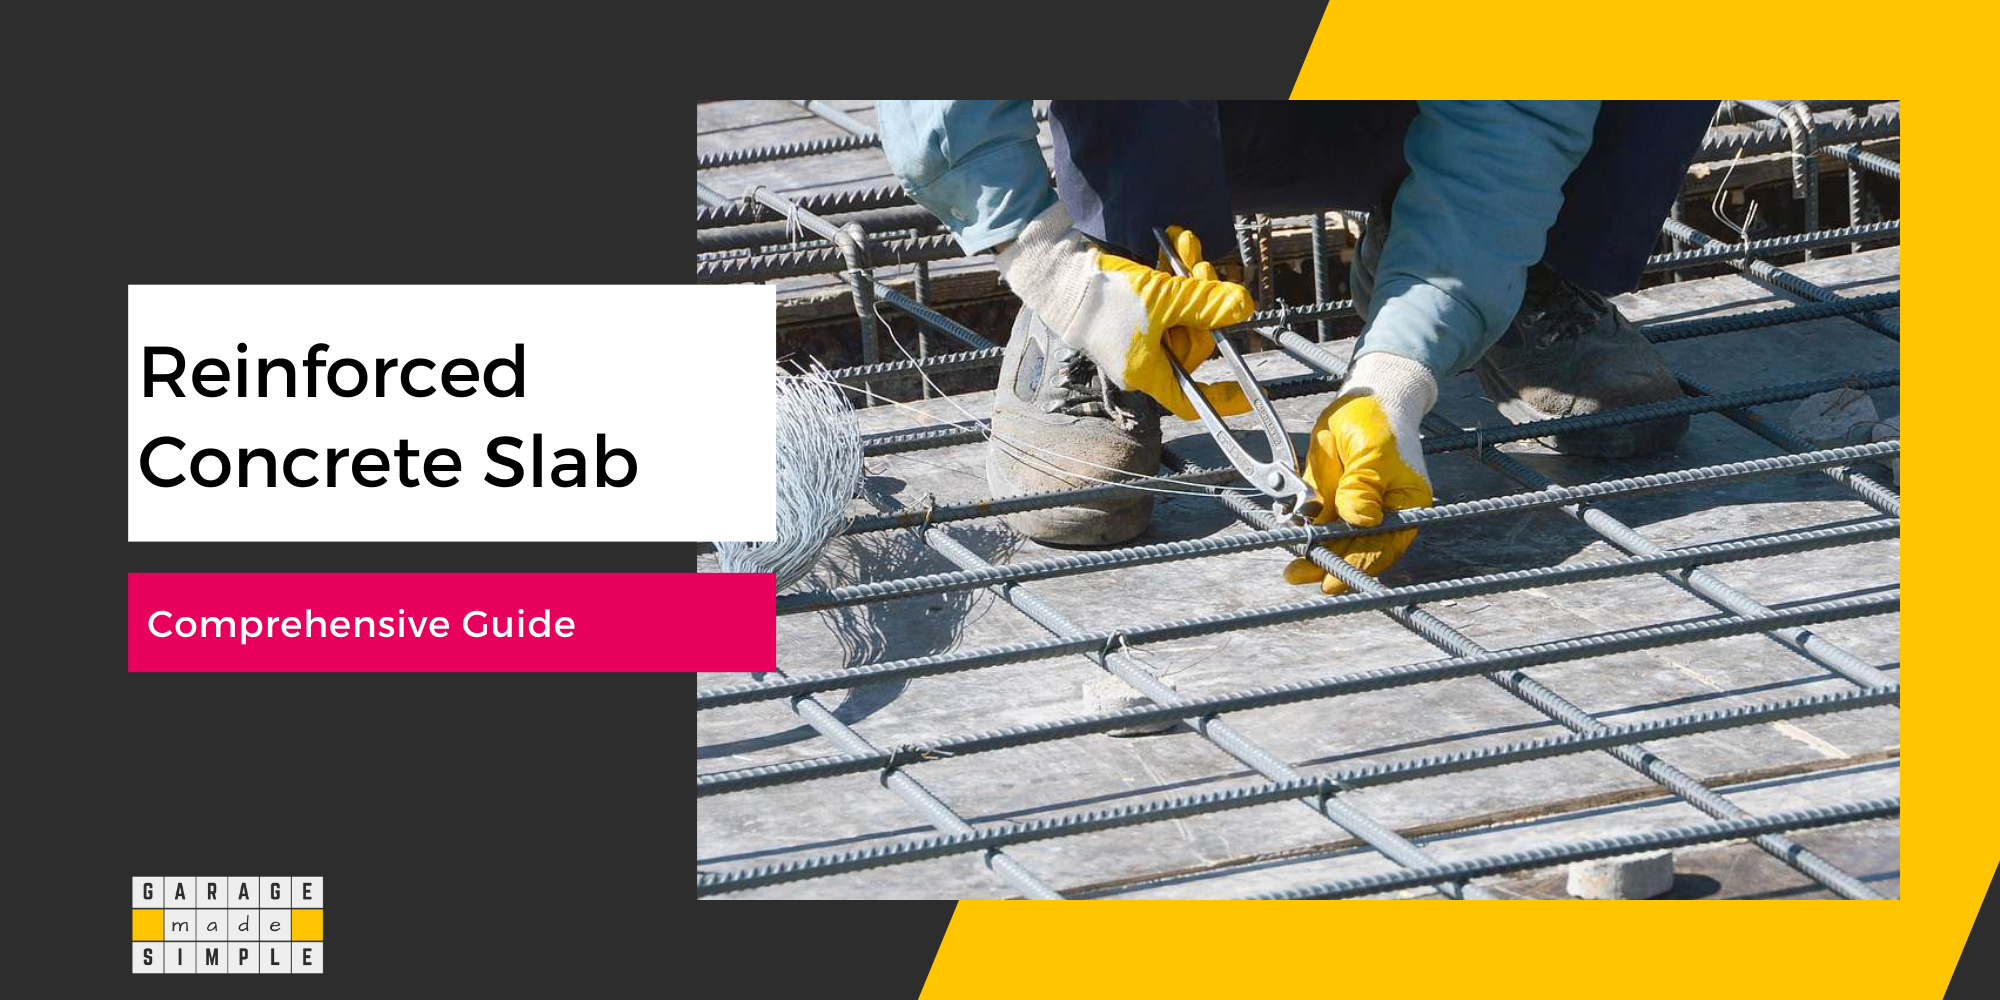
4. Steel Rebar Reinforcement
Concrete has high compressive strength but relatively poor tensile strength. Reinforcements, such as fiber mesh, wire mesh and steel rebars increase the tensile strength of a concrete slab, beam or column.
You can incorporate fiber mesh and wire mesh in a 4” thick slab, but you can not incorporate steel rebars in it. Rebars can only be incorporated in slabs that are at least 5” thick.
When considering garage slab details, the best specification is a 6” thick slab with steel rebar reinforcement.
5. Concrete Mix Strength
Concrete Mix Strength, measured in psi, is the maximum compressive strength a concrete mix will achieve after full curing (28 days).
Table R402.2 of 2021 International Residential Code (IRC) requires the “Minimum Specified Compressive Strength” for garage floor slabs to be:
| Weathering Potential | Compressive Strength (PSI) |
| Negligible | 2500 |
| Moderate | 3000 |
| Severe | 3500 |
Concrete Mix suppliers require you to state the psi of the concrete mix you wish to order.
6. Garage Slab Slope
The garage slab must slope towards the garage door or a drain. Garage slab slope is required by code.
Section 309.1 of the 2021 International Residential Code (IRC) stipulates:
Garage floor surfaces shall be of approved noncombustible material. The area of floor used for parking of automobiles or other vehicles shall be sloped to facilitate the movement of liquids to a drain or toward the main vehicle entry doorway.
How much should the slope be? The code does not give a number, but the best practice is to pour the garage slab with a 2% slope. This is roughly a pitch of ¼” for every foot. More specifically, for a 24’ deep attached garage, the door end will be 6” lower than the house end.
7. Contraction & Expansion Joints
Both contraction (aka control) and expansion (aka isolation) joints must form a part of the garage slab details. They are similar but not the same.
Contraction Joints (aka Control Joints) are either indented in fresh concrete (or cut with a saw the next day) to encourage shrinkage cracks to stay within the joint and not spread randomly, all over the slab surface.
A contraction joint should be 1/8″ wide and a quarter of the slab thickness deep.
Contraction joints should be placed no less than 2-3 times (in feet) the thickness (in inches) of the slab. In other words 8-12 feet apart for a 4” thick slab on grade.
Expansion Joints (aka Isolation Joints) are created using forms prior to the concrete pour. They give space for the concrete driveway to expand and contract when the temperature changes.
An expansion joint should be 3/8″ wide and as deep as the slab thickness.
Expansion joints should be placed where the garage slab meets an obstruction such as the house wall foundation, garage apron or the driveway.
8. Concrete Curing Conditions
The concrete curing process begins as soon as water is added to the cement-aggregate mixture and continues indefinitely. Curing is a chemical reaction, called hydration, between water and cement to form web like crystalline structures that bond the aggregates together.
Following factors are important to ensure the concrete slab has the required strength.
- Curing Time – Concrete Mix for Garage Floor is considered as fully cured 28 days after placement (under normal environmental conditions). The slab would have achieved 90% of its potential strength.
- Evaporation Rate – The rate at which water evaporates from the concrete during the curing process has a direct impact on the hydration process. Evaporation Rate is affected by
- Relative Humidity
- Ambient Temperature
- Wind Speed
The rate of evaporation can be controlled by adopting techniques such as ponding, sprinkling, covering with wet cloth, plastic film or reinforced paper or vapor barriers.
9. Surface Drainage
Garage floors get wet for a variety of reasons. Vehicles bring in rainwater and snow. Rainwater often floods the garage through the large garage doors. There can be seepage through the walls and leakage from the roof.
Water pooling on the garage floor is damaging and unsafe. Water permeation results in crack development and coating failures in concrete garage floors.
Besides sloping the floor, installing a surface drainage system, is a good way to ensure that water does not stay on the garage concrete slab for too long. The drain system, consisting of channels or trenches, is best installed in the floor, during the concrete pouring process.
10. Sealing & Finishing
Concrete is strong and durable. But it is also vulnerable to water and chemicals. To ensure you have a long lasting garage floor, you must seal the concrete slab immediately after it has fully cured (28 days).
By sealing the garage floor you prevent moisture, water and chemicals from penetrating into the concrete and degrading it. A sealer extends the life of the floor and enhances its looks. A sealed garage floor will be less dusty and easier to clean & maintain.
A concrete floor sealer can be either a “Penetrating Sealer” or a “Topical Sealer”.
A penetrating sealer permeates into the pores of the concrete, solidifies and blocks them. It does not form any film on the surface.
A topical garage floor sealer, on the other hand, forms a clear film on the surface of the concrete. The film protects the concrete not only from abrasion but also from water seepage.
You should certainly apply penetrating sealer. You could apply topical sealer and that will protect the floor from abrasive forces. However, the life of a topical sealer is, at best, a couple of years. It is therefore better to replace the topical sealer with an epoxy, polyaspartic or polycuramine coat.
Conclusion
The 10 specifications for garage slab detail, listed above and explained by an expert, are all you need to understand and follow, to get a perfect, long lasting garage floor that complies with building codes.
Thank you very much for reading the post. I do hope you found it informative and useful.