Garage Drywall Installation: 7 Step Guide for Excellent Results!
As an Amazon Associate, I earn from qualifying purchases.
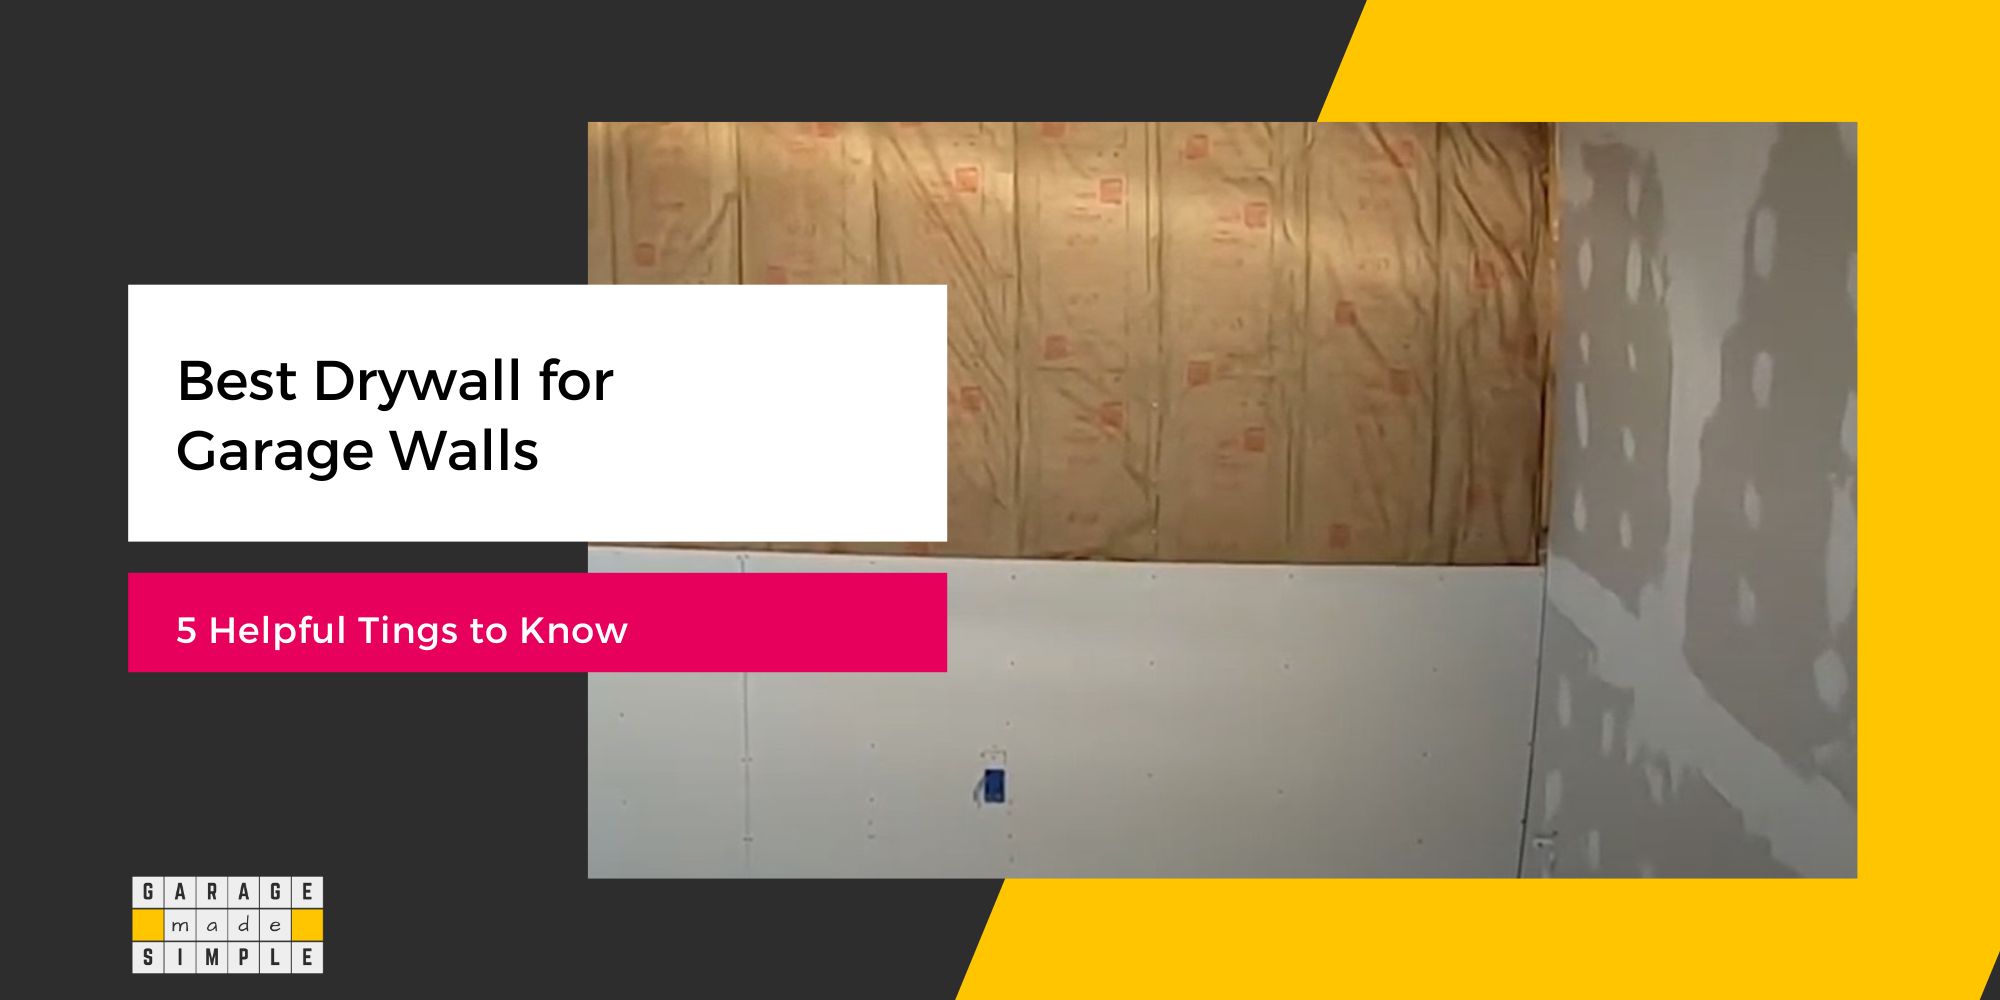
There are several ways to cover the interior of a garage. Undoubtedly, garage drywall installation should rank very high on your options to consider. It will transform the bare space into a functional and stylish garage.
Garage drywall installation is a great way to conceal the not so pretty, but absolutely essential utilities such as electricals, plumbing, insulation, etc.
A well executed garage drywall installation will bring the following benefits:
- Makes the Garage Livable
- Hides Plumbing & Wiring
- Adds Color & Brightness
- Lets you Insulate
- Will Help Reduce Noise
- Relatively Fire Resistant
- Easier to Work With
- Easy to Patch Up
- Low Cost
- Improves Resale Value
For more on this, check out my earlier post 10 Reasons Why It Is Better To Drywall A Detached Garage
1. What to do Before Garage Drywall Installation
Assess Framing
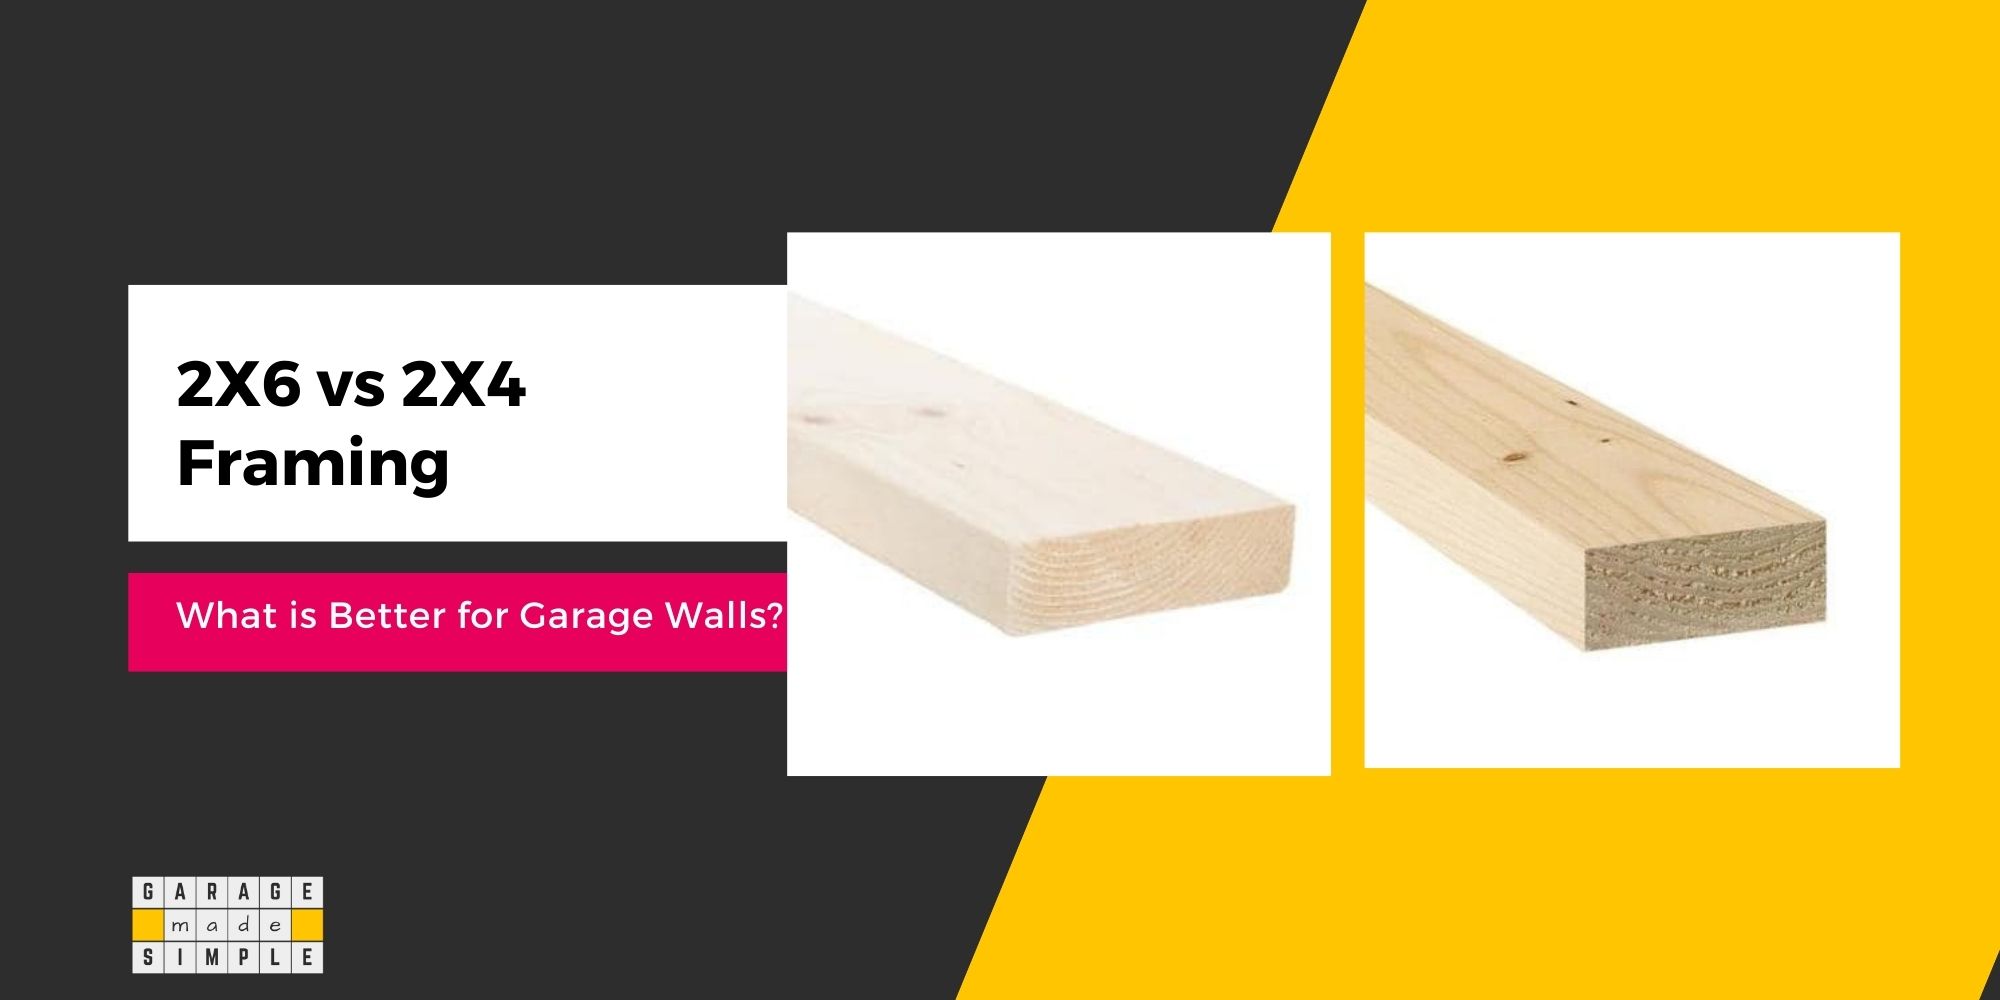
Carefully assess the existing garage wall stud framing to determine if additional framing may be required before the garage drywall installation.
Proper framing is essential for a sturdy drywall garage wall that will not warp or sag. Quite often, unfinished garages may require additional framing clean-up, especially near the ceiling or wall corners.
Rough framing may necessitate additional studs or blocks to support the drywall. Nail blocks may also be needed to hang lighting or mount a cord reel.
You may like to check out my article 2×4 Wall Load Bearing Capacity: A Comprehensive Guide for DIYers
Electrical Wiring
Have a clear vision of how you plan to use your garage and then put this vision into an electrical wiring diagram.
When installing electrical wiring in a garage, make a list of all the proposed electrical devices and equipment, including lighting fixtures, light switches, general purpose outlets, and receptacles.
Place the outlets so they are not blocked by shelves, work benches, storage units, or other equipment. It is best to plan for a few more outlets than you think you need.
It is also a good idea to discuss your vision with an experienced electrician. Incorporate his suggestions and entrust the wiring to him.
Take a look at Garage Lights & Outlets On Same Circuit? (Code & Best Practice!)
Install Insulation
Unless your garage is located in a warm tropical zone, you will need insulation. Put it in before garage drywall insulation and save yourself lots of money and trouble at a later date.
Insulating your garage walls is essential for energy efficiency. Insulation acts as a thermal barrier, trapping heat in the winter and keeping out heat in the summer.
Insulation makes your garage more comfortable and reduces your energy bills. Insulation also prevents moisture buildup, which can damage your drywall.
Not sure which brand of insulation to use? Check out ROCKWOOL® vs FIBERGLAS™ Insulation For Garage Walls (Which Is Better?)
2. Gather Materials, Tools and Safety Equipment
Required Materials for Hanging Drywall
- Drywall sheets
- Drywall screws
Required Tools for Hanging Drywall
- Cordless drill or drywall screw gun
- Utility knife
- Drywall saw
- T-square
- Drywall tape measure
- Drywall rasp
- Corner bead tool
DEWALT XTREME 12V MAX* Cordless Drill / Driver Kit, 3/8-Inch

DEWALT XTREME 12V MAX* Cordless Drill
This cordless drill is compact and performance packed, ideal for precision applications like drilling small pilot holes. It accepts up to a 12-inch spade bit.
At only 5.97-inch length, it is packed to perform with a 2-speed transmission. It also features a bright LED positioned light on the foot to illuminate work areas.
Required Safety Equipment for Hanging Drywall
- Dust mask or respirator
- Safety glasses or goggles
- Work gloves
3. Layout Plan for Garage Drywall Installation
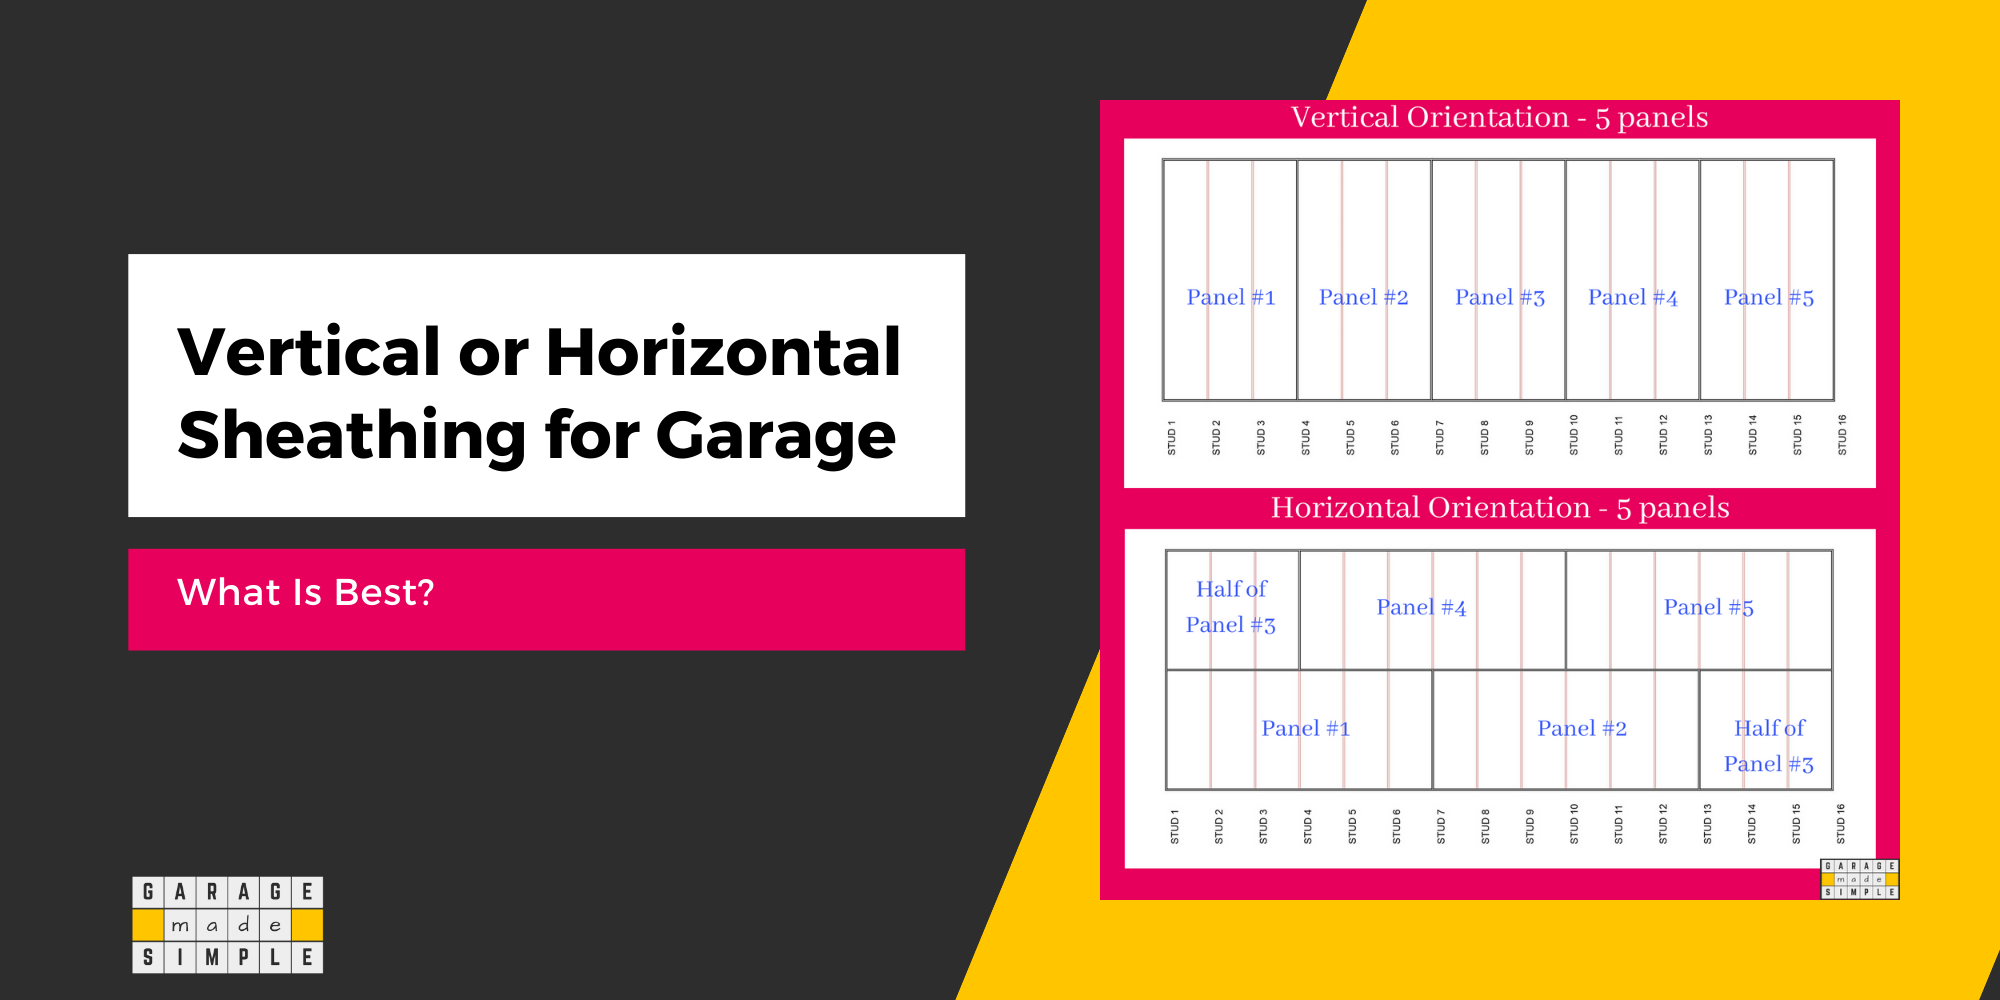
Plan the drywall layout carefully to minimize material waste and reduce the number of cuts. Measure the height and width of the garage walls, accounting for openings like doors and windows. It is best to hang drywall sheets horizontally. The benefits are:
- Can help reduce seam length
- It is easier to tape & mud
- Hides uneven studs
- Strengthens the wall
Horizontal application using 12′ panel lengths is ideal for walls because linear footage of joints is minimized.
USG SHEETROCK® BRAND INSTALLATION
Arrange the drywall sheets so that the seams are staggered. This will improve structural integrity. Mark the locations of electrical outlets and switches for precise cutting.
It is best to leave a slight gap between the drywall and the floor and then cover it up with a garage floor trim.
Before hanging drywall, make sure the framing is level and plumb. Use shims to correct any irregularities. This will ensure that the drywall hangs straight and true.
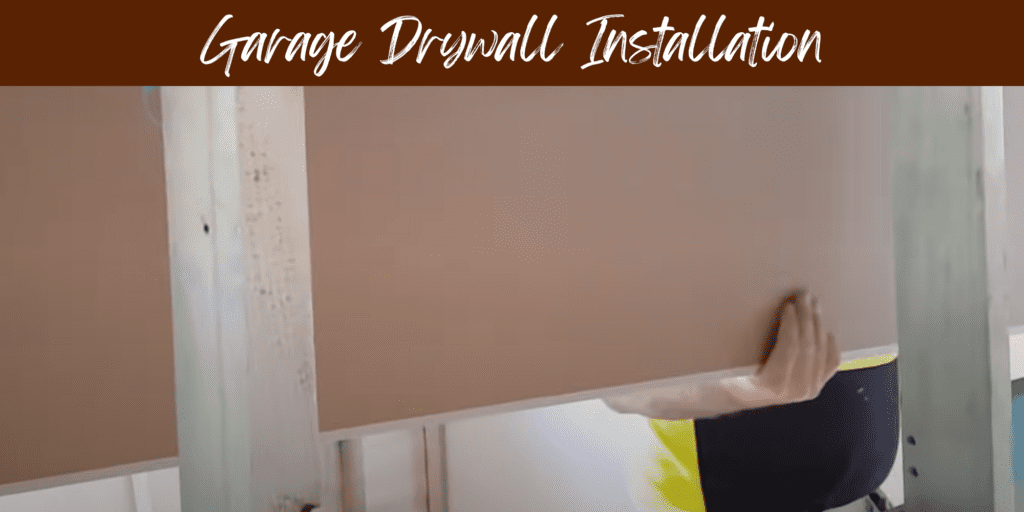
4. Hang the Drywall Sheets
Hanging the First Sheet
The placement of the first drywall sheet is very important for a flawless garage drywall installation. Errors at this stage may only become apparent at the end of the project, which is too late!
Start by placing the first sheet snugly in the upper corner where the wall meets the ceiling. Use a level to confirm that the sheets are horizontal and plumb.
Use 1 5/8 inch drywall screws, at least an inch longer than the drywall width, to secure the sheet to the studs. Adjustments may be necessary to achieve a perfect fit. Space the screws every 8″-12″ along each stud.
Hanging the Remaining Full Sheets
Once the first drywall sheet is secured, hang the remaining full-size sheets, starting with those against the ceiling and adjacent to the already installed sheet.
Attach the drywall sheets to the framing using drywall screws. Drive the screws into the studs at a 30-degree angle, ensuring they are flush with the surface of the drywall. Space the screws evenly, about 6 inches apart.
NOTE: A second pair of hands or a drywall lift is essential and can be very helpful. Secure each sheet with drywall screws along each stud, as with the first sheet.
Cutting Other Sheets to Fit In
After hanging the full-size sheets, you will need to cut sheets to size, so that they can fit snugly and fill up the remaining wall space.
Use a utility knife or drywall saw to make cuts, and secure the pieces with drywall screws.
Shim the sheets as needed to level them and maintain a consistent gap along the bottom. Proper integration prevents moisture infiltration and potential damage.
5. Prepping Drywall for Priming & Painting
Properly prepping drywall for paint is essential for a professional-looking finish. Visible imperfections can ruin the effect, even if you choose the perfect paint color.
Thorough preparation ensures a smooth surface for the paint to adhere to, resulting in durability and a polished appearance. This is important for both beginners and experienced DIYers.
Prepping drywall for paint requires taping the seams and filling up dents, cracks, holes, etc. with mud (joint compound)
For details please read my earlier blog post Prepping Drywall for Paint: Best Secrets Revealed
6. Priming Drywall for Painting
Priming drywall before painting is absolutely necessary for new drywall. Primer improves paint adhesion, seals the porous drywall, reduces paint consumption, ensures uniform color development, prevents stains from bleeding through, and enhances durability.
If you paint new drywall without priming, you may experience uneven paint coverage, premature peeling, staining, and reduced durability.
You can skip priming previously painted drywall if the paint film is not peeling and is in good condition. However, priming new drywall before painting is essential.
How to prime new drywall before painting? Read this Priming Drywall for Paint: Why is it Important & 3 Easy Steps to Do It!
7. Painting the New Drywall in Garage
Of course, painting the new garage drywall is the ultimate objective and the final step in garage drywall installation.
Paint enhances garage aesthetics, makes it livable and protects the garage walls from moisture, mold, and pests.
The right paint for your garage will depend on the desired finish and the level of durability needed. Water-based latex paints are a good option for most garages, as they are easy to apply and clean up.
Unless you are an experienced painter, you are sure to benefit from Painting New Drywall in Garage: Best Step-by-Step Guide
Thank you very much for reading the post. I do hope you found it informative and useful.