How to Mud & Tape Drywall in Garage? (A Quick Helpful Guide!)
As an Amazon Associate, I earn from qualifying purchases.
Does Garage Drywall Need to Be Taped?
Sometimes finishing a garage seems like an unending task. Finally you have managed to hang the drywall on the garage walls. The walls look somewhat finished. But you are not done yet. The drywall is not yet ready for a primer & paint coat. Why? Does the garage drywall need to be taped?
Yes. The garage drywall needs to be taped to cover the seams between the panels. Mud needs to be applied on the screw indentations and the joint tape to get the drywall in the garage to the desired finish level.
Having spent a ton of money, time and effort on hanging the garage drywall, there is no sense in leaving your garage in an unfinished state. Garage drywall that is not mudded and taped is considered to be unfinished (Level 0 on drywall finishing scale).
To know how to mud & tape drywall in garage, you must understand “levels of drywall finishing.
What are the Levels of Drywall Finishing?
The gypsum and related industries have jointly identified 5 levels of drywall finishing, in addition to the unfinished state of Level 0. The levels have been made official and are included in ASTM C840.
The levels are important to determine how to mud & tape drywall in the residential space including a garage. The levels are as under:
Level 0 Drywall Finishing
Level 0 drywall finish is in fact not a level at all. It is the state of an unfinished drywall installation. At level zero the drywall has no tape or mud application. It has just been hung on the wall studs or ceiling joists.
Level 1 Drywall Finishing
Level 1 drywall finish is generally used in areas which will not be visible to the public eye, such as attics or building service corridors. Taping the garage drywall is still necessary to ensure that the drywall joints do not have any air leakage.
This type of taping a drywall is also known as fire taping as it prevents smoke from dissipating from one area to another through the gaps between the drywall panel joints.
Level 2 Drywall Finishing
Level 2 drywall finish requires that mud & tape is applied to all the seams. The tape is embedded in the joint compound (mud) but the mud is wiped so as to leave a thin coat.
Fastener indents and accessories are also covered with one thin coat of the joint compound. The application is purely functional and has little decorative value.
Level 2 drywall finishing is usually applied to walls which will be tiled. Sometimes level 2 drywall finishing may be acceptable in a garage for sections which will be behind shelving, cabinets or storage racks.
Level 3 Drywall Finishing
Level 3 drywall finish is acceptable when the final finish will be a heavily textured coat of paint, stucco coat, commercial grade wallpaper or similar wall coverings. The roughness of the drywall finish will anyway get covered up.
Level 3 drywall finish is a step up from level 2 drywall finish, in the sense that an additional thin coat of the joint compound is applied over the tape and screw indents. The additional coat of the joint compound is applied smooth and should be free of tool marks & ridges.
Level 4 Drywall Finishing
Level 4 drywall finish is recommended where the final finish will be the application of standard residential paints such as flat paint or lightly textured paint. A primer application would be required before the finish coats of paint are applied.
Level 4 drywall finish is two steps up from level 2 drywall finish, in the sense that two additional thin coats of the joint compound are applied over the tape and screw indents.
The final surface shall be smooth enough so that when a flat paint or a lightly textured paint is applied light will bounce off evenly from the surface.
Level 4 drywall finish is not smooth enough for being coated with eggshell, semi-gloss or gloss paints. You need level 5 drywall finish for that.
Level 5 Drywall Finishing
Level 5 drywall finish is the ultimate and the highest quality finish that can be given to drywall. At this level of drywall finishing you can apply semi gloss or gloss acrylic paints or gloss alkyd paint on the drywall.
Summary of the five levels of drywall finishing is in the table below.
| Drywall Finish Level | Joints & Interior Angles | Accessories & Fasteners | Final Appearance | Suitable For |
| Level 0 | None | None | Unfinished | None |
| Level 1 | Tape embedded in joint compound | None | Tool Marks & Ridges are Acceptable | Areas Not Visible to Public |
| Level 2 | Tape embedded in joint compound and immediately wiped to leave a thin coat | One Coat of Joint Compound | Tool Marks & Ridges are Acceptable | Areas Where Appearance is Not Important |
| Level 3 | 1 Additional Coat of Joint Compound Over Level 2 | 1 Additional Coat of Joint Compound Over Level 2 | Tool Marks & Ridges Not Acceptable. Ready for Priming | Heavily Textured Paints |
| Level 4 | 2 Additional Coats of Joint Compound Over Level 2 | 2 Additional Coats of Joint Compound Over Level 2 | Tool Marks & Ridges Not Acceptable. Ready for Priming | Flat & Slightly Textured Paints |
| Level 5 | Same as Level 4 | Same as Level 4 | Same as Level 4 + Primer Surfacer or Skim Coat | Semi-Gloss & Gloss Paints |
Information Source: USG
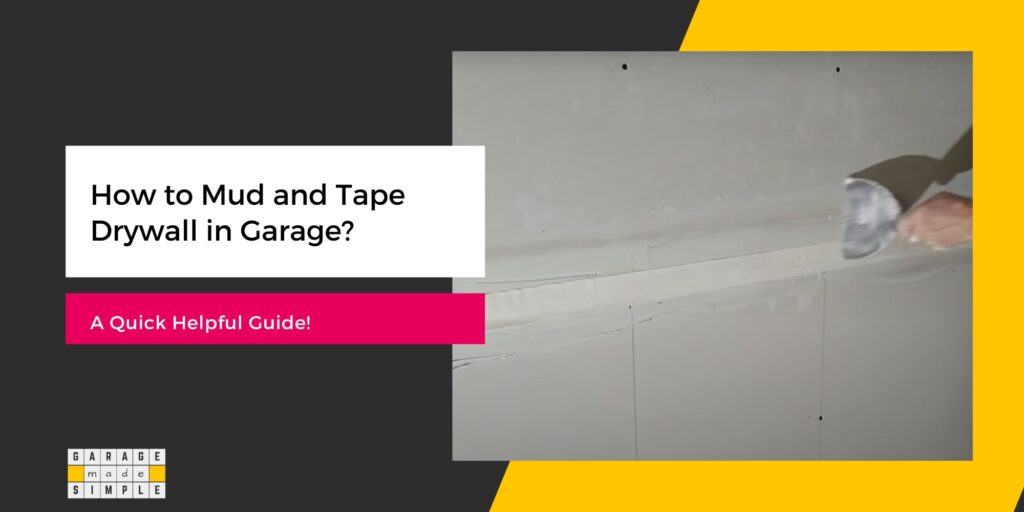
How Do You Mud & Tape Garage Drywall?
Mud is the everyday name for drywall joint compound. Mud can be bought premixed (ready to apply) or in powdered form (in which case you have to prepare the mud).
Drywall tape is a strip of paper, self adhesive mesh or preformed tape that is used to hold together drywall panels at the seams. Without the tape the mud will crack at the seams.
To mud & tape garage drywall use the following guideline:
STEP 1
Before you apply the mud & tape to the garage drywall, protect the floor by covering it with canvas. Protect yourself by putting on safety glasses and wearing old clothing that can be discarded.
STEP 2
Apply the first coat of mud on the screw indentations and on the beveled joints between the drywall panels.
Cover the joint with tape while the mud is still wet. Smooth out the tape with a 6” taping knife. Make sure to remove any bubbles and excess mud.
STEP 3
Next apply the mud to the inside corners where two drywall panels meet at a right angle. Fold a length of tape from the middle to form a right angle and place it over the corner. Use the taping knife to smooth out the tape. Make sure to remove bubbles and excess mud.
STEP 4
You may have some outside corners as well. Apply mud to them and tape them in a similar fashion as above. This is where preformed tapes for outside corners can be very helpful.
STEP 5
Finally you must fill in the butt joints between drywall panels. Make sure to get the mud in between the joints. But only just enough. Cover the joint with the drywall tape and repeat the process similar to that for the beveled joints.
STEP 6
Wait till all the mud has dried before starting on the next coat. The second coat must be applied on the screw indentations, beveled joints, inside and outside corners and the butt joints.
Of course there is no need to apply a paper tape now.
STEP 7
Repeat the same process for applying a third and last coat of mud on the garage drywall. Let the third coat dry.
STEP 8
You are now ready to sand the mud and create a smooth drywall surface that can be primed and painted. Remember to put on your respirator mask and safety glasses for this process.
To reduce the amount of airborne dust and to make the job easy and quick, use a power drywall sander. You may rent it or buy one (if you work on similar projects quite often).
TIP: When using self adhesive mesh tape instead of paper tape, you do not need to fill the drywall joints with mud. You can simply stick the mesh tape over the seams. When you apply the mud on the mesh tape, the mud will seep through the mesh and fill in the joint.
FAQ
When Should You Tape Drywall?
Drywall tape is required whenever two drywall panels meet. The tape ensures that there is a strong bond and the mud does not crumble or crack when it dries.
Should I Use Mesh or Paper Drywall Tape?
Professional drywallers prefer to use paper tape as it gives a smoother finish and can be applied quite fast. However, use of paper tape does require some expertise.
Self adhesive mesh tape is more user friendly. Beginner DIYers are more comfortable with mesh tape.
Do You Mud before Mesh Tape?
You should not mud the drywall joints beforehand, if you are using self adhesive mesh tape. Apply the mud over the mesh tape. Smooth it out with some pressure with a taping knife. The mud will be pushed through the holes in the mesh tape and fill up the joint.
Thank you very much for reading the post. I do hope you found it informative and useful.