2×4 Studs: Comprehensive Guide for Garage Builders
As an Amazon Associate, I earn from qualifying purchases.
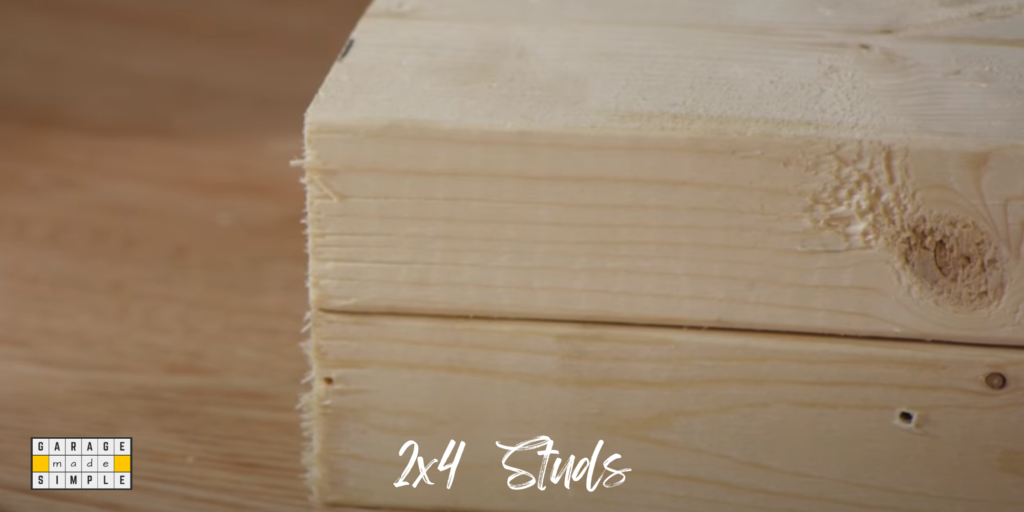
What is a 2×4 Stud?
A 2×4 stud is a piece of lumber that is 1.5 inches by 3.5 inches in cross-section. It is typically made from softwood, such as spruce, pine, or fir (SPF). 2×4 studs are used to frame walls, providing structural support for buildings.
2×4 studs in a garage play the same role as bones do in our body. They carry and distribute the weight of the garage roof, wall and all other dead or live loads to the ground through the garage foundation on which they rest.
As such 2×4 studs have a critical role to play in the strength and integrity of your garage.
2×4 studs are spaced within walls at regular intervals, typically 16 or 24 inches apart on center. This creates a framework for attaching sheathing, such as drywall or plywood, incorporating insulation within the stud bays and providing space for utilities, such as electrical wiring and plumbing to run behind the scenes.
What are 2×4 Studs Used for in Garage Construction?
2×4 studs are the primary framing members used in garage construction. They are used to frame the walls, roof, and floor of the garage.
2×4 studs are spaced at 16 inches on center for most garage walls. This spacing provides adequate structural support for the walls and allows for easy installation of drywall and insulation.
You may like to check out a related blog post, Distance Between Wall Studs for a Garage: Comprehensive Guide.
2×4 studs are also used to frame the garage roof. They are typically spaced at 24 inches on center for roof trusses and 16 inches on center for roof rafters.
2×4 studs can also be used to frame the garage floor. However, it is important to use 2×4 treated lumber for floor studs to prevent rot and decay.
Check out Pressure Treated Wood in a Garage: Is it Better? A Quick Guide!
You can also use 2×4 studs to frame a garage door, but you may need to use double studs for the jambs and header. Reinforcing the header with a metal angle, using heavy-duty hinges and door hardware may also be required.
What Are Different Types of 2×4 Studs?
There are several different types of 2×4 studs available, each with its own unique properties and applications. The most common types of 2×4 studs are:
SPF (Spruce, Pine, Fir) Studs
SPF (spruce, pine, fir) studs are the most commonly used type of 2×4 stud. They are relatively inexpensive and easy to find. SPF studs are suitable for most general construction projects, including framing of garage walls, roofs, and floors.
For more information on the subject check out SPF 2X4 Stud: A Really Easy & Useful Beginner’s Guide!
Treated Lumber Studs
Treated lumber studs are pressure-treated with chemicals to resist rot and decay. They are typically used for outdoor applications, such as framing decks, porches, and fences.
Treated lumber studs should not be used for indoor applications, as the chemicals used in the treatment process can be toxic. However, they can be used for garage sill plates as they are in contact with the slab-on-grade foundation.
Find out more about 2×4 Treated Lumber: Advantages and Disadvantages
Fire-retardant Studs
Fire-retardant studs are treated with chemicals to resist fire. They are typically used in commercial and industrial construction projects where there is a high risk of fire.
Fire-retardant studs can also be used in residential construction projects, but they are more expensive than other types of 2×4 studs. If cost is not a major factor, you could use them in an attached garage.
Engineered Wood Studs
Engineered wood studs are made from composite materials, such as wood chips and resin. They are stronger and more durable than traditional 2×4 studs.
Engineered wood studs are often used in high-rise construction projects and other applications where high strength and durability are required.
What to Look for When Buying 2x4s?
When buying 2x4s, there are a few important factors to look for:
Species of the Wood
The type of wood the 2×4 is made from will affect its strength, durability, and resistance to rot and decay. Spruce, pine, and fir (SPF) are the most common types of wood used for 2x4s.
SPF studs are relatively inexpensive and suitable for most general construction projects. On the other hand hardwood studs are not only expensive but difficult to work with.
If you like to get more information on wood species, check out Are 2×4 Studs Hardwood or Softwood? (What You Need To Know!)
Treated lumber studs are pressure-treated with chemicals to resist rot and decay, making them ideal for outdoor applications.
Engineered wood studs are made from composite materials and are stronger and more durable than traditional 2x4s, but they are also more expensive.
Grade of the Stud
The grade of the 2×4 indicates its quality and strength. The highest grade of 2×4 is Select Structural, which is free of defects and knots.
Stud grade 2x4s are also high quality, but they may have minor defects, such as small knots or splits. Stud grade lumber is cost-effective and versatile. It is made from softwood trees such as pine, spruce and fir.
Utility grade 2x4s are the lowest grade and may have larger defects, such as knots, splits, and wane. Utility grade 2x4s are not suitable for most structural applications.
For additional information check out Structural Lumber Grades: Which One is the Best for Your Garage?
Moisture Content (MC)
Wood is hygroscopic, so it will absorb moisture when the Relative Humidity (RH) goes up. Moisture Content (MC) is important because an increase in MC will result in a decline in the strength and durability of the 2×4 stud. If the moisture content is too high, the wood is more likely to warp, crack, and split.
The acceptable moisture levels of wood and lumber range from 6% to 8% for interior and 9% to 14% for exterior wood or for building envelope components within constructed assemblies.
WAGNER METERS
Bowing or Cupping
Bowing and cupping are two common defects that can occur in 2x4s. Bowing is when the 2×4 is curved along its length, while cupping is when the 2×4 is curved across its width.
Bowing and cupping are typically a result of improper drying, uneven grain patterns, and stress from handling.
When buying 2x4s, it is important to inspect them for bowing and cupping. You can do this by sighting down the length of the 2×4 and looking for any curvature.
You can also check for cupping by placing the 2×4 on a flat surface and looking for any gaps between the wood and the surface.
These defects can make it difficult to install 2x4s straight and plumb, and they can also weaken the structural integrity of the wood.
If you find a 2×4 that is bowed or cupped, it is best to avoid it. These defects can make it difficult to work with the wood and can weaken the structural integrity of the project.
Appearance
The appearance of the 2×4 is important if it will be visible in the finished project. If the 2×4 will be visible, you may want to choose a higher grade stud or one that has been machine-planed for a smoother finish.
Properties of 2×4 Studs
As a builder you will need to know some of the key physical properties of the 2×4 studs that you plan to use in your garage project. These properties will affect construction and the final outcome.
Dimensions
A wood stud has nominal dimensions and actual dimensions. A 2×4 should measure 2 inches by 4 inches, but it does not. For the sake of consistency and a smooth finish, a 2×4 is milled so as to have the dimensions of 1 ½ inches by 3 ½ inches.
The length of a 2×4 stud can be 8’, 10’, 12’, etc. However, contrary to expectation the most popular length is not 8’ (96”); it is 92 ⅝“. This length is perfect for building 8’ tall structures such as garages.
You need to read 2×4 Wall Stud Length: Variation Explained by an Expert to fully understand this point.
Weight
The weight of a 2×4 stud varies depending on the type of wood used and the grade of the stud. However, as a general rule of thumb, a 2×4 stud weighs approximately 1.5 pounds per linear foot or 12 pounds for 8 feet.
| Type of 2×4 | Per Foot | For 8 Feet |
| Green Lumber | 1.7 lbs | 13 lbs |
| Kiln Dried | 1.3 lbs | 11 lbs |
| Pressure Treated | 2.1 lbs | 17 lbs |
Source: Engineering Tool Box
Load Bearing Capacity
The load bearing capacity of a 2×4 stud wall is the amount of weight it can support without failing.
The load bearing capacity of a 2×4 stud wall depends on the type of wood used & the grade of the stud, the height of the wall and the distance between the studs.
As a general rule of thumb, an individual 2×4 stud can support a load of approximately 1,000 pounds. A typical garage wall with say 15 studs could therefore support a load of around 15,000 pounds.
For more details check out 2×4 Wall Load Bearing Capacity: A Comprehensive Guide for DIYers
Insulation Value
The insulation value of building materials is expressed as R-Value. R-Value is a measure of the resistance to heat flow through the material by conduction. The higher the R-Value, the better the insulation.
A 2×4 stud has an R-Value of around 4.4 across its width of 3 ½”. This is not too bad as the batt insulation used in garage walls is usually R-13 or R-15.
Fire Rating
The fire rating of a 2×4 stud wall is the amount of time it can resist fire before failing. The fire rating of a 2×4 stud wall depends on all the components of the wall. This includes the drywall sheathing on the inside, the batt or fiberglass insulation, the 2×4 studs and the external siding.
A typical garage wall will have a fire rating of at least 30 minutes. It could even be 1 hour depending on the quality of materials used.
2×4 Stud Wall Framing Basics
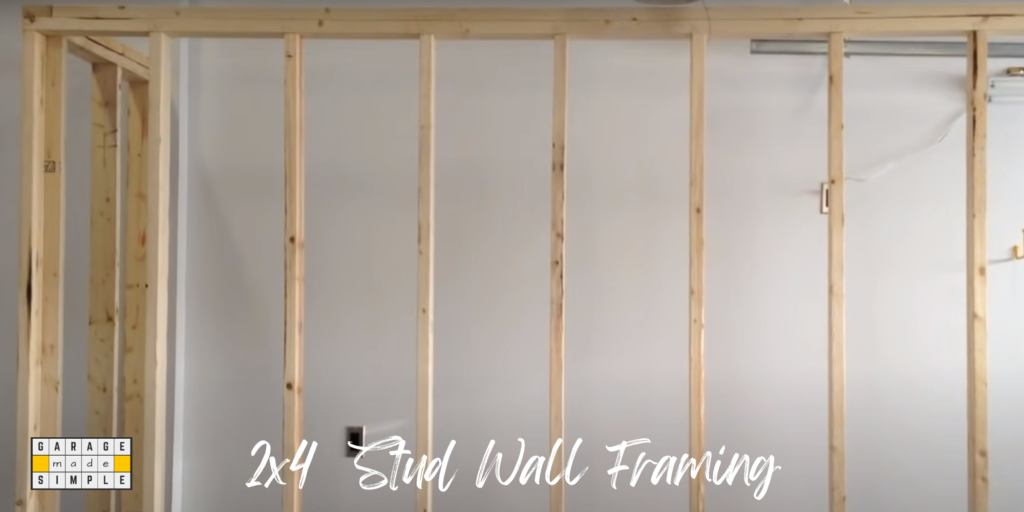
2×4 stud walls are the most common type of wall framing used in a residential garage project. They are relatively inexpensive and easy to build.
You can construct the main garage walls which are load bearing as well as partition walls that may be non load-bearing. To frame a 2×4 stud wall, you will need
Materials
- 2×4 studs (for walls)
- 2×6 studs (for headers and other load-bearing members)
- Top and bottom plates
- Sill plate (for exterior walls)
- King studs (for corners)
- Jack studs (for in-between studs)
- Header joists (for openings)
- Nails or screws
Tools
- Circular saw
- Miter saw
- Power drill
- Nail gun
- Hammer
- Level
- Measuring tape
Safety Equipment
- Safety glasses
- Work gloves
- Hard hat
- Steel-toed boots
- Dust mask
- Earplugs
Other (May be required)
- Carpenter’s square
- Chalk line
- Utility knife
- Crowbar
- Sawhorses
- Tarps
The 7-Step Framing Process
Here is a simplified 7-step process for framing a 2×4 stud garage wall:
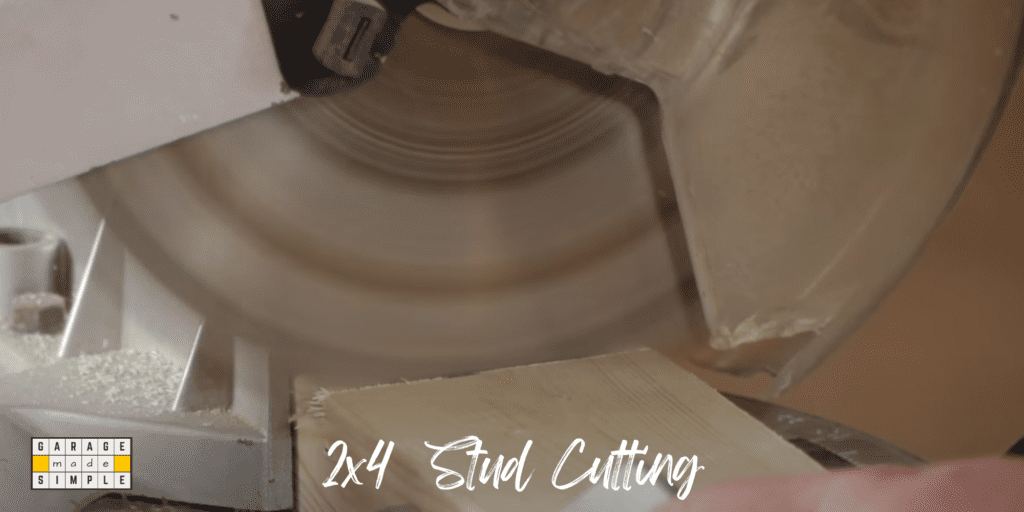
1. Cut the top and bottom plates to length.
Use a miter saw to cut the top and bottom plates to the desired length. The length of the plates will be determined by the width of the garage.
Recommended Miter Saw: BOSCH GCM12SD 15 Amp 12 Inch Corded Dual-Bevel Sliding Glide Miter Saw with 60 Tooth Saw Blade
2. Attach the sill plate to the foundation (for exterior walls only).
Use anchor bolts to attach the sill plate to the foundation. The sill plate is a pressure-treated 2×4 that sits on top of the foundation and provides a base for the wall studs.
For more on sill plate & anchor bolts check out, What Is The Point Of A Garage Sill Plate? (Important!)
3. Stand the king studs up and attach them to the sill plate.
King studs are the corner studs of a wall. They are typically longer and stronger than the other studs in the wall. Use nails or screws to attach the king studs to the sill plate.
Not sure which to use? Find out by reading Nails vs Screws for Framing Garage Walls: Which is Really Better?
4. Space the jack studs between the king studs at 16 inches on center.
Jack studs are the studs that go between the king studs. They are typically shorter and less strong than the king studs. Use a level to make sure that the jack studs are plumb and straight.
Use nails or screws to attach the jack studs to the top and bottom plates.
5. Cut and attach the header joists over any openings.
Header joists are stronger studs that are used to support the weight of the wall above openings, such as windows and doors.
Use a miter saw to cut the header joists to the desired length. Use nails or screws to attach the header joists to the king studs and jack studs.
6. Toenail the studs to the top and bottom plates and to the header joists.
Toe nailing is a method of attaching two pieces of wood together perpendicularly. To toenail a stud, drive two nails at an angle into the stud so that they penetrate the top or bottom plate by at least 1.5 inches.
To toenail a stud to a header joist, drive two nails at an angle into the stud so that they penetrate the header joist by at least 2.5 inches.
For more information on toe nailing check out, Toe Nailing vs End Nailing Studs: What is Stronger? (Explained!)
7. Install any necessary bracing.
Bracing is used to prevent the wall from racking, which is a type of movement that occurs when the wall is pushed or pulled from the side. Bracing can be installed in the form of diagonal studs, cross braces, or knee braces.
Useful Terms to Know
Stud spacing: 2×4 studs should be spaced 16 inches on center for garage walls. This means that the center of one stud should be 16 inches from the center of the next stud. This spacing provides adequate support for the walls and allows for easy installation of drywall and insulation.
Toenailing: Toenailing is a type of nail joint that is used to attach two pieces of wood together perpendicularly. To toenail a stud to a top or bottom plate, drive two nails at an angle into the stud so that they penetrate the plate by at least 1.5 inches.
To toenail a stud to a header joist, drive two nails at an angle into the stud so that they penetrate the header joist by at least 2.5 inches.
Bracing: Bracing is used to prevent the wall from racking, which is a type of movement that occurs when the wall is pushed or pulled from the side. Bracing can be installed in the form of diagonal studs, cross braces, or knee braces.
Openings: When framing a wall with openings, such as windows and doors, it is important to install header joists over the openings. Header joists are larger and stronger than regular studs, and they provide support for the weight of the wall above the opening.
Thank you very much for reading the post. I do hope you found it informative and useful.