5 Best Ways of Sealing Gap Between Garage Floor And Drywall
As an Amazon Associate, I earn from qualifying purchases.
Key Takeaways: Gap Between Garage Floor and Drywall
- Purpose of the Gap: Prevents drywall damage from temperature changes and water exposure.
- Gap Size: Keep a ½” – ¾” gap between drywall and the finished floor.
- Finishing Sequence: Finish the garage floor before the walls, protecting it from paint drips.
- Ceiling Before Walls: Install ceiling drywall first for stability and clean corners.
- Sealing Options: Choose from Flexible Acrylic Latex Caulk, Insulating Spray Foam, Flexible InstaTrim, Garage Floor Trim, or Wainscoting.
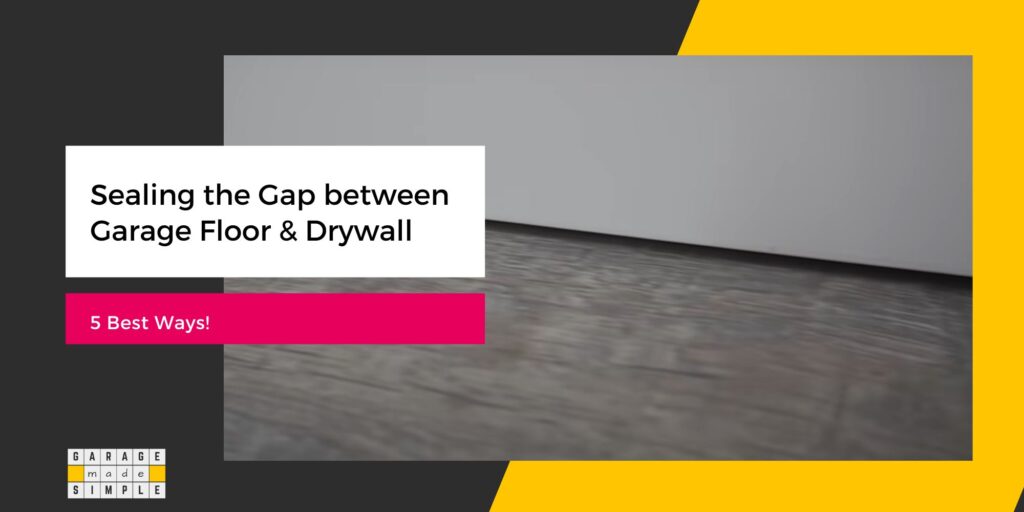
How Do You Seal a Gap Between Garage Floor and Drywall?
Have you noticed that there is a gap between the garage floor and the drywall? If you are aware of the need then you may have consciously provided that gap during the new construction or remodeling of your garage.
The gap left is intentional and serves a purpose. But then how do you seal a gap between a garage floor and drywall?
The 5 best ways of sealing a gap between garage floor and drywall is to use:
- Flexible Acrylic Latex Caulk
- Insulating Spray Foam
- Flexible InstaTrim
- Garage Floor Trim
- Wainscoting
In this post, I explain the reason for leaving a gap between the garage floor and drywall, and how much the gap should be. the correct sequence of finishing your garage and the 5 best ways of sealing a gap between a garage floor and drywall.
Why Leave a Gap Between the Garage Floor and Drywall?
It seems counterintuitive to worry about sealing the gap between the garage floor and drywall.
Had you made the drywall flush with the garage floor you would not have to worry about sealing the gap. So why do you leave a gap between the drywall and the floor anyway?
The gap between the garage floor and drywall is left intentionally. The gap is necessary for two important reasons.
The gap gives space to the drywall to expand and contract with the temperature fluctuations in the garage.
If there was no gap the expanding drywall would press against the floor. The stress created could cause the drywall to buckle or crack.
There are many reasons for garage floors to get wet. Washing your car in the garage, seepage through the concrete floor, plumbing leaks or rain & snow brought in by the car are just some of them.
Whatever the reason, a drywall that is in contact with a wet floor will absorb water. The water from the garage floor “wicks” up the drywall. Wicking is how water travels up very porous materials. This is also known as “capillary” action.
A damp drywall will promote the growth of mold and mildew. If drywall gets wet and remains wet for long periods, it will lose some of its structural integrity. It could even crumble and fall apart.
The gap between the garage floor and drywall will prevent “wicking” from taking place.
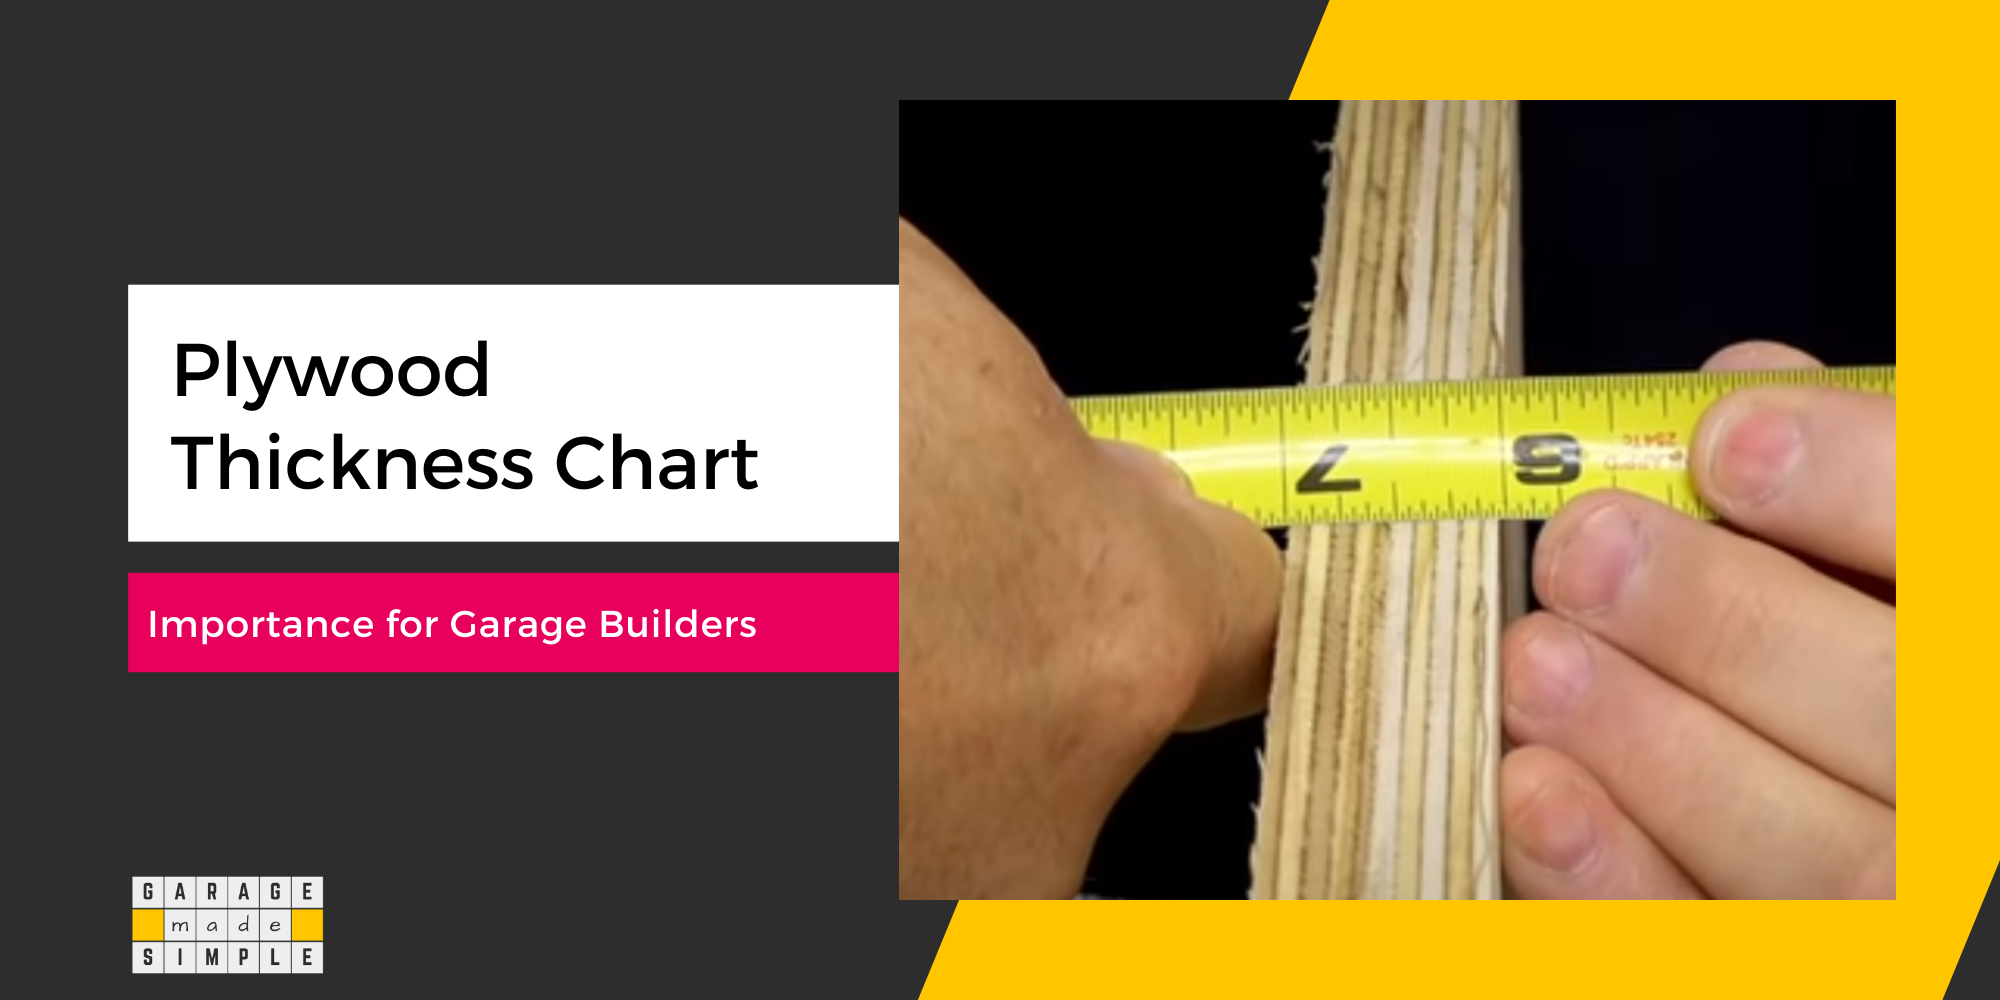
How Much Should the Gap Between Garage Floor And Drywall Be?
Now that you know that there should be a gap between the garage floor and drywall, the next question is, “How much should the gap between the garage floor and drywall be?”
The bottom edge of the drywall should be ½” – ¾” above the finished garage floor.
In case the garage floor is not finished at the time of hanging the drywall on the studs, then add ½” – ¾” to the expected garage floor finishing thickness.
A bigger than ½” – ¾” gap will require more sealant for sealing the gap between the garage floor and the drywall. Sealant does not come cheap!
What Comes First? Flooring or Walls?
Sounds like the classic chicken and egg question. Fortunately, what comes first, flooring or walls has a definitive answer.
Finishing the garage flooring before finishing the walls is the best practice. You may be worried that the paint job on the drywall may spoil the garage flooring. Sure, such a possibility exists.
However, you can protect the flooring from paint drip & splatter, simply by covering the floor with a plastic sheet.
It is a lot easier to hang the drywall and maintain the ½” – ¾” gap, if the garage floor has been finished first.
Do keep in mind that installing & finishing the garage flooring is not only difficult but also time-consuming. The concrete slab itself takes at least four weeks before it is fully cured.
Epoxy application can only be done once the concrete floor has fully cured. The epoxy coating itself takes a week before it is completely cured.
Completing the more difficult and time-consuming bits of a project first is very helpful in getting the project completed in time and within budget.
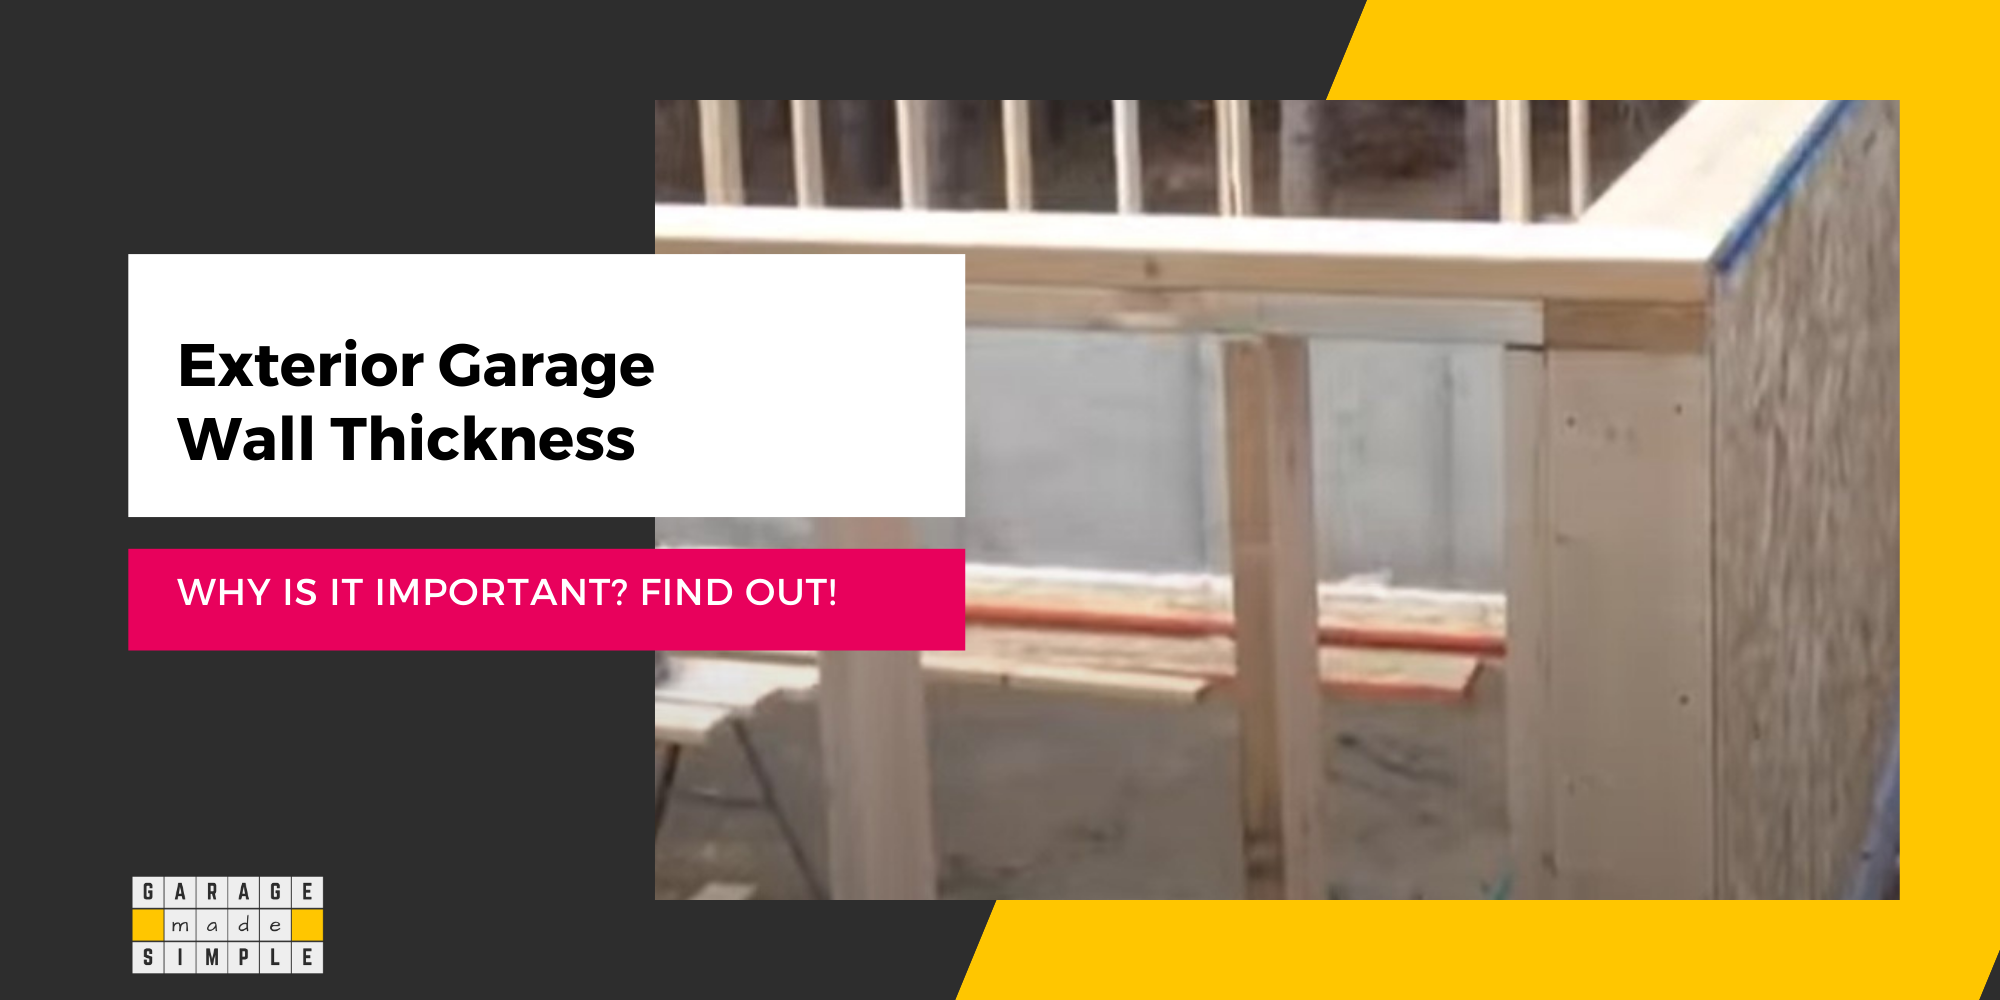
Do You Drywall the Ceiling or Walls First?
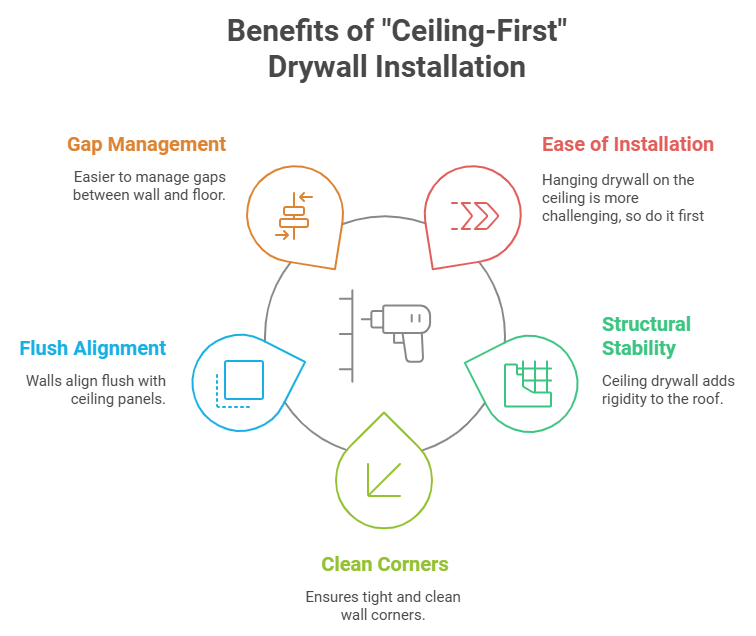
Always drywall the ceiling of the garage before hanging drywall on the walls. Hanging drywall on the garage ceiling is more difficult than hanging drywall on the garage walls. So do it first!
Hanging drywall on the ceilings before the walls has other advantages too!
- Drywall on the ceiling will give stability and rigidity to the garage roof structure.
- You will be able to create tight and clean corners on the wall, if the ceiling drywall is already in place
- By installing the drywall on the garage walls after the ceiling, you can ensure that the wall drywall panels are flush with the ceiling drywall panels. You do not want a gap there.
- You need the gap between the wall drywall and the garage floor. This is a lot easier to achieve if you drywall the garage wall from top to bottom.
Sealing the Gap Helps Prevent Pest Infestations
Sealing the gap between the garage floor and drywall helps keep pests out. Insects, rodents, and other unwelcome critters find shelter in this gap.
By sealing the gap, you deprive them of their safe haven and significantly reduce the likelihood of an infestation.
Most garages experience temperature fluctuations, moisture accumulation, and dust build-up, which attracts pests like ants, spiders, and cockroaches.
Small rodents, such as mice, can also exploit these gaps, squeezing through even tiny openings. Once inside, pests can nest in insulation, chew through wires, and spread allergens and diseases.
Sealing the gap creates a physical barrier that blocks their access. Moreover, sealing this gap also prevents drafts and moisture, which further discourages pests from settling.
How Do You Seal the Bottom of Drywall in a Garage?
It is necessary to seal the gap between the garage’s finished floor and the drywall to make the garage walls airtight, waterproof, and soundproof.
If not done you will lose heat. The water on the garage floor will seep into the garage wall studs resulting in mold growth & rotting.
The 5 best ways of sealing the gap between the garage floor and drywall are:
1. Use Flexible Acrylic Latex Caulk
- Prepare the Gap
- Ensure the gap between the garage floor and drywall is clean and dry.
- If the gap measures ½” to ¾”, insert a backer rod into the gap to fill it while maintaining flexibility.
- Apply the Caulk
- Load a tube of flexible acrylic latex caulk into a caulking gun.
- Run a bead of caulk along the entire length of the gap, ensuring even coverage.
- Smooth the Caulk
- Before the caulk skins over, use a caulk finishing tool dipped in water to smooth the bead for a professional look.
- Create Straight Edges (Optional)
- Apply painter’s masking tape on both sides of the gap to ensure clean edges.
- Remove the tape immediately after smoothing, before the caulk begins to set.
- Allow the Caulk to Dry
- Let the caulk cure fully as per the manufacturer’s instructions to achieve a waterproof and flexible seal.
Recommended: DAP Caulking Tool Kit Bundle

The complete caulking bundle includes a caulk gun, sealant, and a 3-in-1 tool for application and removal. Ideal for bathrooms, baseboards, and more. Paintable in 30 minutes for a seamless finish.
2. Use Insulating Spray Foam
- Prepare the Gap
- Clean the gap between the garage floor and drywall using a damp cloth to remove dust and debris for better adhesion.
- Set Up the Spray Foam
- Attach the nozzle and trigger control to the spray foam canister.
- Invert the can, as the foam is dispensed upside-down for optimal application.
- Apply the Foam
- Spray the foam along the gap, moving steadily.
- Do not fill the entire gap, as the foam expands up to 1 inch.
- Practice Application
- Test on a small section (1–2 feet) to get familiar with the foam’s expansion and application technique.
- Allow to Dry
- Let the foam become tack-free in 5–15 minutes.
- After one hour, trim the excess foam as needed.
- Finish the Surface
- Sand the dried foam for a smooth finish.
- Paint the foam to match the surrounding surface if desired.
Recommended: Great Stuff Smart Dispenser Gaps & Cracks

Great Stuff Smart Dispenser Gaps & Cracks
Multipurpose sealant expands up to 1″, adheres to various surfaces, and is trimmable in an hour. Paintable and sandable, it reduces energy costs by up to 30% with proper insulation.
Note: The foam adheres to wood, metal, masonry, glass, and most plastics and blends well with natural surfaces.
3. Use Flexible InstaTrim
- Clean and Prepare the Surface
- Scrape away any old caulk, grout, or silicone.
- Clean the area with acetone to remove silicone residue and let it dry completely.
- Measure and Cut the Trim
- Measure the length of the gap.
- Cut the flexible trim to size, adding about ¼ inch for a snug fit.
- Remove the Adhesive Liner
- Peel back the adhesive liner.
- Align the adhesive side of the trim with the gap and press it lightly into place every 4–6 inches.
- Secure the Trim
- Firmly press along the entire length of the trim to ensure proper adhesion.
Recommended: InstaTrim The Original Flexible Trim

InstaTrim The Original Flexible Trim
InstaTrim offers durable, flexible adhesive trim for mess-free sealing. Easy to use, it works on gaps up to 3/8″, replaces caulk, and is perfect for various surfaces. Proudly made in the USA.
Tip: InstaTrim offers a mess-free, durable solution for sealing gaps with its flexible design and long-lasting adhesive.
4. Use Garage Floor Trim
Garage floor trim is a strip of material, such as wood, PVC, synthetic rubber, or metal, that covers the gap between the garage floor and the drywall. The garage floor trim is very visible and a defining feature.
The garage floor trim is very useful as it
- covers the gap between the floor and the drywall
- protects the drywall from water puddles, impacts from moving objects, and entry of pests and insects
You can choose between three types of materials for the garage floor trim that are both functional and affordable.
- Thermoplastic Vinyl (TV)
- Thermoplastic Rubber (TR)
- Thermosetting Rubber (TS)
After installing the garage floor trim, you still need to seal the gaps. But these gaps are very narrow.
They can be sealed easily by using a clear silicone sealant such as Gorilla Waterproof Caulk & Seal 100% Silicone Sealant.
5. Use Wainscoting
Wainscoting is an extension of the floor trim idea. Trim heights range between 2″ to 6″. However, if you are worried about garage floor flooding then a wainscot rather than a trim is the way to go.
The Merriam-Webster Dictionary defines “wainscot” as
“the lower three or four feet (about one meter) of an interior wall when finished differently from the remainder of the wall”
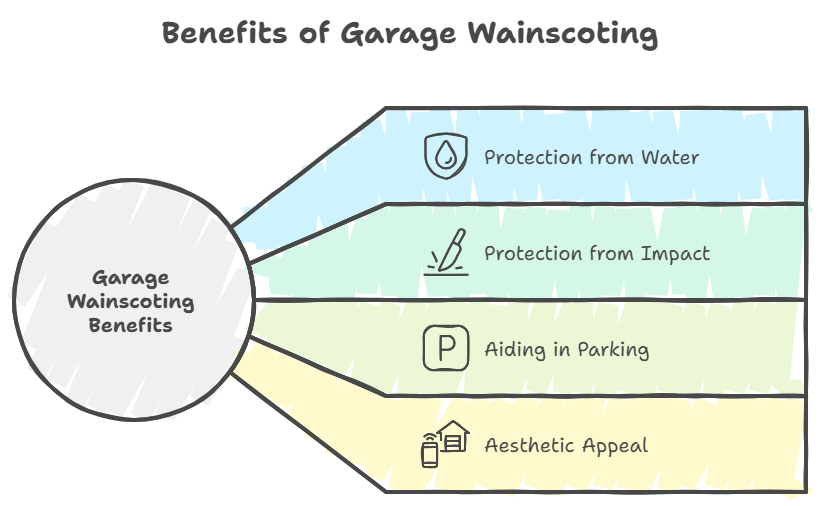
Here are the benefits of using garage wainscoting panels in more detail:
Protection from Water:
It is not uncommon for garage floors to get flooded. Water diverters help. But snow melt from the car or unexpected plumbing leaks can still create water pools that can find their way to the drywall. Wainscoting prevents that!
Protection from Impact:
Drywall has poor impact resistance. Wainscoting can save your garage drywall from dents & nicks from power tools, ladders, lawnmowers, etc.
Helps in Parking
Wainscoting a garage can be quite helpful as a parking aid when you are reversing into your garage. The visual break in the rear garage wall is a great aid when it comes to judging the distance in your rearview mirror.
Unique Beautiful Looks!
Garages can look really boring. In fact, too many have the same look. Want your garage to stand out from that of your neighbor’s? Want to show off a bit? Garage Wainscoting Panels may be the way to go!
Frequently Asked Questions (FAQs)
What type of caulk should I use for sealing the gap between the garage floor and drywall?
A flexible acrylic latex caulk is recommended for this application, as it provides maximum adhesion and flexibility for a waterproof seal. You can also use a urethane-based caulk.
What happens if I don’t seal the gap between the garage floor and drywall?
Leaving the gap unsealed will allow air, moisture, and pests to enter your garage. Moisture can lead to mold and mildew growth and rot the wall studs.
Can I use spray foam to seal the gap between the garage floor and drywall?
Yes, insulating spray foam is a good option for sealing the gap. It also provides insulation, which is beneficial in cold climates.
What is a backer rod, and why do I need it?
A backer rod is a foam rod that is inserted into the gap before applying caulk. It helps to fill the gap, control the depth of the sealant, and allow for flexibility.
Is there a less messy alternative to caulking or spray foam?
Yes, you can use flexible, self-adhesive trim, such as InstaTrim. This trim has a putty-like adhesive that never dries out.
Thank you very much for reading the post. I do hope you found it informative and useful.