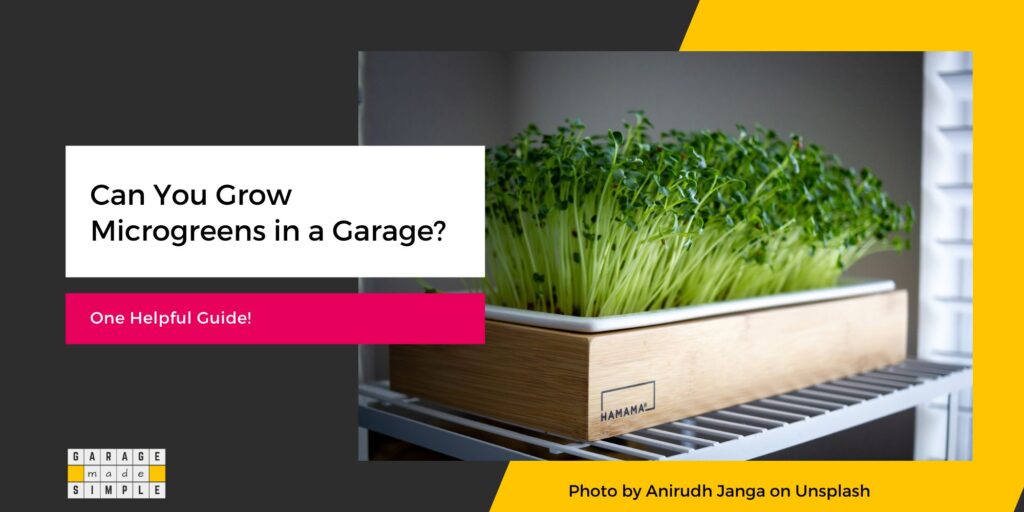
Can You Grow Microgreens in a Garage? (One Helpful Guide!)
garagemadesimple.com is a participant in the Amazon Services LLC Associates Program, an affiliate advertising program designed to provide a means for sites to earn advertising fees by advertising and linking to Amazon.com . The website is also an affiliate of a few other brands.
Can You Grow Microgreens in a Garage?
Microgreens have caught the attention of the health conscious consumers. They are no longer limited to classy restaurants or high end grocery stores. Now you find them in farmers markets at reasonable prices. Is growing microgreens difficult? Can you grow microgreens in a garage?
Microgreens are amazingly easy to grow indoors in your garage. They need very little effort and are ready to eat within 1 – 2 weeks of planting.
Growing microgreens in the garage makes it possible to make every meal at home a healthy one.
Microgreens are essentially young seedlings of edible vegetables and herbs. There are over 50 varieties of microgreens, so you will never be spoilt for choice. Microgreens have multiple uses and are a healthy addition to salads, sandwiches and even main courses such as steak.

How to Grow Microgreens in a Garage?
You can grow a variety of vegetables in your garage but surely growing microgreens must be one of the easiest. The effort and space required is minimal. Moreover, you can harvest the microgreens within one to two weeks of planting.
You can grow microgreens in soil or on grow mats.
GROW MICROGREENS IN SOIL
Shallow Trays
Microgreens are short tender plants with short roots. They are, therefore, best grown in shallow trays.
You can order them online from Amazon or just make use of reusable baking trays or used salad containers. The trays will usually not come with any holes, so punch in some to allow for drainage.
Lay Out the Potting Mix
Buy a good quality potting mix such as Miracle-Gro Indoor Potting Mix for your microgreens. They are lightweight, have good drainage, come with an initial dose of nutrients and are easy to use.
Pout it out in a bowl first, get it moist and blend the two with your hands. Lay it out on the trays about a couple of inches thick. The microgreen seeds packet will usually have the instructions.
Seeding
Sprinkle the seeds on the soil and gently mix so that the seeds have some dirt on them. The seeds should not get buried in the soil. Spray a mist of water on them.
Leave the trays in a dark corner. Seeds need moisture and darkness to germinate. In a few days you will see the microgreen sprouts.
Do not get worried if you see white fibrous stuff around them. It’s not any kind of mold. It’s just a part of the microgreen root system.
Regular Watering
Once the microgreens have germinated you will need to water them regularly. Pull the leaves apart and water the soil, not the leaves. Make sure the soil is always moist, but never soggy.
Exposure to Light
Once the microgreens have germinated they also need some sunlight. Keep them by a garage window if you have one. Microgreens are tender and should not be subjected to harsh sunlight.
Alternatively you can use LED grow lights. Warm-colored LED lights will make the microgreens grow just like sunlight would.
Harvesting the Microgreens
Pluck a few leaves and try them out for taste. If they taste OK you can harvest all of the microgreens in the tray by cutting them with a pair of scissors, close to the soil.
Leave the tray and keep watering. You will most likely get a second harvest.
Storing Microgreens
It is best to use freshly harvested microgreens when you need them. But you can store them in the fridge for a week, if you like.
Place the microgreens on a paper towel and cover it up with another paper towel. Put everything in a ziploc bag and keep the bag in the refrigerator.
Do not wash before storage. Wash only before use.
GROW MICROGREENS ON GROW MATS
While growing microgreens in soil feels more natural and is a tactile experience, it sure is somewhat messy. Want to avoid the mess and still grow absolutely nutritious microgreens in your garage?
Just get an Urban Leaf Indoor Microgreens Growing Kit or something similar. Some of the key features of the kit are:
- Long lasting, strong & sturdy, dishwasher-safe, ceramic-feel bamboo sprout trays
- The kit requires low light and no soil
- The hydroponic microgreen growing kit ’s sprouting trays use plant-based jute grow mats to help seeds stay hydrated
- The all-in-one sprouting seeds kit comes with 12 Microgreen Mats, 3 Microgreen Growing Trays & Lids, and packets of LENTIL, KALE, RADISH & MUSTARD seeds – enough for 3 grows each!
- The sprouting trays will provide you with 1–2 SERVINGS of fresh organic microgreens at a time, allowing you to enjoy a constantly rotating supply of nutritious greens
What Plants Are Best for Microgreens?
Microgreens are young vegetable greens that fall somewhere between sprouts and baby leaf vegetables. They have an intense aromatic flavor and concentrated nutrient content and come in a variety of colors and textures.
HEALTHLINE
MicroVeggy lists 87 types of microgreens that you could grow yourself. Sometimes it is best to group them by flavors.
A partial list is as under:
| Flavor | Microgreen |
| Mild | * Alfalfa * Broccoli * Chard * Kale |
| Spicy | * Arugula * Mustard * Radish * Cress |
| Herbal | * Basil * Cilantro * Dill * Fennel |
| Shoots | * Corn * Lentil * Peas * Soy Beans |
Bottom Line
It is really simple to grow microgreens in your garage With a starter kit even your kid could do it.
It is a satisfying hobby as you can harvest a whole range of nutritious microgreens in less than 2 weeks with little effort and resources.
Thank you very much for reading the post. I do hope you found it informative and useful.


