How I Built a DIY Garden Potting Table My Wife Loves, in 5 Simple Steps!
As an Amazon Associate, I earn from qualifying purchases.
What Prompted My DIY Garden Potting Table Project?
For years, my wife did her gardening on whatever flat surface was available—a folding chair, the top of a tote, sometimes just the driveway.
It worked, sort of. But it wasn’t comfortable, clean, or built for how she gardens.
I love my wife, so I decided to fix it.
Not with a store-bought bench that wobbles after one season. Not with a Pinterest-perfect project that takes a week to build.
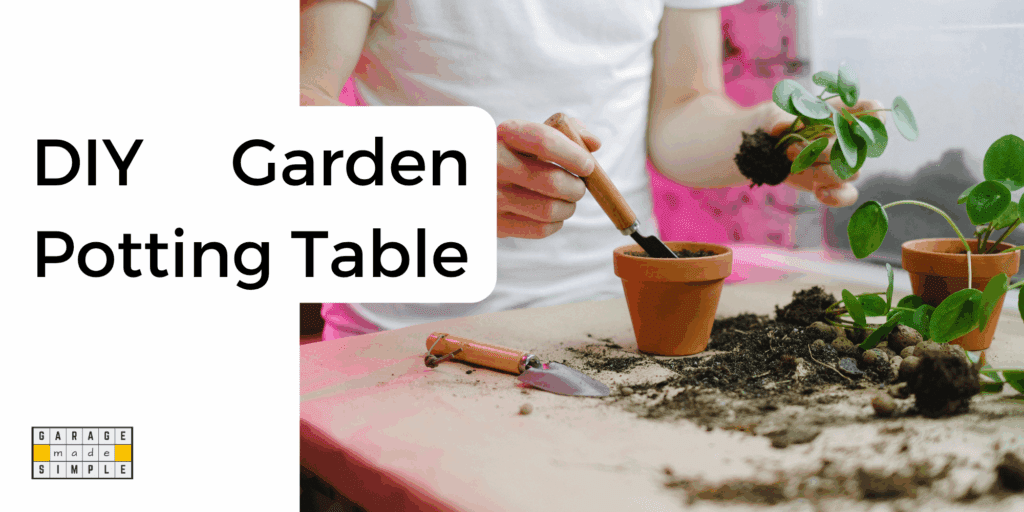
I just wanted a solid, simple DIY garden potting table that looked good, held up outside, and is perfect for her day-to-day planting, trimming, and potting.
🔑 Key Takeaways
- Measure for the person using it, not just generic dimensions
- Use pressure-treated wood or cedar for weather resistance
- Design around real garden tasks—tools, pots, soil, water
- Hooks, bins, and a towel bar make the table 10x more useful
- Seal everything before moving it outside
- Keep the design open, clean, and easy to adjust later
- A simple build done right is a lot better than a fancy project half-used
I measured the space. Ordered the right materials. Added a few touches I knew she’d use. By the end of the weekend, she had a dedicated spot for all her garden gear, and I had serious brownie points.
Here’s how I built it.
✅ Step 1: Get the Size Right for the Person Who’ll Use It
Before I cut a single board, I measured two things:
- The wall where the table would go
- My wife’s comfort zone—height, reach, and working space
Most potting tables are built around a generic 36-inch height, but that’s not always ideal. She’s a little shorter than I, so I lowered the surface by an inch and gave her extra depth for larger trays and soil bins.
Here’s what I landed on:
- Width: 48 inches – just enough room for tools, pots, and workspace
- Depth: 22 inches – big enough for soil bins but still narrow enough for a side patio
- Height: 35 inches – comfortable working height for her, no back strain
Getting the size right made all the difference.
Because a potting table that’s too tall, too small, or too awkward is just another thing that never gets used.
PRO TIP: Make sure the potting table will be placed in partial shade and close to the hose, so cleanup will be easy. Behind the garage wall usually works!
✅ Step 2: Choose Weather-Resistant Materials
If you’re going to build a garden potting table that lives outside, it needs to survive sun, water, and mud without falling apart in six months.
That’s why I skipped the cheap plywood and used pressure-treated pine for the frame. If you’ve got the budget, cedar’s even better—lighter, more rot-resistant, and looks great raw. But pine works just fine if you seal it properly.
What I used:
- Pressure-treated 2x4s for the legs and frame
- Deck boards for the bottom shelf and work surface
- Galvanized screws for rust resistance
- Exterior wood glue for joints
- Clear waterproofing sealer to protect it all
I used Thompson’s Water Seal Clear Wood Protector.
Optional upgrade: Add a stainless steel sheet or tile top if you want a super-clean surface for watering or cutting stems.
✅ Step 3: Build the Frame, Add Storage
This part came together fast. The frame is just four legs, a couple of horizontal supports, and a top frame for the work surface. Once that was square and solid, I added everything else around how she works, not just what looked good.
The build basics:
- Frame: 2×4 legs with cross-supports, pocket screws, and wood glue
- Work Surface: Deck boards spaced ¼” apart for drainage
- Bottom Shelf: Slats spaced wider—perfect for soil bags and buckets
- Height: Kept it at 35″ so she could stand and work comfortably without hunching
Storage that made a difference:
- Open left side underneath for her garden tote
- Slatted bottom shelf for airflow (and to rinse off spills)
- Small upper shelf for seed trays, garden tags, twine
I didn’t bother with drawers. Outdoor drawers just trap dirt and collect spiders. Open storage is easier to clean and easier to use.
Pro Tip: Use corner clamps or a square to keep your frame from wobbling, especially if it’s going on pavers or gravel.
✅ Step 4: Add the Extras She Really Needs
Here’s where most DIY builds go off the rails—adding features that look good in a photo but never get touched.
I skipped all that. I asked what she used while gardening, and I added only those things.
No unnecessary shelves. No cute-but-useless trim. Just stuff that made her life easier.
Here’s what I added:
- ✅ Tool hooks on the side for gloves, trowel, and pruning shears
- ✅ Towel bar on one leg for quick cleanups
- ✅ Bin for seed packets tucked into a shelf cubby
- ✅ Small hanging bucket for plant tags, clips, and string
- ✅ Room to hang a hose reel nearby, if we add one later
I used Heavy Duty Garage Hooks, which are very sturdy and helpful!
✅ Step 5: Seal It, Place It, Forget It
Once the build was done, I gave the entire table a double coat of clear wood sealer. This step’s easy to skip, but trust me, it’s the difference between a one-season bench and a five-year workhorse.
I used a brush for the frame and slats, and hit the hooks, towel bar, and shelf edges too. Took me 20 minutes. Let it dry overnight.
I used Thompson’s Water Seal Clear Wood Protector.
Then I moved it into place:
- Right beside the hose spigot
- Close enough to the patio that she could keep it shaded
- Added a small outdoor mat underneath to keep dirt off the pavers
The payoff?
- She moved her tools in immediately
- Set up her starter trays the next morning
- Told me, “It’s perfect,” then sent a photo to her sister
No joke—biggest compliment I’ve gotten for using a drill in years. That’s the power of a simple, thoughtful project built around what your wife needs.
Final Thoughts
This wasn’t a complicated build.
It didn’t cost a fortune, and it didn’t take all weekend. But it solved a problem my wife had lived with for years—and honestly, I should’ve done it sooner.
Now she’s got a space that’s hers. No more potting on tote lids or dragging tools across the yard. Just a clean, sturdy, good-looking DIY garden potting table that fits the way she gardens.
And me? I got to build something useful that made her day. That’s a win in my book.
Got a pile of yard tools with no place to go? Check out: My DIY Garden Tool Storage Solution in 1 Afternoon!