How To Insulate a Detached Garage? A Step-by-Step Guide
As an Amazon Associate, I earn from qualifying purchases.
You are going to love this DIY project. Insulate a detached garage to transform it into a year-round haven of comfort and efficiency.
No need to be plagued by icy drafts in winter and sweltering heat in summer. All you need to do is insulate your detached garage. The initial cost is not too high if you do it yourself.
Best of all, there are no recurring costs, only constant savings on your energy bills and the gift of comfort throughout the year. Are you wondering how to insulate a detached garage? This step-by-step guide has you covered.
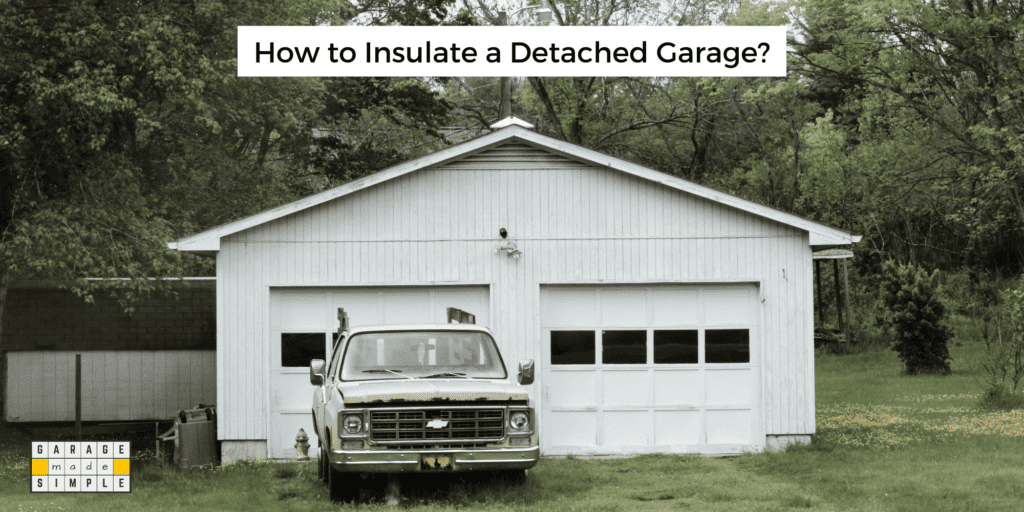
Heat travels from hot areas to cold zones. A scientific fact that I am sure you know already!
So in winter, your detached garage keeps losing heat to the cold outside and you have to use heaters just to stay comfortable.
In summer the reverse happens. Heat from outside keeps moving into your garage making it difficult to stay there for long without breaking out into a sweat.
Insulation is what slows down the heat transfer. Once you insulate a detached garage, it will stay warmer in winters and cooler in summers, with no extra energy costs.
Why Insulate a Detached Garage?
Insulating a detached garage can make it more comfortable and functional, reduce energy costs, and protect stored items. Here are the main benefits:
Energy Efficiency
Insulation minimizes heat transfer, keeping the garage warmer in winter and cooler in summer. This stability reduces energy demands and brings down your energy bill.
Improved Comfort
For those using the garage as a workspace or hobby area, insulation helps maintain a stable temperature, creating a more comfortable environment regardless of the weather.
Protection for Stored Belongings
Insulation helps prevent temperature extremes and moisture buildup, which can damage tools, vehicles, and other stored items over time.
Increased Usability
With insulation, your garage becomes a versatile space, usable as a workshop, gym, or home office in any season.
There are a few more and you can read about all of them in my earlier article, 8 Advantages of Insulating a Detached Garage in a Nutshell.
Types of Insulation for Detached Garages
Choosing the right insulation for your detached garage depends on factors like climate, budget, and how you use the space.

Below are the main types, each with unique benefits and recommended uses.
Rolls and Batts (Fiberglass, Mineral Wool, Cotton)
Rolls and batts are some of the most common insulation options for garages. Made from materials like fiberglass, mineral wool, or cotton, they come in pre-cut sizes that fit between standard wall studs and ceiling joists.
Rolls and batts are cost-effective, easy to install, and provide good thermal resistance (R-value), but they may require a vapor barrier in damp climates to prevent moisture buildup.
Loose-Fill Insulation (Cellulose, Fiberglass, Mineral Wool)
Loose-fill insulation, often made from cellulose or fiberglass, is ideal for filling irregular spaces and retrofits. Installed with a blower, it’s especially useful for ceilings or walls with hard-to-reach cavities.
Loose-fill provides good insulation but may also need an additional moisture barrier, depending on your climate.
Spray Foam Insulation (Open-Cell vs. Closed-Cell)
Spray foam is an excellent option for high thermal resistance and airtight sealing.
Open-cell spray foam is less dense, offering soundproofing, while closed-cell spray foam is denser, with higher R-value and moisture resistance.
Although more expensive, spray foam insulation is durable and ideal for climates with extreme temperatures.
Panel Insulation (EPS, XPS, ISO)
Rigid foam panels, like EPS (expanded polystyrene), XPS (extruded polystyrene), and ISO (polyisocyanurate), offer high R-values and moisture resistance.
These panels work well on garage doors, walls, ceilings, and even floors. They are easy to cut and install but can be more costly than other types.
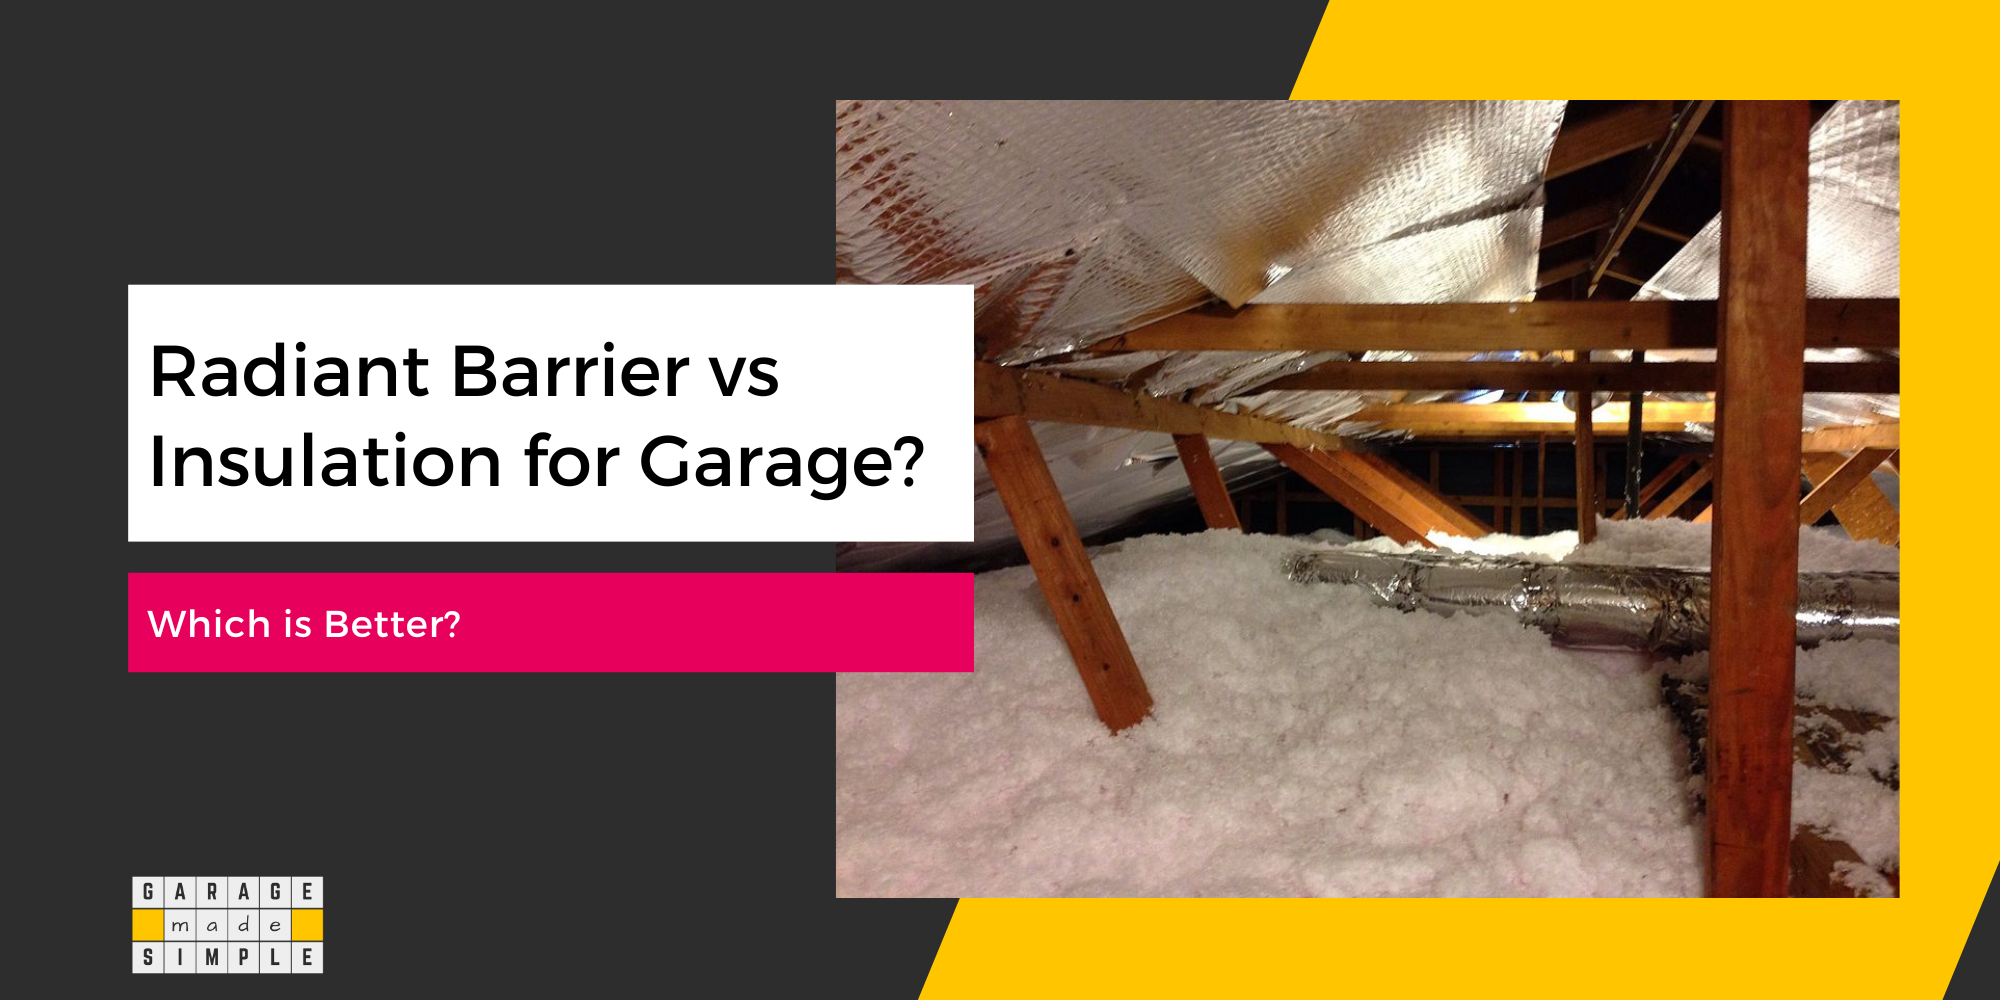
Radiant Barriers (Double Bubble)
Radiant barriers, often used in warmer climates, reflect heat instead of absorbing it. “Double bubble” barriers, which consist of foil-backed layers, help reduce heat gain in hot regions.
Radiant barriers work best when paired with other insulation types to improve thermal efficiency.
Check out my earlier article, Effective Garage Insulation: An Epic Guide, for a more detailed explanation.
Choosing the Right Insulation for Your Climate and Needs
Selecting the best insulation for your detached garage depends on your local climate, garage usage, and budget. Here’s a quick guide on choosing insulation based on these factors:
Climate Considerations
- Cold Climates: Garages in colder regions benefit from insulation with a high R-value, which measures thermal resistance. Closed-cell spray foam, fiberglass batts, or rigid foam panels are excellent choices, providing strong insulation against heat loss.
- Warm Climates: For hot climates, radiant barriers work well to reflect heat and keep the garage cooler. Combining radiant barriers with other insulation types (like loose-fill or batts) can enhance overall performance.
- Humid Climates: In humid areas, moisture control is essential. Insulation options like closed-cell spray foam or rigid foam panels resist moisture and can help prevent mold. Adding a vapor barrier can further protect against dampness.
Usage and Functionality
- Workshop or Livable Space: For garages used as workshops, gyms, or living spaces, invest in high-performance insulation like spray foam, which seals gaps and regulates temperature.
- Storage or Occasional Use: If the garage is used mainly for storage, budget-friendly options like fiberglass batts or loose-fill insulation may suffice, providing essential insulation without high costs.
Budget Considerations
While spray foam and rigid panels offer high insulation quality, they’re more expensive than fiberglass batts or loose-fill.
For a cost-effective solution, you might choose a combination, like using fiberglass batts for walls and adding radiant barriers in the ceiling for additional temperature control.
How to Insulate a Detached Garage: A Step-by-Step Guide
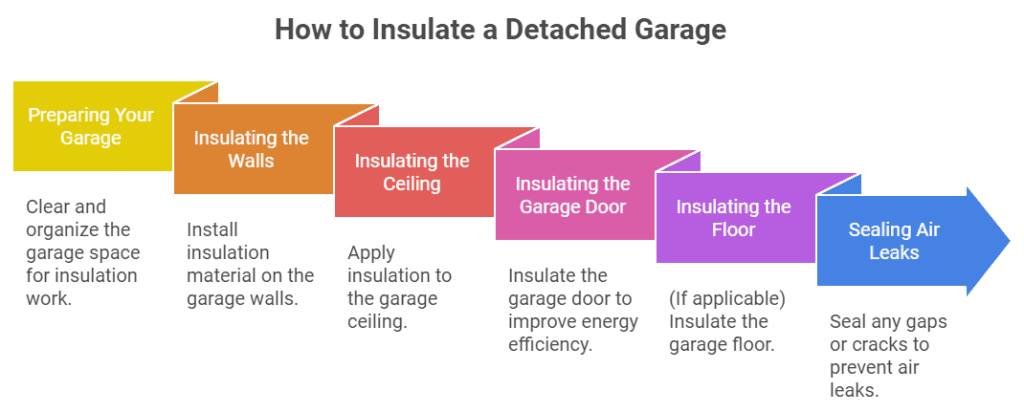
Insulating your detached garage is a straightforward DIY project with the right materials and preparation. Follow these steps to insulate a detached garage effectively, from preparing the space to sealing air leaks for maximum energy efficiency.
Step 1: Preparing Your Garage
- Clear the Space: Remove any items stored against walls or on the floor to access insulation areas fully.
- Inspect the Garage Structure: Look for any signs of moisture, mold, or damage that might need fixing before installing insulation. Make sure walls, ceilings, and floors are dry.
- Gather Necessary Tools and Materials: Common tools include a utility knife, staple gun, caulking gun, and insulation materials (rolls, spray foam, or rigid panels).
- Ensure Safety: Wear protective gear such as gloves, safety goggles, and a mask, especially when handling fiberglass insulation.
Step 2: Insulating the Walls
Garage walls need to be insulated first as they are the primary areas where heat transfer occurs.
- Install Wall Insulation: Place rolls or batts of insulation between the wall studs. Choose materials with an R-value that fits your climate (higher for colder regions).
- Apply a Vapor Barrier (if needed): In humid climates, a vapor barrier can protect against moisture. Install it over the insulation, attaching it to the studs with a staple gun to prevent air and moisture infiltration.
- Fit the Insulation Snugly: Ensure the insulation fills the wall cavity without being compressed, as squashed insulation loses effectiveness. Trim any excess with a utility knife for a clean fit.
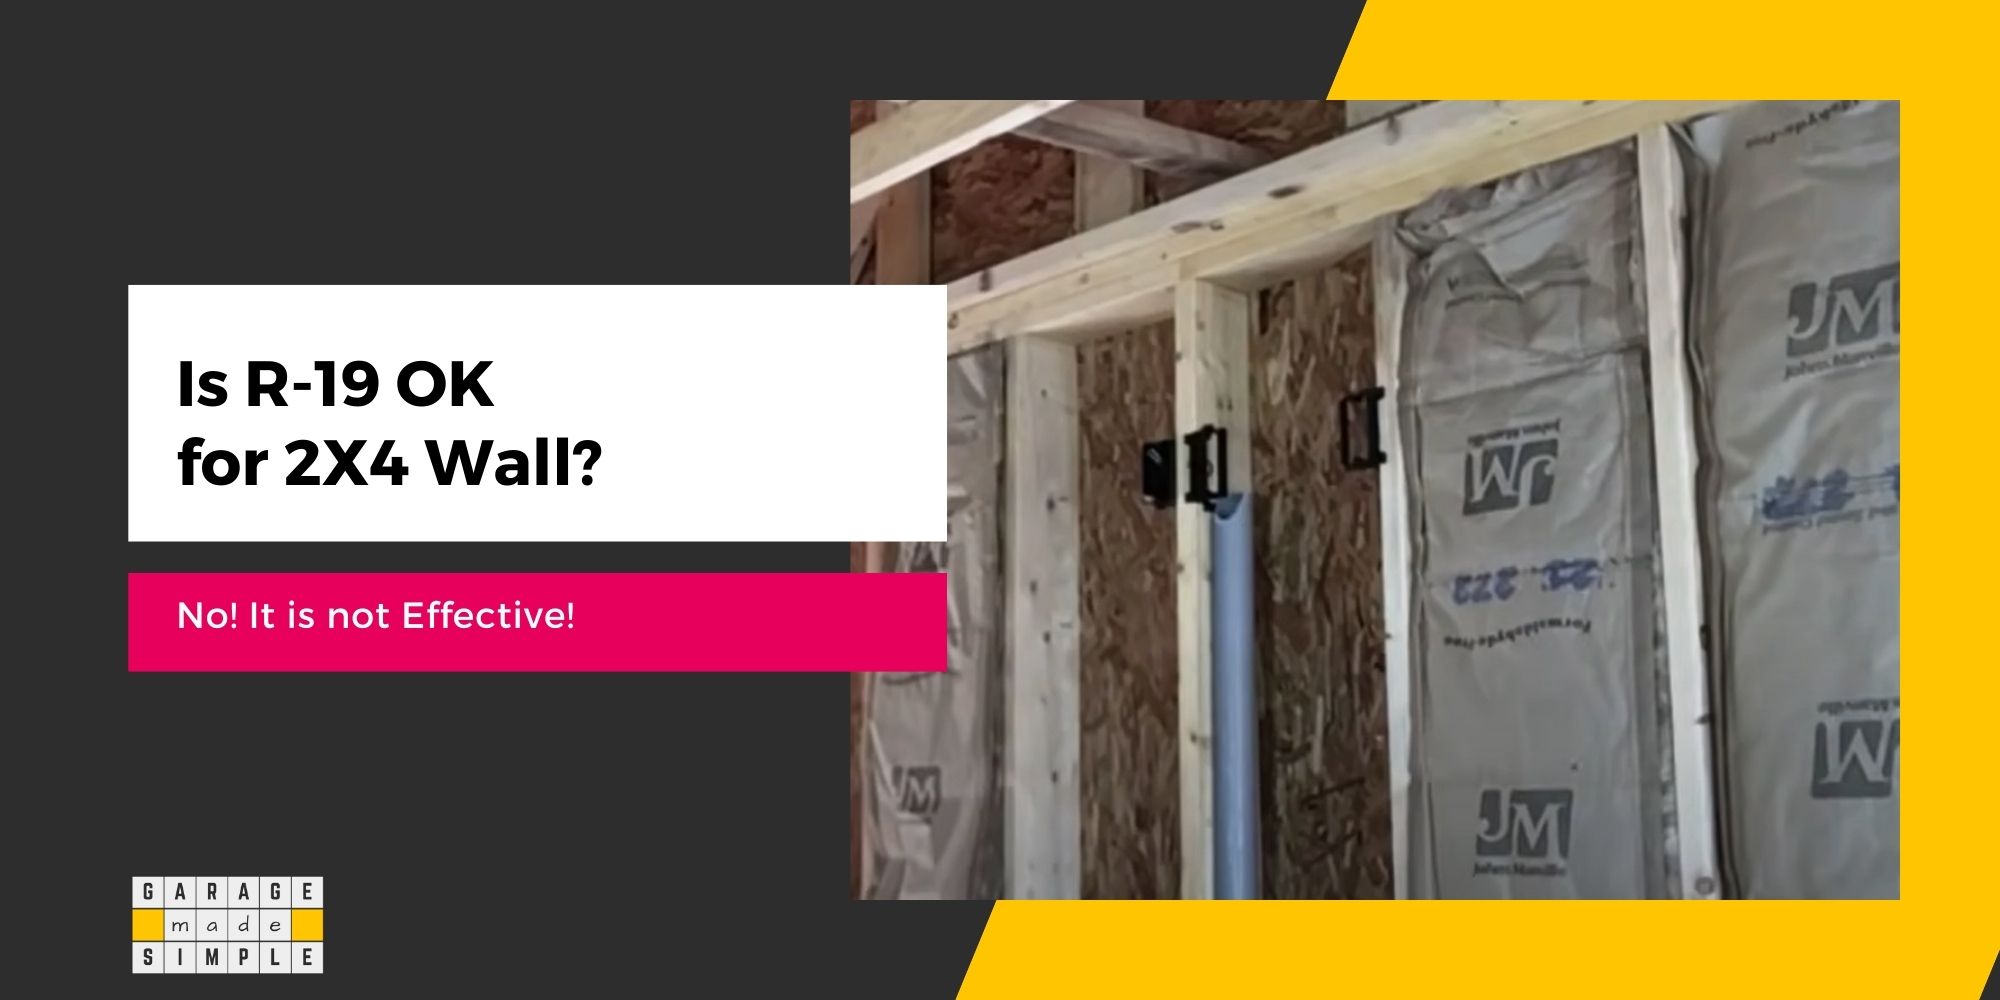
Check out my earlier article, R-Value For Garage Insulation: Comprehensive Guide
Step 3: Insulating the Ceiling
The ceiling is a significant source of heat loss in winter and heat gain in summer. Insulating a garage ceiling effectively helps maintain a stable temperature in your garage.
- Choose Ceiling Insulation: For garages with open rafters, use fiberglass batts or loose-fill insulation. For finished ceilings, spray foam insulation or rigid foam panels can work well.
- Install Insulation in Rafters or Joists: Place batts or loose-fill insulation between the rafters, ensuring a snug fit. If using loose-fill insulation, spread it evenly to achieve the required thickness.
- Consider Radiant Barriers in Hot Climates: In warm climates, adding a radiant barrier to the ceiling can reflect heat and improve energy efficiency. Radiant barriers are often stapled to the underside of the roof or installed above the insulation layer.
Step 4: Insulating the Garage Door
Garage doors are a weak point in insulation, as they’re typically thin and made of metal, which conducts heat and cold easily.
- Choose a Garage Door Insulation Kit: Insulation kits made for garage doors usually contain foam or reflective insulation panels designed to fit the door sections. Garage door panel insulation kits come pre-cut for easy DIY installation.
- Cut and Attach Insulation Panels: Measure the door sections and cut insulation panels to fit snugly. Attach each panel to the door sections, using adhesive or the provided fasteners, ensuring complete coverage.
- Seal Around the Edges: Apply weatherstripping along the sides and bottom of the door to prevent air leaks and enhance insulation. Ensure the door can still open and close smoothly.
Step 5: Insulating the Floor (If Applicable)
While floor insulation is optional, it can add comfort if your garage is used as a workspace, especially in colder climates.
- Use Rigid Foam Boards: Rigid foam panels, like XPS or ISO, work well for floors, providing a stable, moisture-resistant base.
- Apply a Moisture Barrier: Lay a moisture barrier on the floor if needed, especially in humid climates, to protect against dampness.
- Cover with Plywood or Subflooring: Place plywood over the foam panels to create a sturdy, usable surface. Secure the plywood using concrete screws if needed for stability.
Radiant garage floor heating is also an option that you might want to consider, especially for areas that are used as a home gym, yoga studio, or office.
Step 6: Sealing Air Leaks
Air leaks undermine insulation effectiveness, allowing cold or hot air to enter and disrupt temperature control. Here is what you can do.
- Caulk Cracks and Gaps: Use caulk to seal any visible gaps or cracks around windows, doors, and where the walls meet the ceiling or floor. This is especially important in older garages where settling may have created cracks.
- Use Spray Foam for Larger Gaps: For gaps larger than 1/4 inch, spray foam insulation provides a flexible, airtight seal.
- Install Weatherstripping: Add weatherstripping around doors and windows to prevent drafts. Choose adhesive-backed foam weatherstripping for ease of installation and replace it if it shows signs of wear.
- Check Ventilation: Proper ventilation helps reduce moisture buildup. Consider adding a small exhaust fan or passive vent to allow fresh air to circulate, reducing the risk of mold.
Cost of Insulating a Detached Garage
The cost of insulating a detached garage varies based on insulation type, garage size, and whether you choose DIY installation or hire a professional.
Here’s a breakdown of average costs and factors to consider:
Average Costs by Insulation Type
Fiberglass Batts: $1.00 to $1.50 per square foot. Fiberglass batts are among the most budget-friendly options and work well in walls and ceilings.
Recommended Product for Garage Wall Insulation
Owens Corning R-15 Faced 23 by 93 Fiberglass Batt Insulation
- Owens Corning Insulation. With R-value of R-15, the insulation will fit into any 2×4 construction board.
- Kraft Faced. This insulation has a moisture barrier that is used for exterior walls, floors, or attics.
- This insulation is perfect for 8-foot walls. Two bundles of 4 for a total of 8 bags for a total of 831.84 square footage.
Loose-Fill Insulation: $1 to $1.50 per square foot. Often used for filling irregular spaces or retrofits, loose-fill offers good coverage but may require additional equipment for installation.
Recommended Cellulose Insulation Product
GreenFiber’s Sanctuary Blow-In Insulation is known for its high thermal performance and eco-friendly composition. Made from 85% recycled paper, it provides excellent coverage and is treated with fire retardants for added safety.
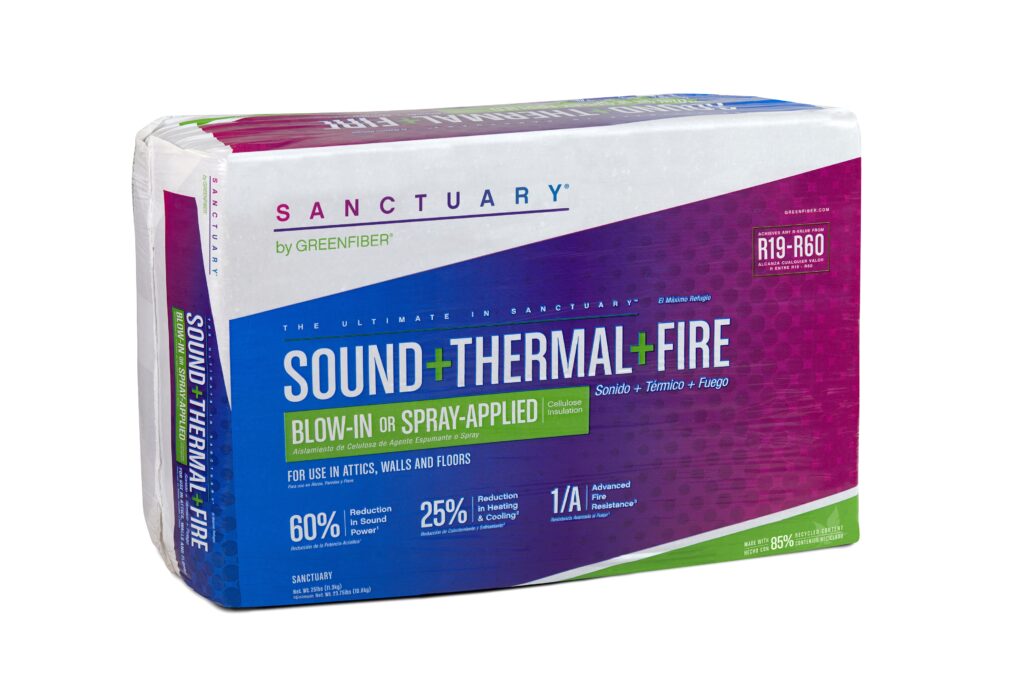
Sanctuary® Blow-In or
Spray-Applied Insulation
Used as attic insulation and installed in walls, floors, and ceilings. Sanctuary will significantly improve the comfort, safety, and well-being provided by any home.
The first all-in-one fiber insulation that can be blown in or spray-applied. It’s suitable for all climates and conditions.
Capable of reducing sound power by 60% and heating and cooling costs by 25%, it’s easily installed, environmentally responsible, and packaged to optimize coverage and ease of installation.
Spray Foam Insulation: $1.50 to $3.50 per square foot for open-cell and $3 to $6 for closed-cell. Spray foam is pricier but provides excellent sealing and moisture resistance.
Rigid Foam Panels: $1.50 to $3 per square foot. Rigid panels offer high R-values and moisture protection but are typically more expensive than rolls or batts.
Recommended Product for Garage Door Panel Insulation
Matador 1-Car Garage Door Insulation
- Installation in 3 easy steps
- Installation does not require tapes, glues, or pins
- Fits most standard pan-style 8-foot and 9-foot garage doors
- Panels scored for easy installation; No special tools are required
- Includes 8 high-impact polystyrene laminate panels 20. 25″ H x 54″ W x 1. 25″ thick
Radiant Barriers: $0.50 to $1 per square foot. Radiant barriers are economical for reducing heat gain in warmer climates, usually installed along with other insulation types.
DIY vs. Professional Installation
DIY installation saves on labor costs (30-50% of the total) but requires tools, time, and expertise. Professional installation ensures proper setup, with labor costing $1,000-$2,000, partially offset by bulk material pricing.
Additional Cost Factors
Costs vary based on garage size, climate needs (higher R-value for extreme climates), and necessary repairs. Insulating enhances usability, tailored to budget and climate.
Maintaining Your Insulated Garage
Regular inspection and prompt maintenance will ensure garage insulation effectiveness for a longer period.
Inspect for air leaks around windows and doors, sealing with caulk or weatherstripping as needed.
Monitor the insulation for wear, replacing compressed materials, or worn weatherstripping.
Ensure proper ventilation to prevent dampness, using vents or exhaust fans to maintain air circulation. Check for moisture issues to prevent mold growth.
Bottom Line
Insulating your detached garage is a worthwhile investment that enhances comfort, energy efficiency, and usability. Select the right insulation for your climate, needs, area of application, and budget.
I hope this How to Insulate a Detached Garage Guide will motivate you to take on the project, as soon as possible.
Thank you very much for reading the post. I do hope you found it informative and useful.


