Garage Ceiling Insulation: A Smart Way to Save Money in 2024!
As an Amazon Associate, I earn from qualifying purchases.
Insulation makes your garage a cozy extension of your home, not just a parking spot. Unfortunately, Garage Ceiling Insulation is sometimes overlooked. But it is as important as Garage Wall Insulation and Garage Door Panel Insulation.
Whether, in addition to parking your cars, you will also be using it for storage and a DIY workshop, insulation matters.
Imagine stepping into your garage on a frosty morning—instead of shivering, you’re greeted by a space that feels as inviting as your living room.
Garage ceiling insulation is even more important if there’s a living space above it. The insulation prevents heat loss in winter and reduces heat transfer from the garage to the living quarters above, in the summer.
That’s the magic of garage ceiling insulation! It keeps the cold out and the warmth in, making your garage a year-round haven.
Benefits of Garage Ceiling Insulation
So the first question that you may have is whether garage ceiling insulation is necessary. What are the benefits, if any? Won’t it cost a lot of money?
Actually, there are at least 6 benefits of garage ceiling insulation! Here they are:
1. Lower Heating and Cooling Costs
Properly insulating your garage ceiling pays off in energy savings. By reducing heat transfer, you reduce the energy cost of keeping your garage at a moderate and consistent temperature.
The garage ceiling insulation will reduce the strain on the home HVAC system, and save you dollars, especially in case there are living quarters above.
Say goodbye to chilly winters and sweltering summers—your wallet will thank you.
2. Consistent Comfort
Garage ceiling insulation ensures stable indoor temperatures, both in the attached garage and in your home. No more icy drafts or hot spots!
Whether it’s a bonus room or storage space, your garage becomes a cozy extension of your home.
3. Sound Barrier
Garage ceiling insulation dampens noise too! Whether you’re hammering away on a project or playing music, your family upstairs won’t hear a thing. Peaceful coexistence is guaranteed!
4. Prolongs Ceiling Life
Insulation protects your garage ceiling from extreme temperature fluctuations. It prevents moisture buildup, reducing the risk of damage and extending its lifespan.
5. DIY-Friendly and Cost-Effective
Installing garage ceiling insulation is a straightforward DIY project. Grab some materials, follow the steps, and enjoy the benefits without breaking the bank.
The insulation material is not too expensive either. You can order it on Amazon or pick it up from a Home Depot or Lowes store near you.
6. Boosts Property Value
A well-insulated garage adds value to your home. Potential buyers appreciate the energy efficiency and comfort. It’s an investment that pays dividends when you sell.
Remember, insulating your garage ceiling isn’t just about comfort—it’s a smart move for your wallet and your property!
Types of Garage Ceiling Insulation
Fiberglass Batts or Rolls
Description & Features
Fiberglass batts or rolls are among the most common and cost-effective garage ceiling insulation options. They are made from fine glass fibers and come in pre-cut panels or continuous rolls.
They are easy to handle and install. They fit snugly between ceiling joists, providing excellent thermal resistance.
Pros
- Cost-Effective: One of the most affordable insulation materials.
- Easy Installation: Ideal for DIY projects due to its straightforward application.
- Fire-Resistant: Naturally non-combustible, adding a layer of safety to your garage.
Cons
- Moisture Vulnerability: Susceptible to mold and mildew if exposed to moisture.
- Pest Attraction: Can become a nesting ground for pests if not properly sealed.
- Skin Irritation: Handling fiberglass can cause skin irritation. The use of personal protective gear is essential during installation.
Fiberglass batts or rolls are an excellent balance of affordability and effectiveness, making them a popular choice for garage ceiling insulation. However, be aware of moisture and pest risks and take adequate precautions during installation.
Recommended Product for Garage Ceiling Insulation

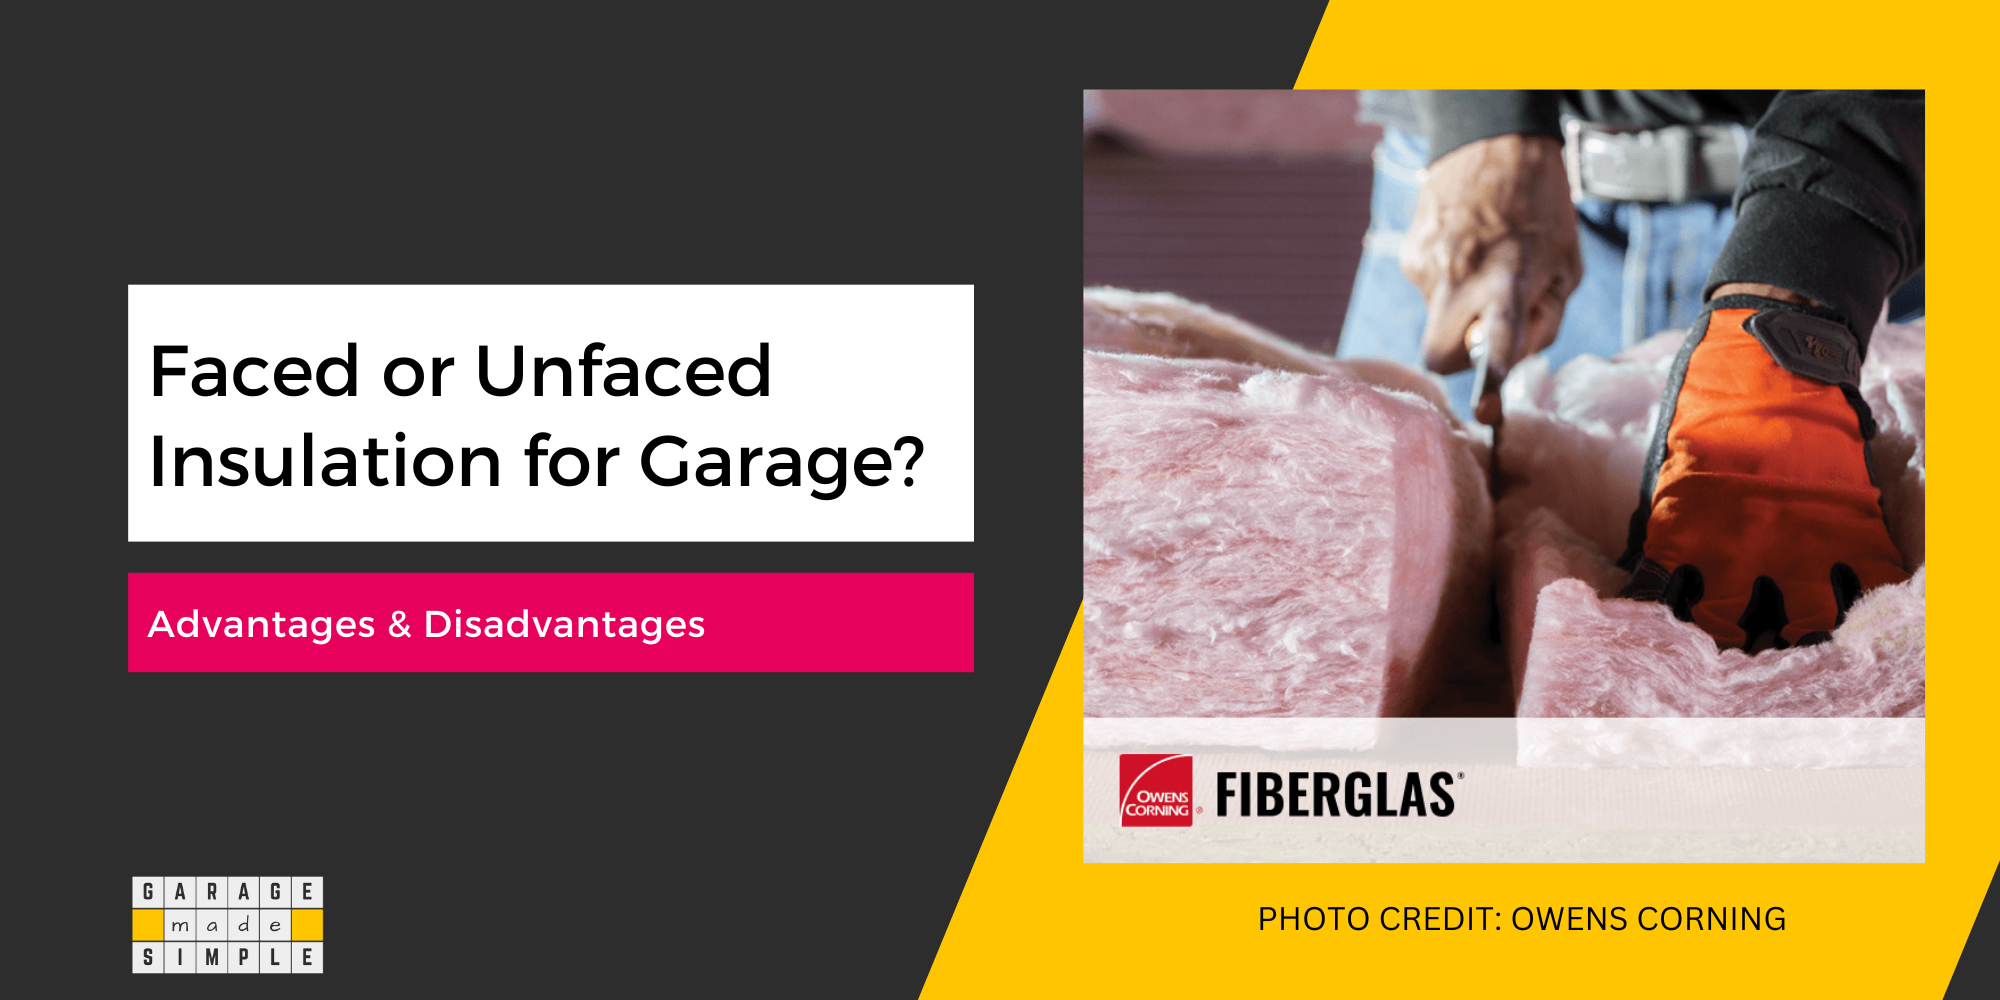
Owens Corning R 19 Unfaced 15 by 93 Fiberglass Batt Fits 2X6 Floor-Ceiling
- Perfect for insulating floors and ceilings
- Friction fit; stays in place upon installation
- 8 batts per bag, covering 77.5 sq ft per bag
- No paper backing; ideal for interior walls and floors
- Not for exterior walls; suitable for soundproofing
- R-19 value; dimensions: 15″ x 93″ x 6.25″
Cellulose Insulation
Description & Features
Cellulose insulation is an eco-friendly option. It is made from recycled paper, cardboard, and other plant-based materials. It’s treated with fire retardants to enhance safety.
Here’s what you need to know:
- Recycled Content: Cellulose insulation repurposes materials that might otherwise end up in landfills.
- Blown-In Application: It’s typically installed as blown-in insulation. It is very effective in filling gaps and irregular spaces.
- Fire Resistance: The fire-retardant treatment makes it a safer choice.
Pros
- Environmentally Friendly: Cellulose reduces your carbon footprint.
- Effective Thermal Performance: It provides good insulation value.
- Sound Absorption: Excellent for reducing noise transmission.
Cons
- Moisture Sensitivity: Cellulose can absorb moisture and settle, affecting its performance.
- Professional Installation: Blown-in cellulose requires specialized equipment and expertise.
- Requires Drywall: The garage ceiling has to be drywall or some other sheathing board to hold the cellulose insulation.
Cellulose insulation is a good balance between sustainability and effectiveness. Of course, you may need professional installation for optimal results.
Recommended Cellulose Insulation Product
GreenFiber’s Sanctuary Blow-In Insulation is known for its high thermal performance and eco-friendly composition. Made from 85% recycled paper, it provides excellent coverage and is treated with fire retardants for added safety.
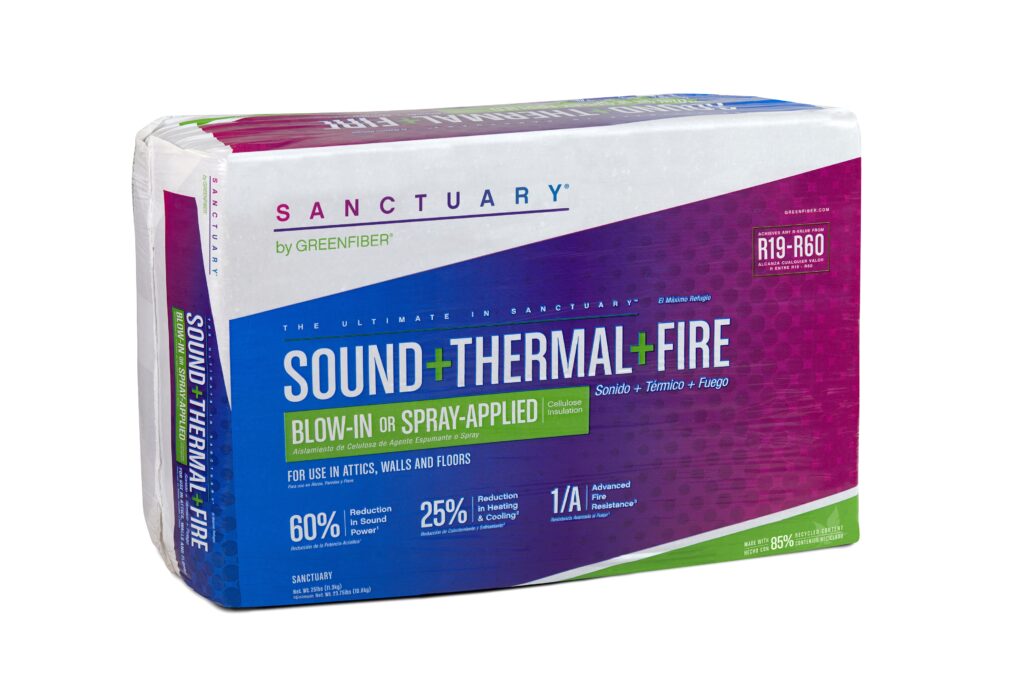
Sanctuary® Blow-In or
Spray-Applied Insulation
Used as attic insulation and installed in walls, floors, and ceilings, Sanctuary will significantly improve the comfort, safety, and well-being provided by any home.
The first all-in-one fiber insulation that can be blown in or spray-applied, it’s suitable for all climates and conditions.
Capable of reducing sound power by 60% and heating and cooling costs by 25%, it’s easily installed, environmentally responsible, and packaged to optimize coverage and ease of installation.
Rigid Foam Boards
Description & Features
Rigid foam boards, (aka foam insulation panels), have high insulating value with minimal thickness. Here’s why they’re an excellent choice for garage ceiling insulation:
- Thermal Efficiency: Despite their slim profile, rigid foam boards provide impressive thermal resistance (R-value). They keep your garage comfortable without bulky layers.
- Water Resistance: These boards are ideal for garage ceilings prone to dampness or moisture, as they are inherently water-resistant.
- Versatility: Available in various types—expanded polystyrene (EPS), extruded polystyrene (XPS), and polyisocyanurate (Polyiso)—each catering to specific needs.
Pros
- High R-Value: Rigid foam offers a high R-value per inch of thickness, maximizing insulation effectiveness.
- Easy Installation: Cut-to-fit panels simplify DIY installation.
- Durable: Resistant to pests, mold, and decay.
- Sound Reduction: Provides additional noise insulation.
Cons
- Cost: Rigid foam boards can be more expensive upfront.
- Fire Resistance: While some types are fire-resistant, others may require additional treatment.
Recommended Product for Garage Ceiling Insulation
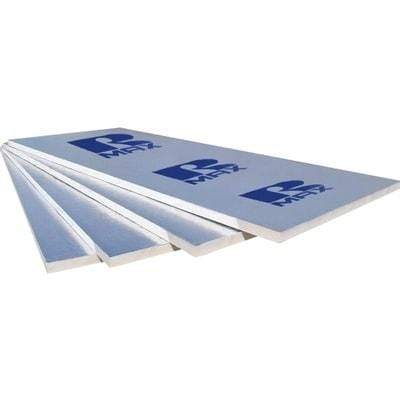
RMax Thermasheath 4ft x 8ft Polyiso Rigid Foam Insulation Board
Rmax Thermasheath-3 is an energy-efficient thermal insulation board with an environmentally sound closed-cell polyisocyanurate (polyiso) foam core bonded to reinforced aluminum foil facers on each side.
This insulation is suitable for walls, ceilings, and some limited roofing applications.
Thermasheath-3 is available in 1/2″ to 4-1/2″ thicknesses. The R-value is a function of the thickness. For example, the R-value of a 2″ board is R-13.1 and the R-value of a 4″ thick board is R-27.4
Spray Foam Insulation
Description & Features
Spray foam insulation, a modern marvel, offers exceptional benefits for garage ceilings:
- Lifetime Insulation: Once applied, spray foam provides a lifetime of insulation, especially when shielded from direct sunlight.
- High R-Value: With an impressive R-40 rating, it aligns with green living standards.
- Reduced Mold and Pest Risk: Spray foam minimizes the chances of mold growth and pest infestations.
Pros
- Full Coverage: Spray foam fills every nook and cranny, leaving no gaps.
- Vapor Barrier: Properly applied, it acts as a vapor barrier, safeguarding against mold and mildew.
- Structural Enhancement: Boosts rigidity by up to 300%, improving garage integrity.
Cons
- Initial Cost: Spray foam is more expensive upfront.
- Flammability: It’s flammable, so precautions are necessary during installation.
For long-term energy savings and controlled temperatures, spray foam insulation is the ultimate choice!
Radiant Barrier: Enhancing Garage Ceiling Insulation
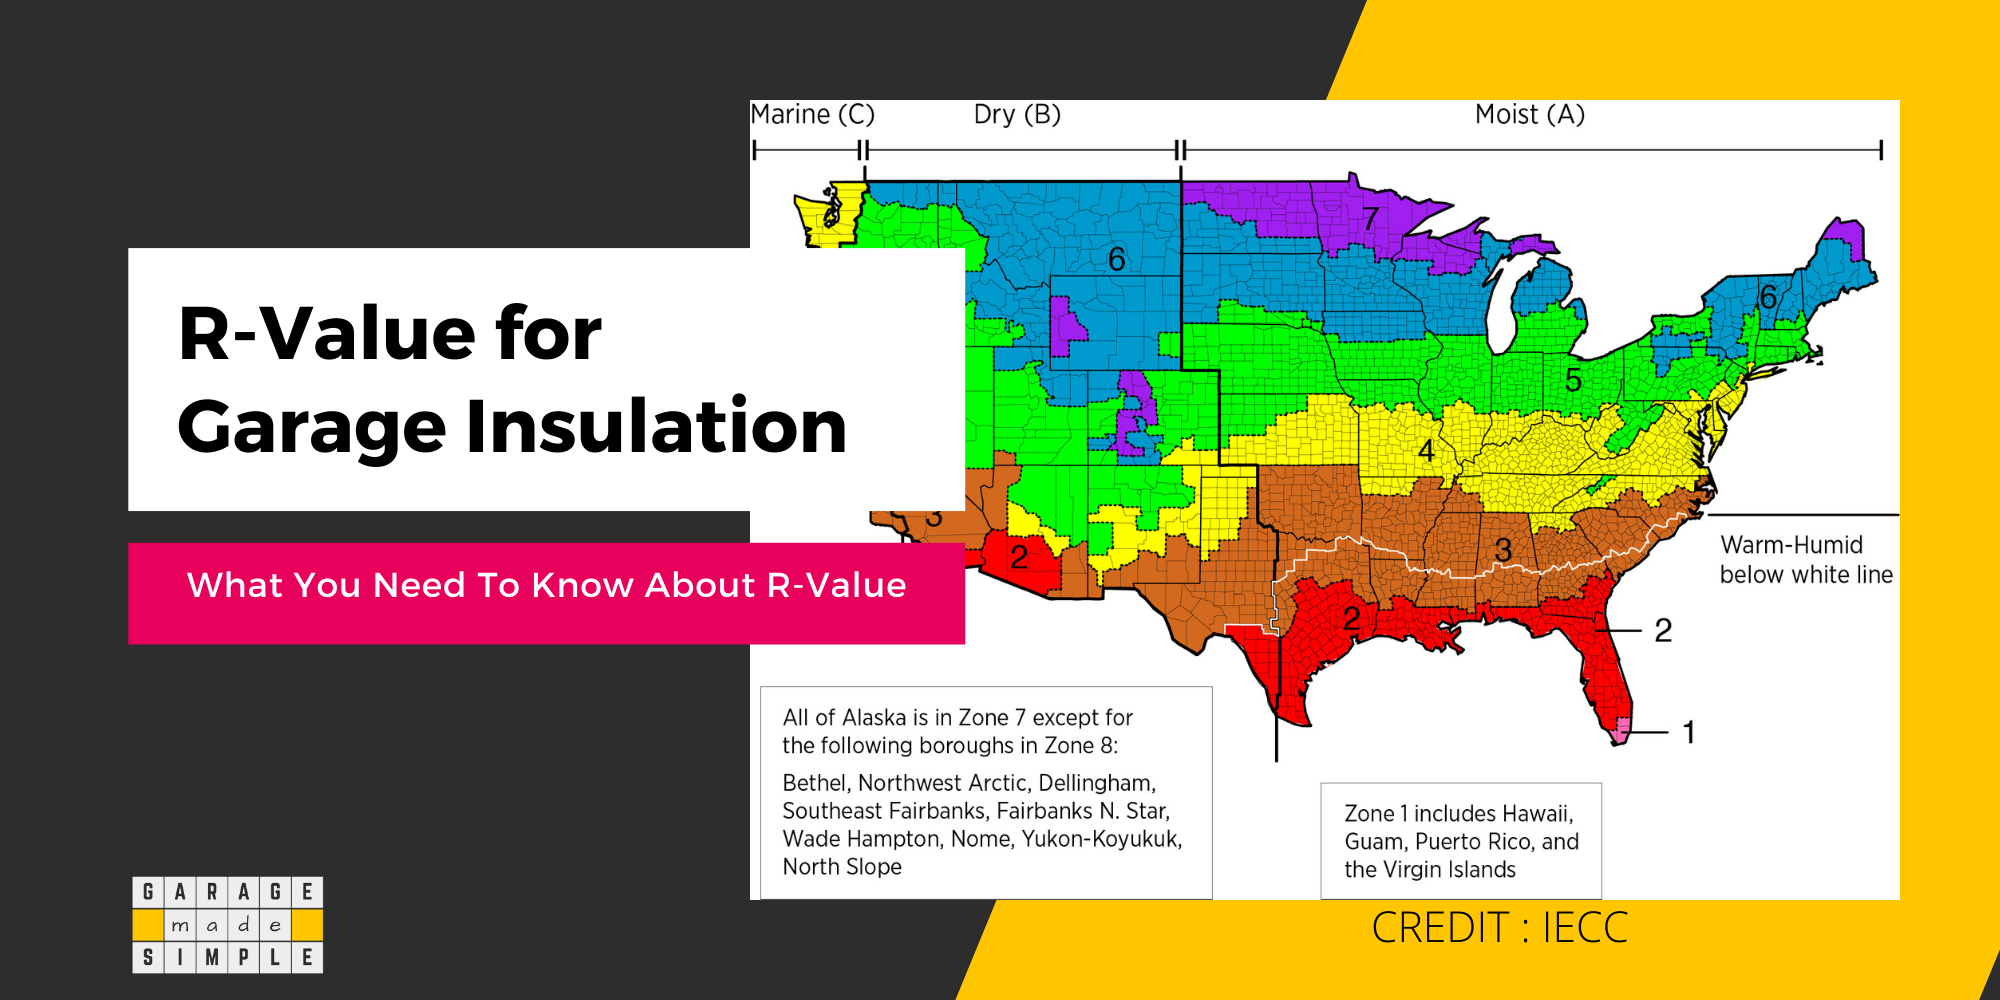
Radiant barriers are an excellent choice for garage ceiling insulation, especially in states where summer temperatures can reach or even exceed 100 degrees. Here’s what you need to know:
Description & Features
- Radiant Barrier Material: is made of reflective foil or foil-backed sheathing. It reduces the amount of radiant energy from sunlight from entering the living space by reflecting most of it. No wonder it is a great choice for any ceiling.
- Installation: Radiant barriers are easy to install. You can staple them directly to the underside of the roof rafters or attach them to the existing insulation.
- Heat Reflection: When installed correctly, radiant barriers can reflect up to 97% of radiant heat, keeping your garage cooler in summer and warmer in winter.
Pros
- Energy Efficiency: Radiant barriers reduce heat transfer, leading to energy savings. They complement other insulation materials.
- Cost-Effective: Compared to some other options, radiant barriers are budget-friendly.
- DIY-Friendly: Homeowners can install radiant barriers themselves, making it a convenient choice.
Cons
- Limited Effect on Conductive Heat: Radiant barriers primarily address radiant heat. For comprehensive insulation, combine them with one of the other insulating materials already discussed above.
- Not Ideal for Cold Climates: In extremely cold regions, radiant barriers are not as effective.
Remember, radiant barriers work best when used in conjunction with other insulation methods.
Recommended Radiant Barrier

US Energy Products Double Sided Reflective Heat Radiant Barrier
- 5mm double poly-air insulation with reflective layers
- Reflects 99.97% of radiant heat, R-Value of 24
- Durable, lightweight, easy to cut and install
- 100% waterproof, resists humidity and moisture
- Reduces sound travel; ASTM Class 1/A fire rated
DIY Installation of Garage Ceiling Insulation
Fiberglass Batt or Rolls, and Rigid Foam Boards are relatively easy to install as garage ceiling insulation and you can take it on as a DIY project. Here is the the step-by-step guide:
1. Measurement & Material Estimation
- Measure the Area: Accurately measure the garage ceiling area. Calculate the square footage to determine how much insulation material you’ll need. Of course, you must always buy around 10% more than your calculations to account for errors and wastage.
2. Material Selection & Purchase
Choose between two common options:
- Fiberglass Batt or Rolls:
- Easy to handle and budget-friendly.
- Ideal for standard joist spacing.
- Rigid Foam Boards:
- Lightweight, moisture-resistant, and great for irregular spaces.
3. Personal Protective Gear & Other Tools
- Safety First: Wear safety goggles, gloves, and a dust mask.
- Gather Tools: You’ll need a utility knife, straightedge, and staple gun. You will also need a caulking gun and a sealant to seal any gaps.
4. Cutting the Insulation to Size
- Precision Matters: Cut insulation pieces to fit between the ceiling joists.
- Snug Fit: Ensure a snug fit to prevent gaps.
5. The Placement Process
- Start from One End: Lay the insulation between the joists, starting from one end and working your way across.
- Secure It: Staple or otherwise secure the insulation in place.
6. Working around Vents, Light Fixtures, etc.
- Trim Carefully: Trim insulation to accommodate vents, light fixtures, and other obstacles.
7. Additional Layering for Increased R-Value
- Boost Insulation: For enhanced performance, consider adding a second layer perpendicular to the first. This increases the overall R-value.
Safety First
You need to be extra careful when working at heights and with insulation material. Here are some things to keep in mind.
1. Protective Clothing and Gear
This is especially important when you are working with fiberglass or rigid foam insulation. Make sure you have:
- Safety Goggles: Shield your eyes from insulation fibers and dust.
- Gloves: Protect your hands while cutting and handling insulation materials.
- Dust Mask: Prevent inhaling airborne particles.
2. Safety Harness
When working on the ceiling, especially in high spaces, use a safety harness to arrest falls. Secure it to a stable anchor point.
3. Ladder Safety
- Use a sturdy ladder with slip-resistant feet.
- Position the ladder correctly and ensure stability before climbing.
4. Always Work with a Buddy
Always have someone as a buddy, even if they are not DIY experts. Having a second person helps with:
- Handling insulation rolls or boards.
- Passing tools and materials.
- Ensuring safety during installation.
- Holding on to the ladder.
- Taking action in case of an accident.
5. Adequate Ventilation
Installing insulation creates a fair amount of dust, so it is best to keep the work area well-ventilated. This can help:
- Open windows or doors.
- Use fans to circulate air.
- Avoid inhaling fumes or dust particles by using face masks.
6. Electrical Safety
- Turn off power to any electrical fixtures before starting insulation work.
- Insulation materials can be conductive, so ensure safety around wiring and fixtures.
7. Be Mindful of Where You Step
Last but not the least, focus on the work and don’t let your mind wander. Specifically
- Move carefully to avoid stepping off a joist by mistake or damaging the ceiling.
- Distribute your weight evenly on the ladder or scaffolding.
Thank you very much for reading the post. I do hope you found it informative and useful.